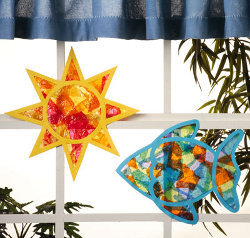
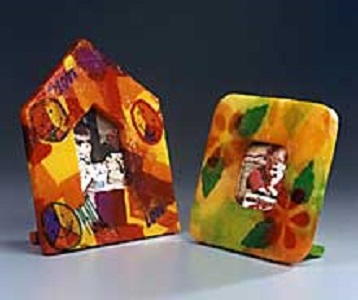
Colorful Tissue Paper Frames
Use inexpensive tissue paper to decoupage STYROFOAM™ Brand Foam frames with lots of color. Kids can create their own designs and give to family and friends as presents. Find this craft and 21 other crafts for kids in our FREE Summer Crafts for Kids eBook.

Materials:
- STYROFOAM Brand Foam:
- Sheet, 1/2" x 12" x 36" sheet (makes five square or four cathedral frames)
- Art tissue paper: square frame: pink, red, light and dark values of yellow, orange, and green; cathedral frame: yellow, red, orange, purple, peace/love print
- Coordinating cardstock: square frame: 5" square; cathedral frame: 5" x 6-1/2"
- Satin decoupage medium
- 3/4" flat-bristle or foam paintbrush
- Serrated knife
- Candle stub or paraffin
- Tack cloth
- Pencil
- Ruler
- Scissors
- Wax paper
- Small plastic disposable containers
- Photograph
- Glues: white craft; acid-free stick; low-temp glue gun and glue sticks (optional)
- Pattern
Steps:
Square Frame
1. Wax serrated knife with candle stub or paraffin. Using pattern, cut frame (including photo opening) from foam sheet, along with a 2" x 5" easel back. Sand cut edges with a scrap piece of foam until smooth; wipe with a tack cloth.
2. Apply a coat of decoupage medium over entire foam frame and easel back. Place on wax paper to dry.
3. Tear light value of each tissue paper color (except red) into small pieces no larger than 2" square. Brush decoupage medium onto frame and randomly apply torn tissue paper, smoothing out any wrinkles. Continue overlapping pieces until completely covered and then apply a topcoat of decoupage medium. Repeat to cover easel back with tissue paper. Let dry.
4. Using flower patterns, cut or tear multiple flower centers, petals, and leaves from tissue paper as indicated. Hint: Fanfold paper before cutting or tearing to produce several shapes at once. Refer to photo to apply six-petal flowers with decoupage medium onto opposite corners of frame, using three to seven layers of flower centers and petals until desired color is achieved. Combine yellow centers with orange petals for one flower and orange centers with red petals for remaining flower. Let dry.
5. Apply two additional coats of decoupage medium to frame and stand, letting dry after each coat.
6. Position photo behind frame and trace around opening with a pencil. Trim photo, leaving a 1/4" border beyond penciled outline. Then trim cardstock 1/4" larger than photo. Mount photo centered on cardstock with glue stick. Using white craft glue, adhere cardstock to back of frame with photo centered in opening.
7. Glue easel back horizontally to back of frame, letting it rest at an angle 3/4"-1" from bottom.
Cathedral Frame
8. Follow instructions for Square Frame with the following modifications. Substitute a 2" x 6" easel back. Apply each solid color of tissue paper to foam frame and easel back. Omit flowers and add love/peace prints, strategically placing them for maximum appeal.
®™ Trademark of The Dow Chemical Company ("Dow") or an affiliated company of Dow. For more project ideas, please see styrofoamstyle.com.
For this and 16 similar projects check out our 17 Recycled Handmade Paper Crafts page.
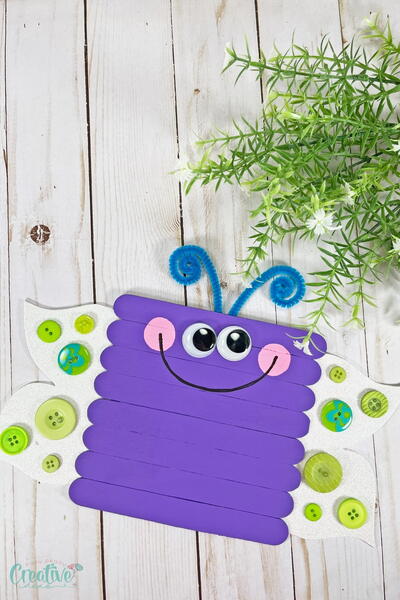
Read NextButterfly Craft With Jumbo Sticks


Thanks for your comment. Don't forget to share!
Report Inappropriate Comment
Are you sure you would like to report this comment? It will be flagged for our moderators to take action.
Thank you for taking the time to improve the content on our site.