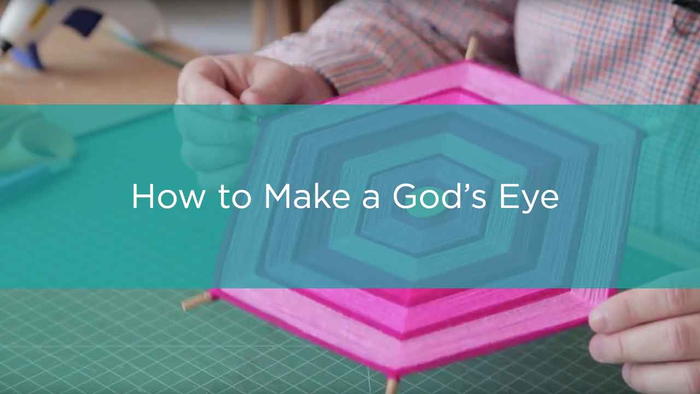
Stylish God's Eye

"Los Angeles-based designer, maker, and CreativeLive instructor Robert Mahar, makes a Gods Eye that goes beyond the traditional cross, adding in six spokes that give it a neater appearance. In just a few steps, you can put together a colorful art piece that will complement any dcor. Once youve finished your Gods Eye, you can ornament it at the end with pom-poms or you can use it in a pajaki chandelier."
Primary TechniqueOther

SeasonSummer
Materials List
- Six 6 dowels
-
Two wood rounds
- ruler
- craft knife
- glue gun
- two skeins of yarn
Instructions
-
Cut your dowel into six pieces that are six inches in length. Using a craft knife, cut shallow wedges at one-inch intervals along each piece of dowel. This will help keep the yarn in place. Create a score line exactly one inch from the end of each dowel all the way around.
-
Place two dots of glue directly across from one another on the wood round. Place the non-scored end of the dowels on the glue parallel to each other, leaving approximately inch between the glued ends. This will put the scored side on the outside of the Gods Eye when complete.
-
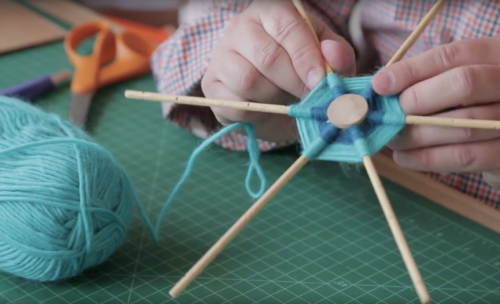
To create a wheel-like structure, place four glue dots on the round, two at a time. Position the other four dowels equally distant from each other with the notched sides out. The finished product will have six dowels equally jutting out from the round like spokes. For additional stability, use the hot glue gun to fill in spaces. Place a second wood round on top of the other round, sandwiching the dowels between them.
-
Choose one color of yarn and tie a tight knot around one of the spokes at the end closest to the wood round. Go underneath the adjacent dowel, wrapping around the spoke before moving to the next spoke. Keep wrapping all the way around, moving away from the center.
-
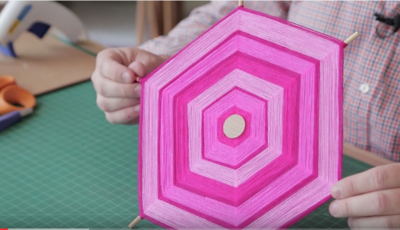
To add a second color of yarn, stop at the point where youd like the colors to alternate. Snip the yarn, leaving a couple of inches of tail on the yarn and align the second color of yarn to that tail. Tie a knot in the two yarns and begin the wrapping process with the new color of yarn. Once the new color is established, you can cut the excess tail from the knot you created. Keep alternating until you reach the one-inch notch you created at the beginning.
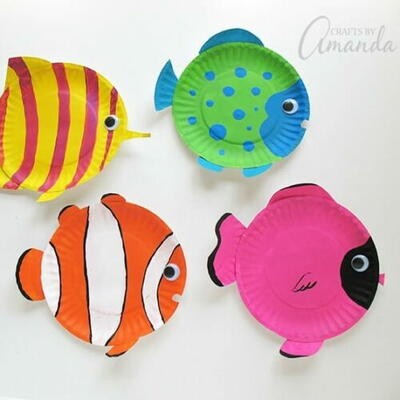
Read NextPaper Plate Tropical Fish
Your Recently Viewed Projects
Thanks for your comment. Don't forget to share!
achumley0003 31706 34
Jul 01, 2017
I am actually surprised and a little overwhelmed by all of the projects on this site that use small amounts of yarn. I now have a new list of projects I really want to make with my yarn that have nothing to do with crocheting or knitting. And this project is one of them. it looks really fun to make and i can't wait to try it. They would be perfect ornaments to give out during Christmas.
Report Inappropriate Comment
Are you sure you would like to report this comment? It will be flagged for our moderators to take action.
Thank you for taking the time to improve the content on our site.

![Gratitude Letter [free printable]](http://irepo.primecp.com/2020/04/444332/gratitude-letter-01_Large400_ID-3654510.jpg?v=3654510)