Girly Repurposed Shirt Dress
Turn an over-sized men's shirt into a Girly Repurposed Shirt Dress with this step-by-step photo tutorial. This easy and fun sewing project encourages you to reuse something inexpensive or already owned.

Materials:
- One man's shirt (L, XL or bigger, depends on your own size).
- Sewing notions – thread, scissors, sewing machine, measuring tape, cutting board, tailor's chalk, straight pins.
- 0.5-1 yard of coordinating fabric for ruffles.
- Pin backing
- Bias tape
- Buttons
Instructions:
-
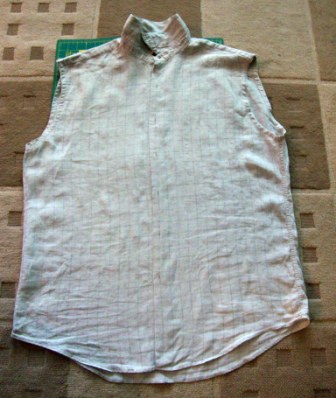
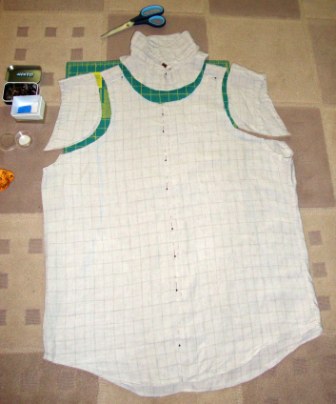
Lay your shirt out, cut the sleeves off, rip the pocket, if it has any, cut off the collar and buttons (or you can leave it and then you will have a shirt-dress, which you can tailor closer).
-
To control the depth of the neck and armholes, lay one of your shirts/tanks/tops on the top of it, and draw around it with tailors chalk. Or if you are a pro - use your favorite pattern for the top.
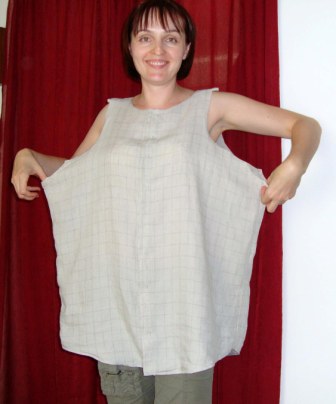
Cut. Pin the shoulders, try on. Mine looked like this at this stage. Wow! I am wearing a tent!
-
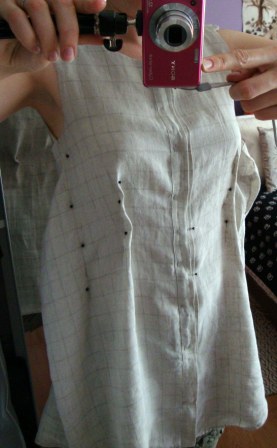
Put it on inside out, pin where you want to cut it - tailor to your body (or dress form if you have one), sew together, cut excess and etc.At this point, if you've decided to leave buttons on (maybe changing them for something fancier later), you can mark vertical darts, starting from the highest points of your breasts, and down, and ones on the back - just to make it fit better. I showed it here.
-
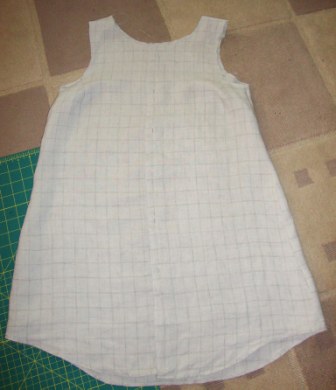
I am NOT making a shirt-dress, I've sewn my button part shut, and left the shirt A-shaped.
-
Next - using bias tape, trim your armholes and sew the tape on. Ignore the pleats on the photo, we are not there yet. ;)
-
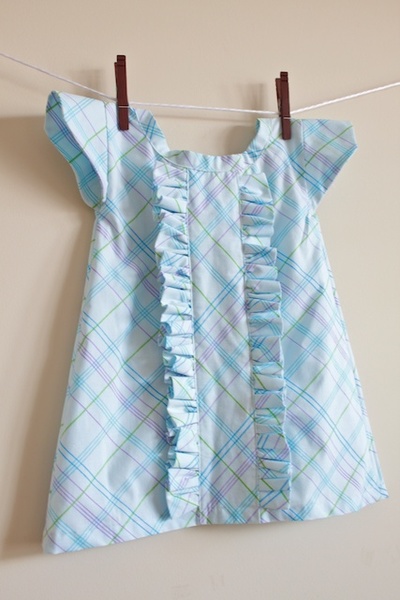
From sleeves cut as many long strips, as you can - that will be your pleats. I didn't do ruffles, because I think that pleats look a bit more sophisticated.
I cut my strips about 3 inches wide, then sewn them together at the short edges, pressed the seams open, and ended up with one long loop. I did satin stitch on one edge of my "ruffle" (to do it set your zig-zag at stitch length = 0.5, and stitch width from 2 to 4, I did 3 and liked it), it will give you nice edge, like one you can see on some lingerie. I also hate hemming and don't have a serger, so I use whatever I can.
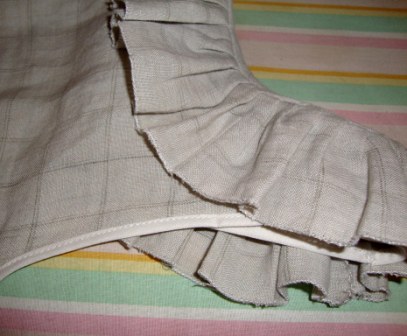
Depending on how many pleats you want, measure your neckline, times 2 or 1.5 = how long you want your strip. Which then I folded in half and pinned each end to the shoulders (my dress inside on the loop), edges of both fabrics should be facing in the same direction, and they should be face-to-face!
Then I marked the center of each part (front and back) and pinned it to the middle of the front/back of my neckline. That way I have equal amount of fabric for each part of the pleated ruffle.
-
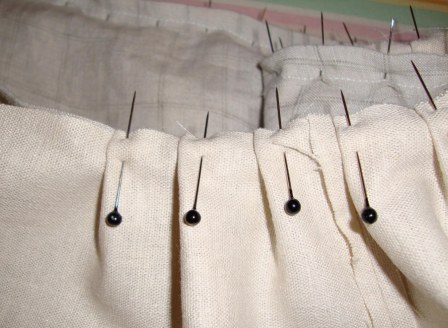
Next - I started to work on my pleats, folding them all in one direction, trying to keep them at the same depth and width. Mind the different fabric in the photo - it is my bottom pleated ruffle, which was made the same way, I just forgot to take picture while working on the neck. Oh, well, I told you, I am not a pro ;). After you are done, fold them down, check on how they lay, adjust, if needed, then stitch them to the neckline.
-
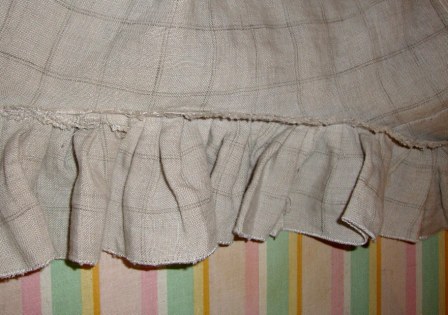
When done, remove the pins (I remove them as I go on my sewing machine), press them flat, carefully making the folds. Try not to pull it down too hard, or your wrong side of the neckline might be exposed. I also did zig-zag on the inside edge of the pleat, and on the other seams, where I thought it was needed.
-
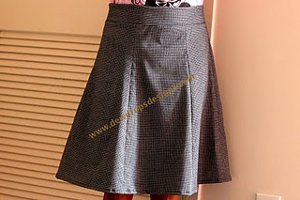
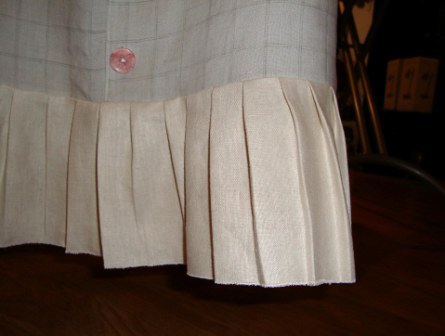
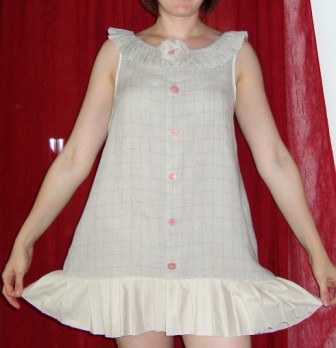
Now cut and hem your bottom part, if you want to leave it like a shirt. You might want to use a belt, but I used a 5.5" ruffle to make it longer (appropriate for wearing like a dress that is even though only with leggins in my case) - fabric was cotton/linen blend, leftover from my floppy hat. I might have made it longer, but I was short on fabric. Anyway - make a ruffle just the way you did on the neckline, only a bit bigger. Sew, fold, press...
-
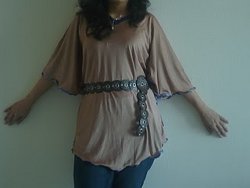
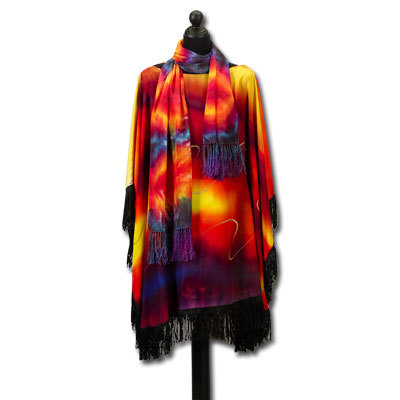
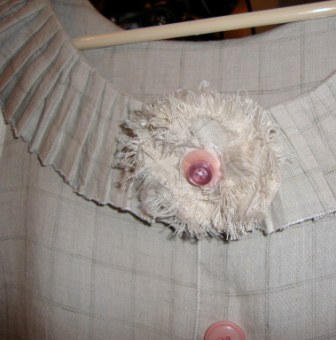
I made a flower-pin (which I can move) from two of my fabrics leftovers with buttons in the middle, then chose more buttons, which I've sewn at the front - just like a decoration. That's it!
-
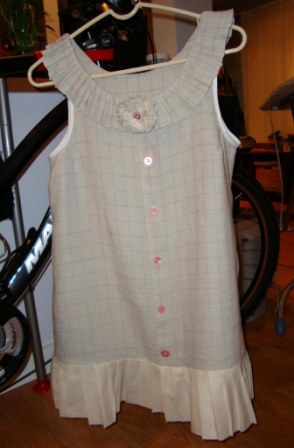
I love it!

See this project and more at Fall Fashion Help: 16 DIY Fall Fashion Trends!
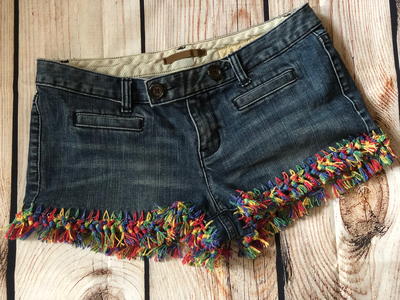
Read NextDIY Upcycled Crochet Jean Shorts
Your Recently Viewed Projects
Thanks for your comment. Don't forget to share!
Debbie Jo
May 09, 2013
Absolutely have to do this. I am very petite and terrible time finding things other than for a 14 year old. Husband has a closet full of shirts he doesn't wear since retiring. Thank you.
ceswri 6765359
Jul 23, 2012
I am so excited to be able to make women's clothing for work that isn't that hot, sticky, too sheer stuff they sell in fabric stores. Remember challis and cottons that were durable and appropriate for working womens' dresses? Great idea!
Chef 16322
Jun 11, 2012
I just love this, I do not have a husband anymore but I want to buy a second hand shirt to make this as a little night gown. You look so cute in it. Nice job
DadySewCoolNYC
May 30, 2011
Very creative, and exciting. I will master this technique, and use it for life.
Knitswift
May 01, 2010
I think this would be a great idea to repurpose some of my own old shirts that I don't wear for work anymore!
Teariana Designs
Jan 07, 2010
I bought a shirt like this for a one time thing, I want to make this but perhaps a wee bit shorter for beautiful blouse, Thanks for the great idea!
bedmaker04
Nov 19, 2009
This would make a really cute nightgown.I am always looking for patterns for nightgowns.Because, of my hiegth,it is hard to find gowns that come down to the desired length.It would also be a sweet little dress for my grand-daughter,also.
Crafter 6109925
Nov 18, 2009
I just got my first sewing machine and this looks like an easy pattern to do. So I think I will be trying this after the holidays are over with. Too much to do right now but I will be doing this for sure. Thank you for this pattern Reta Powers
Crafter 17582
Sep 18, 2009
This looks like a very creative and fun project. I can't wait to try it out. Maybe even a large boys shirt for a little girls dress-) Thank you for sharing it-)
Report Inappropriate Comment
Are you sure you would like to report this comment? It will be flagged for our moderators to take action.
Thank you for taking the time to improve the content on our site.