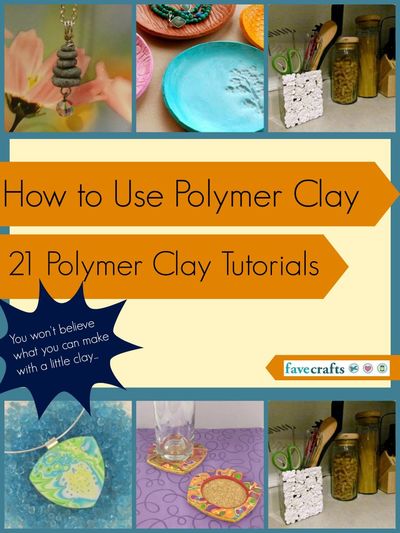
Glitter Clay Beads
Clay expert Marie Segal demonstrates how to create lasting glitter beads for jewelry, gifts, or home accents in this Glitter Clay Beads tutorial. These DIY clay beads don't need varnish and they won't get glitter all over your skin. These beads are great for creating unique jewelry and can be used to make every accessory from necklaces to earrings. Make your glitter beads in a variety of sizes and colors for a collection of accessories that is sure to stand out. You can also use this technique to add a glittery touch to any one of your clay projects.

You can find this project, as well as many other Polymer clay tutorials, in our free eBook, 24 Polymer Clay Tutorials: Polymer Clay Jewelry, Decor and More!

Materials:
- Christmas Red Cernit
- Red Cernit
- 5/16" Round cutter
- Art Institute Ultra-fine Glitter in Cranberry Red- opaque colors work best for me.
- Pasta machine
- Ziploc sandwich baggie
Instructions:
-
Place about a 1/2 teaspoon of glitter in to a baggie.

-
Mix 1/8 block of Christmas Red and 1/8 block of red together until it is one color.

-
Condition and roll out red clay on the thickest setting in the pasta machine.
-
Fold the sheet in half for double thickness or leave a single layer for smaller beads.
-
Cut out double or single rounds with the cutter. By using the round set of brass cutters with plungers and double and single thick sheets in the pasta machine, you can have any size bead you want all the time, every time.
-
Roll all the cut out pieces in to balls.
-
When I made things a long time ago, I could pinch off balls of color the same size almost every time. When I got busy Howard would help, he could not pinch off balls of clay the same size all of the time.
-
Howard came up with this unit of measurements when I was doing mass production to keep all of the pieces the same size and weight back in 1984. I had recipes and codes for the cutters and pieces of each ornament or magnet. Every item had it's own recipe card. I could have someone cutting out pieces and rolling them in to balls for me so that I could slam the pieces together and they would still look like I made them one at a time and individually, and every piece weighed exactly the same weight. This also made it much easier to have people helping me when things got out of hand at holiday time and to train people to help and do the work I was doing. Everyone started as a clay mixer and ball roller. Now that is something to aspire to, eh?
-
Drop one ball at a time in to the bag and shake the bag. The glitter will cover the ball.

-
Add one at a time this way until all the balls are covered.
-
Now lay the bag on your work surface and use the bag to roll the ball to the top of the bag. As you do so you will roll the glitter in to the clay and get rid of any excess before you take it out of the bag.
-
Remove the ball and roll between your palms to press the glitter in to the surface of the clay.
-
Do this with each and every ball.
-
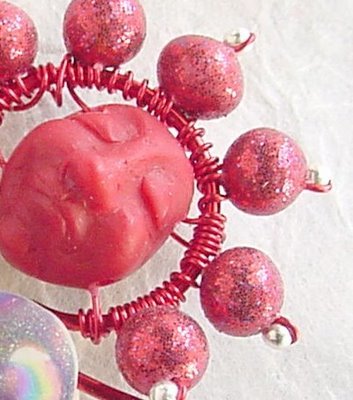
When all the balls are covered with glitter and rolled you can then shape them in to different shapes, balls, hearts and flattened ones.

-
Bake in a pre-heated 275 degree oven for 30 minutes shut of the oven and let cool.
-
I drill the holes as I need them with a wire bit and a hand drill. I do not coat my beads with a varnish.
-
When I make brown glitter beads I use the closest color of Cernit that I can find.

-
When I do purple Beads...

-
And aqua beads.

-
Here is a picture of a Necklace I did in the late 80's with another glitter, it is no longer available. This is fimo classic and the glitter is holding up fine with no coating.

- The Art Glitter is actually a better glitter for this technique because it is a much smaller cut. These glitters are made for fabrics and will hold up to the heat of the oven. Other glitters have a lower melting temperature and will look bad after baking. Unless of course that is exactly what you are looking for.
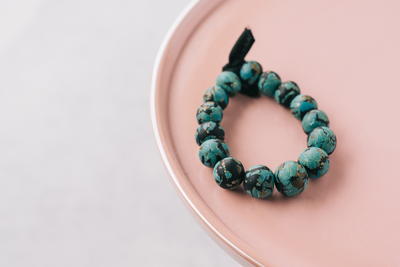
Read NextHow to Make Faux Turquoise Beads

Thanks for your comment. Don't forget to share!
Mixed Kreations
Oct 21, 2011
Great tutorial. Thanks for sharing. I really like the brown, aqua, and ecru colors. Thanks, Linda @ Mixed Kreations
Rosa Marie
Mar 05, 2011
I want to make 18mm beads without glitter any ideas where or how to make 18mm beads? Thanks, Rosa Marie
horserider4god 323 8450
Nov 04, 2010
wow my favorite one is the aqua beeds i thought they were just very easy to make
Hondar
Aug 18, 2010
What is Cernit and where can I find it? Where did you get the face in the center? Did you make it or buy it? How? Where? I love the directions and idea.
I love crafts from NY
Jun 25, 2010
I also found the detail great. Even I was able to understand for the most part, but is Cernit a kind of clay? And what did you mean when you said before the pictures "when I do purple beads and aqua beads"? Are you saying that you use the color of clay to determine the finished color of the bead? and do you use a mixture of colors of glitter to achieve say the purple ones? Thanks for the tip of "mass production & recipe cards" and of the "recipe" of using glitter for the beads to achieve different looks. I will try it!
miche
Jan 09, 2010
i found the pictures really helped me to understand the process of making these beads.i do have a question if anyone can tell me. what is Cernit? i assume it is the name of the clay is that correct? i have never heard of it. thank you
sistersheba
Nov 12, 2009
I really appreciate the detail of the instructions, especially the last tip! Thank you! I think I'll cover some ornaments and do a little holiday mosaic....
Report Inappropriate Comment
Are you sure you would like to report this comment? It will be flagged for our moderators to take action.
Thank you for taking the time to improve the content on our site.