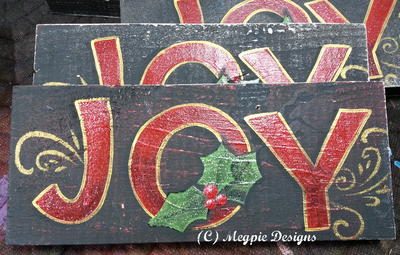
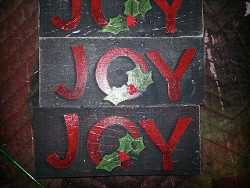
Wooden Joy Sign
Fun Christmas crafts come in all shapes and sizes, as you'll see from this Wooden Joy Sign. Find out how to make homemade Christmas decorations like this one by reading through this tutorial. This is a joy to make. You can stencil and paint towards a beautiful Christmas craft which will look charming hung up. Spread the joy and try your hand at this design. DIY Christmas decorating was never quite this involved or fun.

Materials:
- Wood Plank 8" long
- Acrylic Paints: Black, Red, Green, White, Metallic Gold, Extreme Glitter Red
- Extreme Glitter Green
- Sanding Block
- Stencil (Swirls Design)
- Paintbrushes
- Tracing Paper, Marker, Transfer Paper, Stylus
- Power Drill and Wire for hanging
Instructions:
-
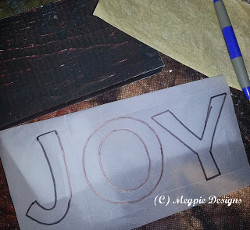
First, sketch design onto white paper with a pencil.
-
Next, lay a piece of tracing paper over white paper drawing, and use a Sharpie marker to transfer clean lines to the tracing paper.
-
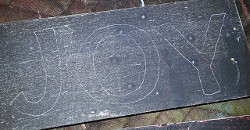
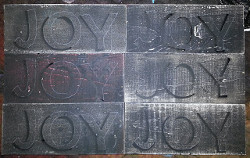
Paint the wood plank black.
-
Use a sanding block to lightly sand across the surface of the plank.
-
Use light colored transfer paper and a stylus to transfer pattern to the painted plank.
-
Shade around the left and lower sides of each letter using black paint.
-
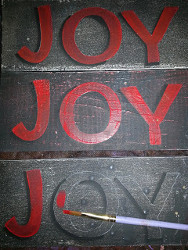
Next, base coat the letters with red paint. It can take two coats to achieve opacity.
-
After the red paint dries, paint one coat of Extreme Glitter Red over each of the letters.
-
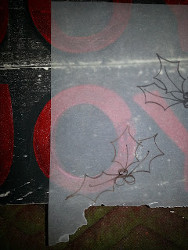
Next, sketch a few holly leaves onto a piece of tracing paper. This way, you can twist and turn the pattern and still see the design underneath; so you'll have a good idea of exactly where you want to place the holly leaves.
-
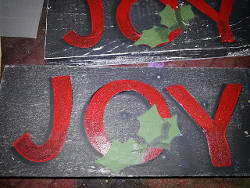
Use transfer paper to add the leaves. Paint the holly leaves green.
-
Next, add a small amount of black paint to green puddle of paint so that you can shade each of the leaves.
-
Add a small amount of white paint to green paint to make a lighter shade of green, so you can highlight the leaves. You could use three shades of green in the same family instead of adding the black and white paint.
-
Shaded behind the leaves with black paint, so they appear to be attached to the front of the letters. Paint a center stripe down each holly leaf, and shade the "back" leaf a little more heavily so it appears to be behind the other leaf.

-
Next, I add a coat of Extreme Glitter Green to each of the leaves and allow it to dry completely.
-
Dip the handle of one of your paintbrushes into a puddle of red paint.
-
Dot the berries onto the leaves. To create same-sized dots, dip your paintbrush handle into the paint before dotting each time. To create smaller dots, dot two or three times before dipping your paintbrush handle back into the paint.
-
Stencil a few swirls onto the sides of the plank with gold metallic paint, and highlight each berry with a small amount of white paint. Finally, coat the berries with Extreme Glitter Red.
-
Outline letters with gold metallic paint.