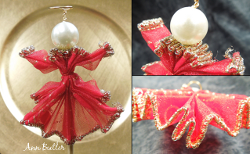
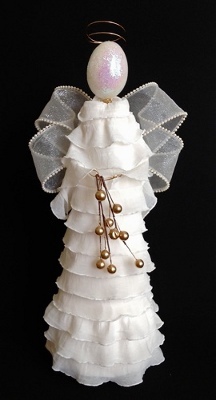
Wire Ribbon and Pearl Angel
If you're looking for fun wire craft ideas, look no further than this quick and easy tutorial. Make a Wire Ribbon and Pearl Angel from Ann Butler that can be worn or displayed all year long. With only a few supplies, you can create this fun and dainty piece.

Materials:
- 1 ½” – 2” wired ribbon – one 10” and two 4” lengths
- 12 mm pearl bead
- 18 gauge Wire
- Aleene’s Fast Grab Tacky Glue
- Scissors, Wire Cutter, ½” dowel
Instructions:
-
Pleat ribbon ¼” – ½” for the entire length (10” section is the body, 4” sections are the wings).
-
Wrap wire around dowel to create halo, cut leaving 2” stem; put the bead onto stem.
-
Find the center of the body, add a drop of glue and place stem of halo in place; let dry.
- Place wings halfway up on either side of body. Use wire to wrap in place, spread wings and body out.
Notes:
- This can be done with various widths of ribbon just adjust the bead for head accordingly.
- Try this with paper lace, lace, fabric and other materials.
- Use a wooden bead in place of pearl bead for head.
- If using fabric stiffen it first with Aleene’s Fabric Stiffener
- Use pipe cleaners for the halo
- Add a pin back for a pin
For a comprehensive video tutorial of this project, check out How to Make a Wire Ribbon Angel Ornament.
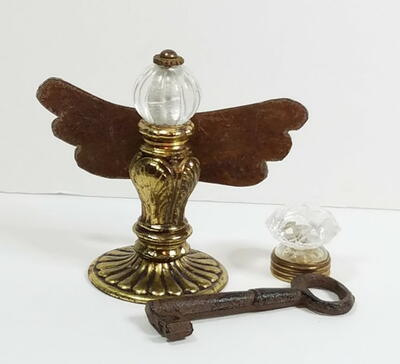
Read NextRepurposed Lighting Antique Angel