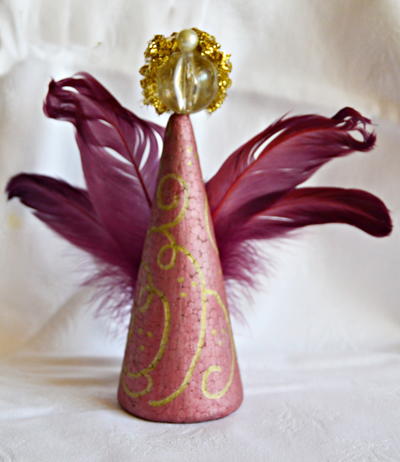
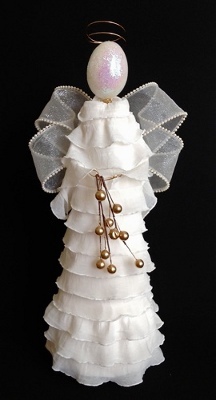
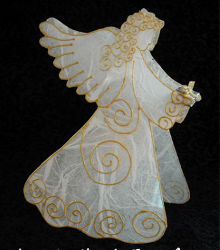
Angel Candle Cover
Use the reverse decoupage technique to create your own Angel Candle Cover from Heidi Borchers. Angel Christmas crafts are a traditional yet fun way to decorate your home. This craft can also be displayed on a tabletop or Christmas tree.

Materials:
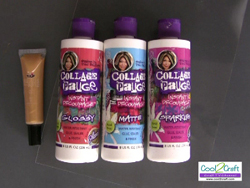
- Aleene’s Collage Pauge Instant Decoupage – Sparkles
- Tulip Beads in a Bottle
- Tape (clear) to create small tip nozzle
- Scissors
- Paint brush
- Shrink plastic – clear (two pieces approximately 8-1/2″ x 11″ for each angel)
- White tissue paper
- Small gift wrapped present (I created mine by cutting a piece of foam board, wrapping it with aluminum foil and tying with gold bow)
- Votive (glass)
- Electronic tea light
Instructions:
-
There are several different choices of Aleene’s Collage Pauge Instant Decoupage. I chose Sparkles for this project because I wanted the sparkle of glitter. I am also using Tulip Beads in a Bottle in a non-traditional way! This product is a super cool way to add beads of paint to your projects but I like to add a finer tip and use my Beads in a Bottle to draw thin lines.
-
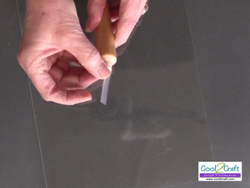
To create a temporary tip on the Beads in a Bottle, cut a piece of tape approximately 1/4″ wide by 1-1/2″ long. Press the end of the tape onto the side of the tip and begin to turn the tube in your hand.
-
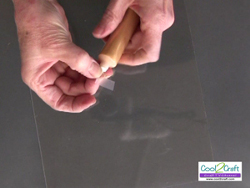
The tape will wrap up and back down again to form a tip.
-
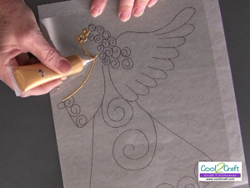
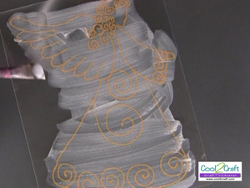
Place pattern on work surface. Lay plastic on top of pattern (USE PATTERN OF YOUR CHOOSING). Trace over pattern lines with paint.
-
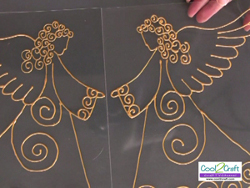
Reverse pattern and trace another design in reverse onto second piece of plastic. Let paint dry completely.
-
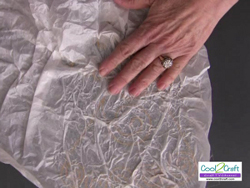
On wrong side (back side) apply an even coat of Aleene’s Collage Pauge over entire design. Be certain that you brush Collage Pauge up to and over outside lines of design.
-
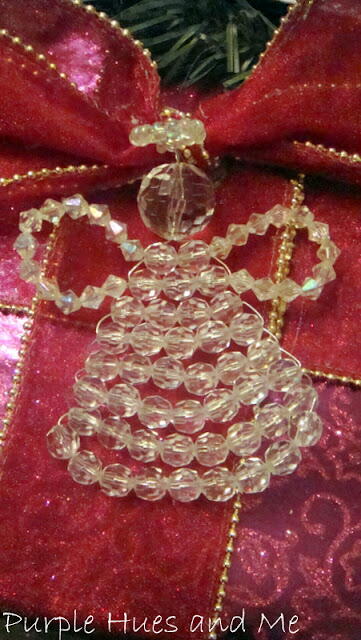
Press tissue into loose ball to form wrinkles. Gently press wrinkled tissue into wet Collage Pauge. Repeat to create second angel. Let dry completely.
-
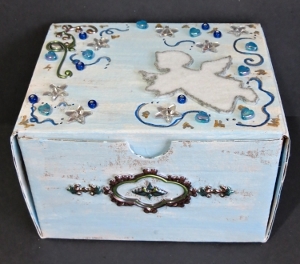
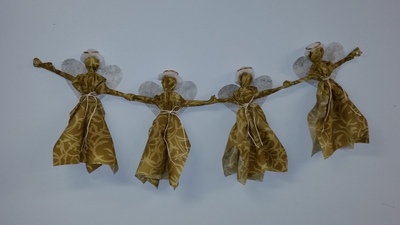
In the close-up photo below, I glued a package between both angel pieces. Just apply glue along the hand lines and press package in place.
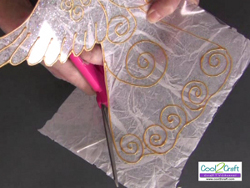
-
You can pre-purchase mini wrapped packages at your local craft store or make one yourself. I cut two pieces of foamboard, glued them together, wrapped them with aluminum foil and tied on a gold bow.

-
These electronic tea lights I found at the dollar store are super cool for this project. No need to worry about a candle flame!
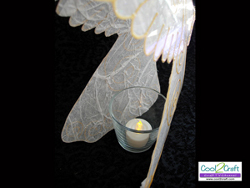
For a comprehensive video tutorial of this project, check out How to Make an Angel of Light Candle Cover.
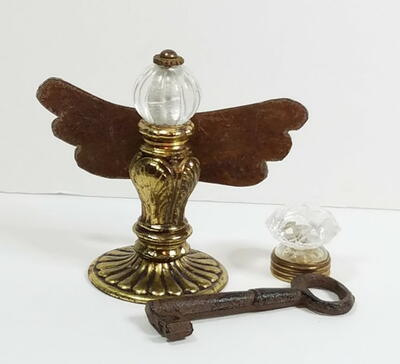
Read NextRepurposed Lighting Antique Angel
Your Recently Viewed Projects
Thanks for your comment. Don't forget to share!
thuebner67 3426591
Jul 14, 2012
i love this project but where do you get the pattern to do it.
Melissa Ryan
Jul 16, 2012
Hi! There wasn't a pattern with this project...so you can use whatever image you'd like. If you search for Angel Patterns in Google, you might be able to find something.
Report Inappropriate Comment
Are you sure you would like to report this comment? It will be flagged for our moderators to take action.
Thank you for taking the time to improve the content on our site.