Cactus Congratulations Card
You'll make anyone feel appreciated, loved, and valued with one of these quirky and adorable handmade congratulations cards.

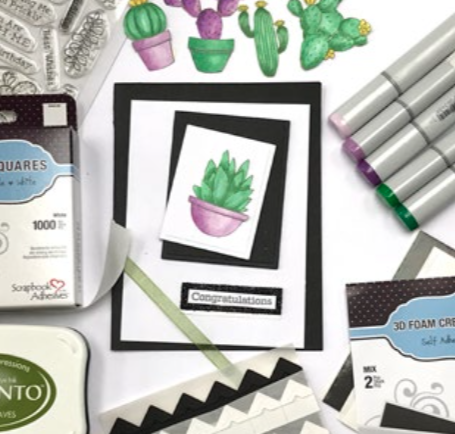
Maybe your niece just won her swim meet, or maybe your husband got the promotion he's been gunning for. Whatever the occasion, you'll want to celebrate it in style with this ultra-cute DIY congratulations card by Scrapbook Adhesives by 3L! With a sweet succulent on its front and suave glitter detailing, this is the best free design you'll find for handmade congratulations cards. It's a cinch to make, too. A die-cut design will ensure that each cut edge is crisp while your personal style will make the cactus marker design come to life. Whoever receives this congratulations card is guaranteed to feel extra proud of their accomplishments, and they'll even have a quirky keepsake to preserve the moment!
Time to CompleteUnder an hour
Primary TechniquePaper Crafts
Project or Page SizeCard
Type of Paper UsedCardstock

Project TypeMake a Project
Materials List
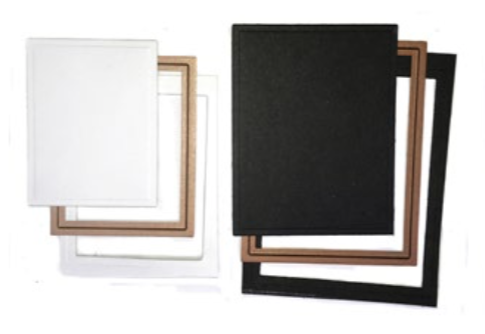
- Scrapbook Adhesives by 3L® 3D Foam Creative Sheets
- Scrapbook Adhesives by 3L® Mounting Squares White
- Scrapbook Adhesives by 3L® Mounting Squares Clear Half-Size
- Scrapbook Adhesives by 3L® Creative Photo Corners White
- Scrapbook Adhesives by 3L® Creative Photo Corners Black
- Stamps: My Favorite Things Sweet Succulents
- Ink: Imagine Crafts Memento Ink, Bamboo Leaves, Tuxedo Black
- Markers: Copic Markers, greens and violets
- Dies: Spellbinders Classic Rectangles LG
- Cardstock: White, Black
- Glitter: Black
- Ribbon: Green
Instructions
-
Cut black cardstock to 8 1⁄2 x 5 1⁄2-inch to create a side fold card base. Cut white cardstock to 3 3⁄4 x 5-inch for main card panel. Set aside.
-
Trim a piece of white cardstock to 2 1⁄2 x 3-inch. Trim white 3D Foam Creative Sheet to 2 1⁄2 x 3-inch. Remove one liner and adhere cardstock to Creative Sheet.
-
Trim a piece of black cardstock to 2 3⁄4 x 3 1⁄2-inch. Trim black 3D Foam Creative Sheet to 2 3⁄4 x 3 1⁄2-inch. Remove one liner and adhere cardstock to Creative Sheet.
-
Die-cut with rectangle dies in nesting sizes.
-
Remove the back liner from the white rectangle and add Creative Photo Corners Black to each corner. Slightly pinch the edges of the Photo Corners to cup them so they don’t catch the adhesive on the Creative Sheet. Position white rectangle centered onto the black rectangle.
-
Remove the back liner from the black rectangle and add Creative Photo Corners White to each corner. Slightly pinch the edges of the Photo Corners to cup them so they don’t catch the adhesive on the Creative Sheet. Position black rectangle centered but to the top third of the white panel.
-
Wrap a green ribbon near the bottom of the card panel, secure with Mounting Squares Clear at both ends. Trim ribbon edges to fit card panel.
-
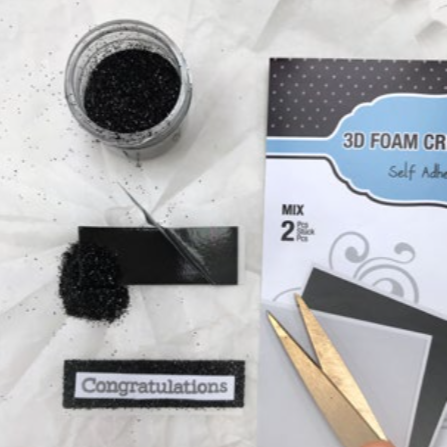
Trim a piece of black 3D Foam Creative Sheet to 1⁄2 x 2-inch. Remove top liner and cover with black glitter.
-
Stamp “Congratulations” onto white cardstock with black ink. Trim a piece of white 3D Foam Creative Sheet to the size of the white stamped piece. Remove top liner and adhere paper to Creative Sheet piece. Now trim the Creative Sheet + sentiment close to the sentiment. Remove the back liner and adhere over the glittered piece.
-
Remove the back liner from the black glittered piece and center over the ribbon on the
card panel. -
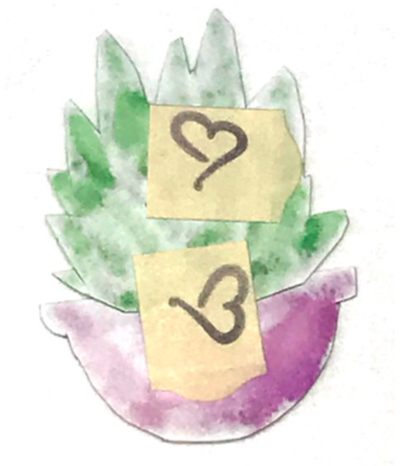
Stamp cactus and pot images onto white cardstock with green ink. Color with markers. Trim with scissors and match up desired cactus with pot. On the back side, adhere the pieces together with Mounting Squares White to overlap both pieces. Add additional Mounting Squares as size dictates.
What's your favorite reason to send congratulations cards? Let us know below in the comments!
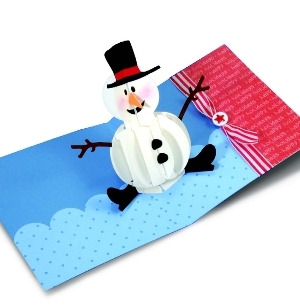
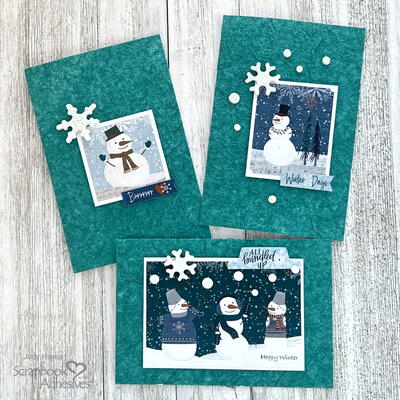
Read NextWinter Snowman Note Cards Tutorial