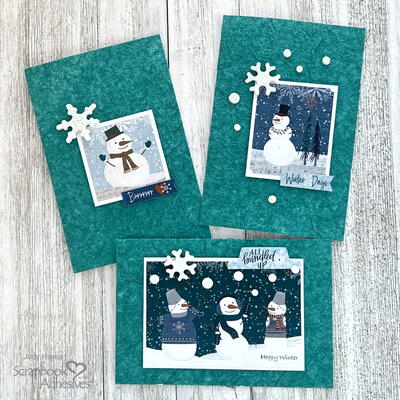
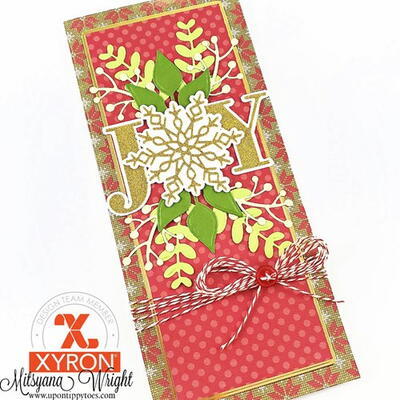
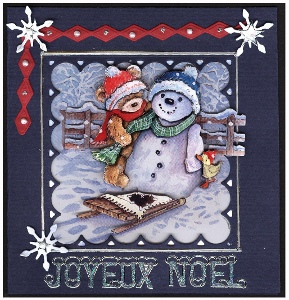
Bear and Snowman Card
When it comes to Christmas cards, handmade is always better! Make this adorable bear and snowman card for a loved on to wish them a "Joyeux Noel" this year.
Materials:
- Standard red and light blue card stock
- Tacky glue
- Two sided tape
- Reddy 3D Pre-cut Sheet ‘Popcorn the Bear’ (402870)
- Card/Envelop Package (4) (K4099-25)
- Transparent Glitter Stickers Joyous Noel (555GG)
- Silver Straight Lines Sticker (1082S)
- Marianne’s Creatable Snowflakes Die (LR0123) and die LR0112 (for smaller snowflake)
- Joy Craft Die (60020013)** for red strip
- Nellie’s Multi Frame ‘Square’ (MFD006)
- White Pearls (60020001)
- Foam Pads (65000002) (1.5ml x 5x5)
Instructions:
3D Sheet:
- Decide which picture you want to create from the 4 different possible cards you can make. Note: one sheet is used for the base picture the other sheet has all the layers to it.
- Press out all the 3D pieces associated with the image you have chosen.
- Follow the step by step numbers stacking the pieces beginning with the largest image marked 1.
- Use the foam pds between layers to create the three-dimensional paper tole effect. And set aside until later.
Card Aperture:
- Create the opening on the front of the card using Nellie’s Square Multi Frame die with your die cutting machine and at the same time you can also cut out the snow flakes and red decorative strip.
Creating Your Cardfront:
- Open your card and attach the corresponding base image to the back of the opening with glue or tape.
- On the front of your card create a border around the outside of the aperture using the silver sticker lines.
- Now take the layers you had set aside and attach it to the base image from the front of the card using more foam tabs. Note: the right side of the fence should overlap the frame line a little.
- Add the Joyous Noel sticker or a greeting of your choice to the bottom of your card.
- Next arrange the snowflakes and creative strip you had cut out along the top of your card.
Finishing Your Card:
- Add glitter stars from the Noel sticker to the center of each of the snowflakes and top off with a white pearl accent.
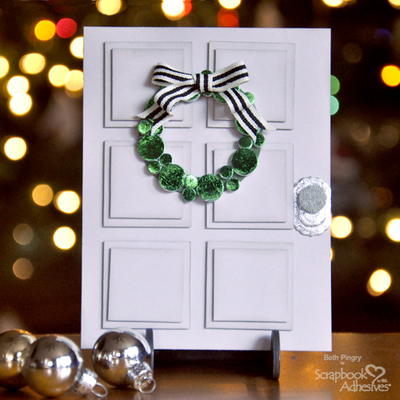
Read NextChristmas Door DIY Greeting Card