Fillable Frames Bracelet
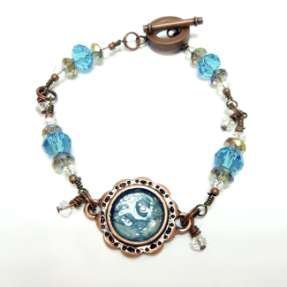
Make your jewelry personal by adding special photos, text, or embellishments using fillable frames from the Signed, Sealed, and Remembered line. There is also a tutorial for making a matching necklace to this Fillable Frames Bracelet. This bracelet is a Jenny Barnett Rohrs for Consumer Crafts design.
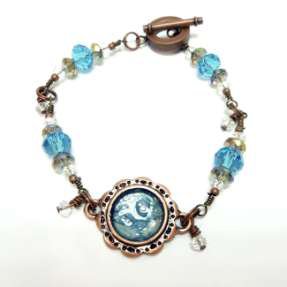
Materials:
- Signed, Sealed and Remembered antique copper fillable frames SSR-028
- Aileen’s paper glaze DC30-15
- 7 Strand Beadalon® wire in bronze finish WC045378
- Darice® antique copper findings starter kit 1972-08CP
- Scrapbook paper, text, or ephemera of your choice to fill the frames
- Darice® crystal aurora borealis cut glass rondelle bead strand 1991-80
- Darice® fire polished, Czech glass rondelle bead strand in aqua 1999-M200
- Darice 4 x 6mm silver faceted glass spacer bead strand 1999-2345
- Wire Cutters 1893-05
- Needle Nose Pliers 1893-13
- Round Nose Pliers 1995-11
- ½ inch hole punch, or compass for drawing circles
- Ruler
- Scissors or craft knife
Instructions:
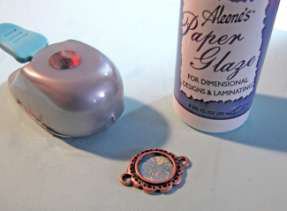
- To begin, you’ll want to select text or paper for your frames. Using the hole punch, punch out the image or text you’d like to use for the round frames. (Alternatively, use a ruler and a drawing compass to create circles slightly larger than ½ inch and use a craft knife or scissors to cut them out.)
- Using Paper Glaze, glue the paper into the bezels and top off to the top of the frame. Using a ruler and craft knife or scissors, cut your text for the rectangle frame. Allow these to dry overnight.
- Next, make 4 wrapped loops using your small clear beads and the copper head pins included in the Darice Findings Caddy.
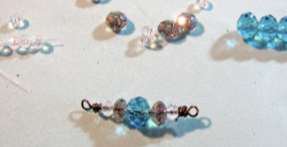
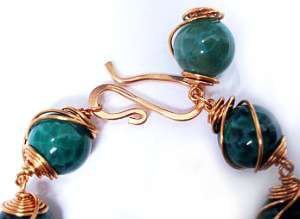
- Then, make wire beaded “stations” to form your bracelet. (I needed four.) First, cut alength of wire about 5 inches long. Using your round-nose pliers, make a wrapped loop.
- Then thread on your beads in the following order: aurora borealis bead, silver rondelle, aqua rondelle, silver rondelle, aurora borealis bead. Finish off with another wrapped loop. Repeat 3 more times. Now you can assemble your bracelet!
- Attach a wrapped loop component to each side of your bezel using a jump ring. Before closing the ring, thread on one of your small wrapped loop dangles. Then add the subsequent beaded components to each other in the same fashion. Lastly, add your clasp using jump rings, too.
Looking for the matching necklace? You can find it here.
Find this and other projects like it in our "Jewelry For You" free eBook from Consumer Crafts and Crafts Unleashed!
Read Next27 Friendship Bracelet Patterns
Your Recently Viewed Projects
mulberrygalprinces s
Jul 05, 2016
What a marvelous idea. To have a stylish bracelet yet a memorial one too. The directions looked long but after reading thru them they seem fairly easy. I will give it a try. I usually work with cord so this may prove challenging. But what's life without a challenge? Thanks for sharing.
Report Inappropriate Comment
Are you sure you would like to report this comment? It will be flagged for our moderators to take action.
Thank you for taking the time to improve the content on our site.

