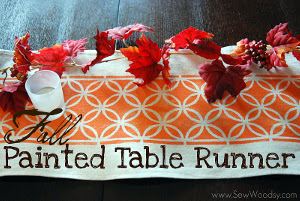
Fall Table Runner
Make your table seasonal with a beautiful hand painted decorative table runner. Warm up and make your home feel a little cozier.
Materials:
- Drop Cloth, Scissors, Painters Tape, Parchment Paper
- Sewing Machine, White Thread
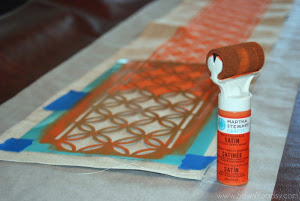
- Martha Stewart Crafts™ 2oz Multi-Surface Satin Acrylic Craft Paint – Carrot
- Martha Stewart Crafts™ 6oz Tintable Fabric Medium
- Martha Stewart Crafts™ Arabesque Laser-Cut Stencils
- Martha Stewart Crafts™ Roller Tops
Instructions:
- First, lay down a long piece of parchment paper (or newspaper). You’ll want something to protect the bottom surface of which you will be working on. My paint went through the drop cloth and if I had not lined my project with a protective piece of paper it would have ruined my counter top surface.
- Iron the desired amount of drop cloth you’ll need for the project, and then proceed to hem the table runner with a sewing machine. I used the end of my drop cloth so I only needed to hem one side. However, after painting the drop cloth I realized how uneven the existing hem on the drop cloth was. You might want to hem all four edges yourself.
- Next, position your stencil where you want it to be. Secure it with a few pieces of painters tape. Now, prepare your paint mixture. You will want to mix 1 part medium to 2 parts paint. (Since my paint was half way finished I mixed everything in the existing bottle; however, if your project won’t require a full or half bottle of paint I suggest you mix it in one of the empty bottles that comes with the roller tops kit). Now, you can begin to carefully roll the paint on to the stencil.
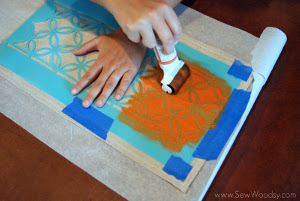
- After you finish painting a section carefully move the stencil to match the pattern and paint some more. Make sure you are covering the fabric generously with paint. *And, yes, I’m painting this project on our pool table! It was the longest possible space that I could use and spread out. If you don’t have a pool table (or an extremely large table) you could always use the floor!
- I wanted to end the pattern the same way I started it. You’ll notice my stencil has overlapped one-third of the already painted fabric. That’s totally ok. The goal is to end where you begin. I also want to note how much I love the new roller tops. This makes painting stencils 100 times easier–glides easily and distributes paint evenly.
- Now, let your finished painted table runner rest for 24-hours.
- After your painted table runner has rested (and dried) for 24-hours you can heat set the fabric paint. I had never heard of heat setting until I was introduced to these paints. What heat setting does is make the paint permanent and washable. Using a piece of light weight fabric (like muslin as pictured) place it over the painted table runner. Place your iron (on high setting) on top of the muslin and keep on for 10-15 seconds. In fear of burning my projects I would keep the iron constantly moving; maintaining around 15 seconds on each area.
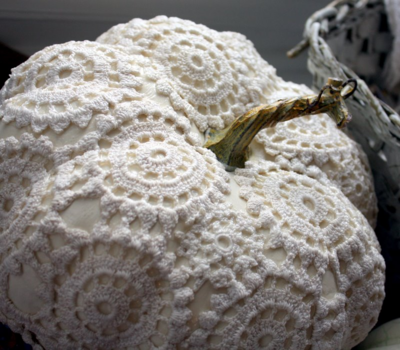
Read NextVintage Doily Pumpkins
Your Recently Viewed Projects

Thanks for your comment. Don't forget to share!
JessicaSalvers11 9 991268
Aug 26, 2013
Since I started with my online business I earn $62 every 15 minutes. It sounds unbelievable but you wont forgive yourself if you don't check it out. http://qr.net/kPeb
Report Inappropriate Comment
Are you sure you would like to report this comment? It will be flagged for our moderators to take action.
Thank you for taking the time to improve the content on our site.