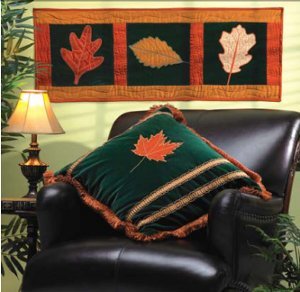
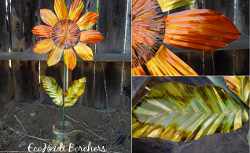
Dancing Leaves Pillow
Learn how to make a pillow to decorate your home for Autumn with this fall craft project from Baby Lock. The dancing leaves pillow can be made easy using embroidery.

Materials:
- MasterWorks II from Designer’s Gallery™
- Baby Lock® sewing and embroidery machine
- Green velveteen fabric
- Orange silk dupioni
- Baby Lock Tear-Away Stabilizer
- Temporary spray adhesive
- Trims to match
- 18″ Pillow form
- Sewing and embroidery thread
- General sewing supplies
Instructions:
At the computer:
- Open the program by clicking on the MasterWorks II
 icon on the desktop.
- Click on the Backdrop
 tool on the left toolbar. To retrieve the leaf image, follow this path: Designers Gallery/MasterWorks II/Images/clip art cd/seasonal/black and white. Select Seasonal_6 and click on Open to place the image on the workspace as a backdrop.
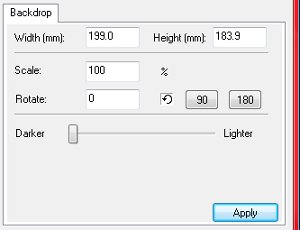
- In the Properties field, resize the image by changing the width to 199mm.
- In this step we will use the Line drawing tool and draw the needed shape based on the backdrop image.
Click on the down arrow next to the Pen tool and from the fly out select the Line
  tool.
tool.
Starting at the base of the leaf, left click and place the first point.
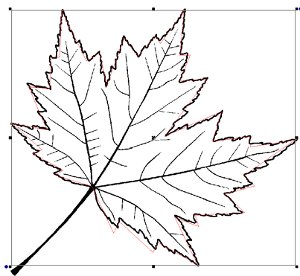
Place the second point to the left of the first point. Do not follow each jag on the backdrop leaf. It will not give you a good appliqué look. Continue around the leaf placing points that define the shape (as shown in the illustration below). The red line (that is shown in the illustration) is the line that was drawn. Follow the arrows as an example of the drawn path.
End by placing the last point on top of the first point. The stem and veins on the leaf will be drawn later.
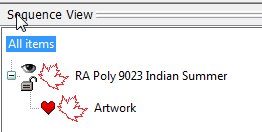
Right click on the mouse to produce the artwork shape. The artwork will be displayed under Sequence View.
- Select All Items under the Sequence View.
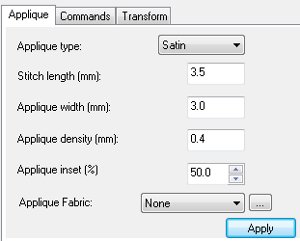
- To apply the Appliqué to the shape, click on the Appliqué
 icon on the Stitch Effects toolbar.
- In the Properties field change the Width to 3.00mm and click Apply.
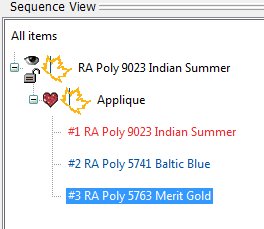
- To change the color for the appliqué, click on the “Plus” symbol next to the second leaf shown under Sequence View. Click on the last color in the drop down and select any gold color from the Color Palette.
- To draw the stem and the veins, click on the Line tool.
Place the first point at the bottom of the stem and then place several points on top of the stem to define the shape. The last point placed will be at the tip of the stem. Draw the other four smaller veins using the same tool.
Select all of the 5 segments under Sequence View.
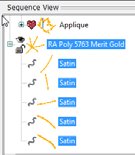
To apply stitches to these segments, click on the Satin Fill icon on the Stitch Effects toolbar.
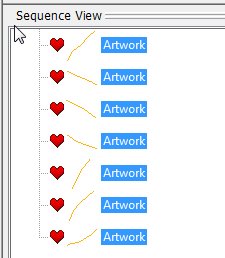
Using the Line tool again, draw the small veins on the leaf. Draw the lines. In the sample there were 10 lines drawn.
Select all of the Artwork lines.
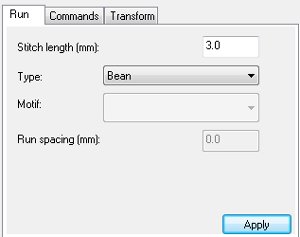
To apply the stitch to these segments, click on the Run icon on the Stitch Effects toolbar. Change the Run stitch Type to a Bean stitch in the Properties field and click on Apply.
- To reorganize the sewing order of the stems and veins, select those areas on the design. Click on Sequence
 on the top toolbar. The reorganization will automatically be applied to the design.
- The design is complete. Click on Print Preview
 and follow the prompts to print out a template of the design.
- Click on File Save As and save as a Working File format (.blf). Then, save as a .pes file to the media device that your embroidery machine will read.
At the Sewing and Embroidery Machine:
- From the green velveteen fabric, cut out two pieces 20″ square.
- On the pillow front determine the center of the section and mark with a cross mark.
- Pin the printed template over the center cross mark.
- Hoop the tear-away stabilizer and spray with the temporary spray adhesive.
- Place the templated velveteen fabric section over the center mark on the hoop, using the cross marks on the template and the marks on the hoop as your guide.
- Place the hoop on the machine.
- Merge the design onto the embroidery machine’s workspace. Center the needle over the cross marks on the template. Remove the template.
- Embroider the design using thread colors of your choice. When the machine stops be aware of the placement, tack down and appliqué color stops to perform the necessary actions. Use the orange silk dupioni as the appliquéd fabric.
- Remove the pillow top from the hoop.
- Apply trims to the top at this time. A flat trim was placed on each side of the leaf design and a moss trim around the outer edges of the pillow top. Sew the flat trim and baste the moss trim to the pillow top.
- With right sides together, sew the front and back sections together leaving an 8″ opening for turning.
- Trim the corners and turn right side out.
- Tuck the pillow form inside the pillow.
- Slip stitch the opening closed.
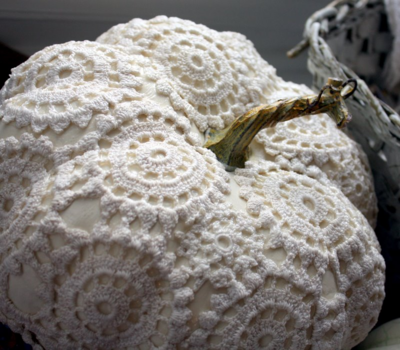
Read NextVintage Doily Pumpkins