Clown Clay Pots
These clay pots are a a great craft for the kids to help out with. Painting can be so fun; let them design the face. In seven easy steps these clowns can be a perfect decoration for a child's birthday party.

Materials:
- Small wooden ball (flat on 1 edge)
- 2-1/2 in. clay pot
- 2 in. clay pot
- Several colors of acrylic craft paint
- Wooden skewers
- Sand paper (if needed)
- Small and medium paint brushes
- Small for details and medium for bigger detail
- Tall jar or bottle
- Decoupage glue
- Pencil
Instructions:
-
Paint the pots and ball, white or off-white. This will be the face color too. Let dry (about an hour).
-
Choose your "hair" color, like a clown, red or pink. Turn the pot upside down, and paint on your "hair" plain or in a curly style, about half-way around the pot, (does not have to be exact) and down to the edge of the pot. Let dry. *Note: it is OK if your ruffles or "hair" overlap
-
Choose your colors for the ruffles, about 3 colors works well. Start your ruffle and go all the way around in a "swirly" design. (You can continue with the next color, using the same design, but it is best to allow drying time, so there are no smears).
-
While waiting for drying time, work on painting the clown "hat". Use the 3 colors of the ruffles and paint the"bottom" (remember the pot is upside down) , paint on some circles, dots or squiggly lines or a little bit of all. The design can be painted on with a small brush or the wooden skewers can be used. Let dry.
-
Paint the wooden ball too. I used a wooden skewer and put the ball on the end, that way you can hold the skewer and turn to paint and it can dry there too.
*Be careful, make sure the ball does not fall off while painting. Go slow.* Put the skewer with ball on it, in a tall jar or bottle to dry.
-
I used a "+" design for eyes and painted on a red nose and mouth with a skewer. It takes a little longer to do, but its easier than a paint brush. Add pink cheeks if you want to. Let dry.
-
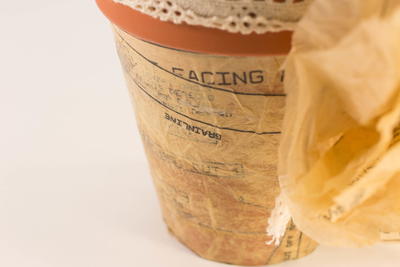
Everything should be totally dry before you put on your decoupage glue. When all the pieces are dry, put on a coat of decoupage glue and let that dry. Add some glue to the edges of the "hat" and place on top and glue the ball on top. Let everything dry really well so there are no smears and pieces don't move around. (Check the labels on your paint and glue for drying times.)
Notes: Try to purchase pots with no rough spots, cracks or big blemishes, but if they have any of these just sand it a little.
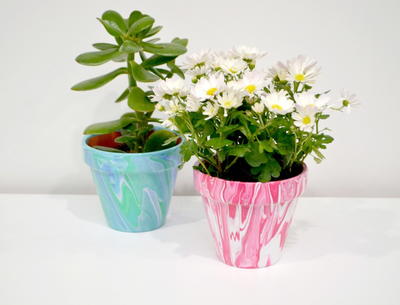
Read NextPaint Poured Marbled Flowerpots
Your Recently Viewed Projects

Thanks for your comment. Don't forget to share!
Report Inappropriate Comment
Are you sure you would like to report this comment? It will be flagged for our moderators to take action.
Thank you for taking the time to improve the content on our site.