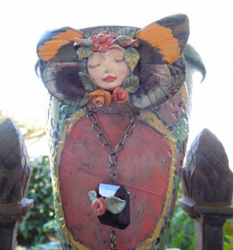
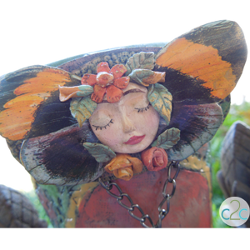
Floral Fairy Clay Pot
This Floral Fairy Clay Pot from Heidi Borchers is the perfect way to celebrate spring. Make one of these clay pot crafts using paper doilies and paint. You can create a vintage look for this delightful garden craft by using a dry brush technique. Decorate each pot differently using unique embellishments like butterflies, fairies, and jewelry pieces. This is a fanciful way to upcycle those baubles you haven't used. Place a few of these precious pots in your garden to create a magical landscape.
Looking for great inexpensive modern home decor like this? Check out all our modern decor craft ideas on Favecrafts!

Materials:
- Aleene’s Original Tacky Glue
- Aleene’s Spray Acrylic Sealer – Gloss
- Clay pot (size of your choice)
- Paper doilies – round
- Clothespin (or paper clip)
- Cardboard squeegee (2-1/2″ x 1-1/2″)
- Scissors
- Acrylic paint – black, plus colors of your choice
- Paint brush
- Paper towel
- Embellishments (bread dough flowers and leaves, butterfly wings, jewelry parts, jewelry chain)
Instructions:
-
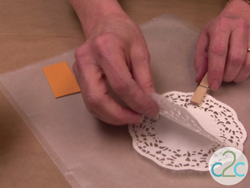
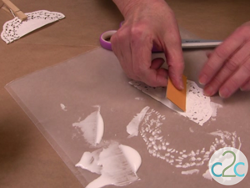
Keep your doilies layered when removing from the package. Carefully lift 3 doilies and keep them aligned by clipping with clothespin or paper clip.
-
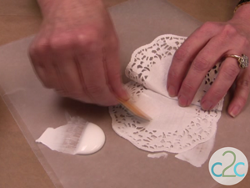
Working half of the doily at a time, use cardboard squeegee to apply a thin layer of Aleene’s Original Tacky Glue between each doily layer.
-
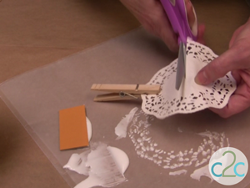
While glue is still wet, cut doily in half.
-
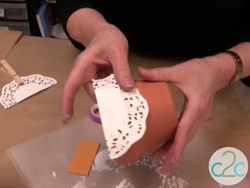
Use cardboard squeegee to apply a thin layer of glue to back of doilies.
-
Glue in place on clay pot. Repeat to apply as many doilies as desired, cutting them into different sizes to fit the shape and size of your clay pot. Let glue dry completely.
-
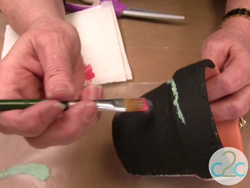
Brush entire clay pot with black acrylic paint. Let dry.

-
Pick up first color of acrylic paint with brush and brush it lightly on paper towel. Then, following the design of the doily on the clay pot, dry brush paint colors where desired.
-
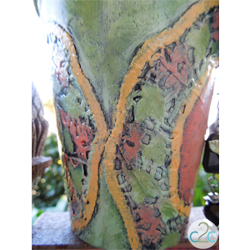
With this dry brush technique, you should still see some of the black paint showing from behind. Continue to paint entire clay pot with this dry brush technique. Spray seal with Aleene’s Spray Gloss Sealer.
-
Decorate pot with desired embellishments. On my clay pot I used a Cool2Cast face, bread dough flowers and leaves, paper butterfly wings, jewelry chain, and jewelry pieces.
For a comprehensive video tutorial of this project, check out How to Decorate a Clay Pot with Doilies.
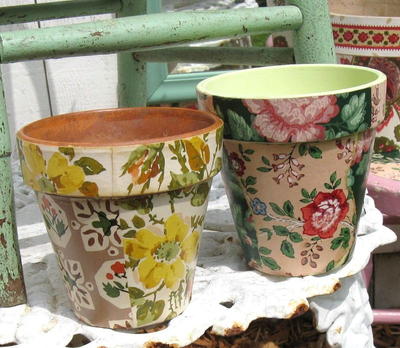
Read NextWallpaper Decoupage Flower Pots