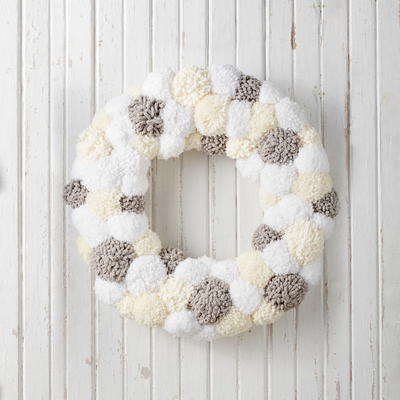
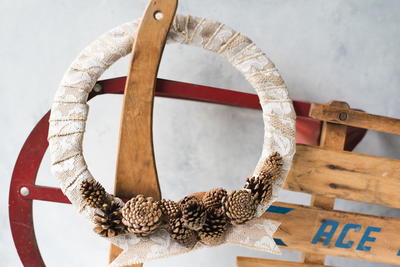
Ruffled Christmas Wreath
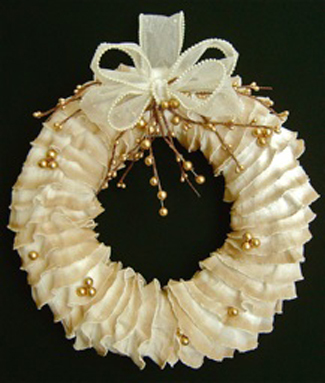
The great thing about this Ruffled Christmas Wreath is that you can have it on display all winter long. With soft muted browns and golds, this wreath is a great way to welcome guests to your home throughout the season. Great for vintage-inspired decor, this wreath makes a great project for crafters of all skill levels. Looking to add a pop of color? Use a bold ribbon or bow to embellish the wreath or add a simple seasonal blessing. No matter how you decorate or embellish this wreath, you're sure to love how it warms up your home this holiday season.
Primary TechniqueGeneral Crafts

SeasonWinter
Materials:
- 12” Styrofoam wreath
- 8 inches of 60” wide, ruffled knit, ivory fabric -(approx. 13 yards total )length
- 4 ft. pearl edge sheer ribbon 2” wide by Offray
- Gold holiday stems
- Airbrush (Testors|AZTEK airbrush system)
- Fine line nozzle(Testors|AZTEK fine line nozzle)
- Testors 1144TT Metallic Gold Enamel Paint (thin with Testors 8824 Enamel thinner or. if you prefer, you can use Pearl Gold Acrylic Airbrush Paint)
- Hot Glue gun
- Painters tape
- Craft sticks
- Wire cutters
- 2 headpin wires
- 2 pearls
- 2 straight pins
Instructions:
- Separate the ruffles by cutting the fabric into strips. Each strip should be about 1 ½” wide and consist of 1” of ruffle and ½” of a flat border. This is a knit fabric that doesn’t fray.

- To paint the ruffles, secure both ends of the strip to a covered work surface with painters tape. Work in sections if you don’t have the room to paint an entire strip at one time. The edges of the ruffle should be taught but not so tight it curls.
- Using the airbrush with a fine nozzle attached, create a line across the edge of the ruffle with gold paint. Use light trigger pressure, as too much pressure from the airbrush will lift the delicate fabric. Drape the ruffles over a hanger to dry.

- Attach the end of a ruffle strip to the backside of the wreath using a glue gun. Craft sticks work well to hold the fabric in place while the glue sets. The top center of the wreath will be the point at which you start attaching ruffles.

- Wrap the strip around the wreath, creating small tucks: one on the outer edge, one on the front flat surface, and one on the inside edge. Glue the tucks into place.

- Bring the fabric to the back of the wreath and start your next row. The ruffle hem from the previous row should cover the flat border of the new row when it is glued in place.

- Continue working down the wreath until you reach the bottom center. As you work the curved areas you will need to overlap the ruffles at the inner edges of the wreath more than the outer edges, because of the difference in diameter. When you’ve finished adding ruffles to one side of the wreath, move to the top center and attach the end of a ruffle strip to the backside of the wreath. Overlap the strips in the center, which will create a flat double border to be covered later. Repeat steps 5-7 above to finish covering the wreath with ruffles.

- Add The Ribbon and Holiday Stems - Wrap a piece of pearl edged ribbon over the flat double border, bringing it to the back of the wreath. Fold the ribbon, creating a 6” loop. Slip the raw edge of the ribbon against the wreath and use straight pins to hold it in place. Dab hot glue on the pins before inserting them into the wreath.

- Cut branches from the Holiday Stemsand glue them to the center ribbon on the right side. Add as many or as few as you like. Slip some of the stems under the ribbon and glue in place.

- Create the bow by making four loops with one piece of ribbon. Secure the bow with wire, twisting the ends together. Leave a 2” tail of ribbon.

- Using the point of a scissor blade poke a hole through the ribbon and in the top center of the wreath.

- Fill the hole with hot glue and push the bow’s wire ends inside. When the glue has set, use the ribbon tail to cover the wire. Glue in place. Add more stems below the bow.
- Cut a few gold ball stems and poke them into the wreath in clusters. Dab the stem wires with hot glue before poking them through the fabric and into the Styrofoam.

- Finish the wreath by securing the loop you made at the back of the wreath, to the top center of the wreath. Put nail head wires through a pearl, dab the wire with glue and push it into the Styrofoam at the left edge of the ribbon. Repeat on the right side. Attaching the ribbon to the center will allow the wreath to hang properly.

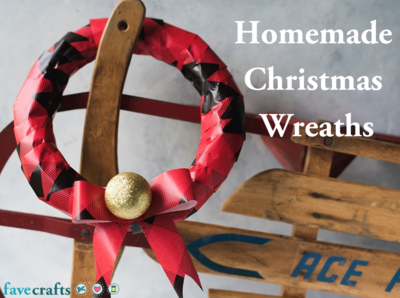
 You can find this project-and many more-in our new free eBook, 11 DIY Christmas Decorations and Ideas.
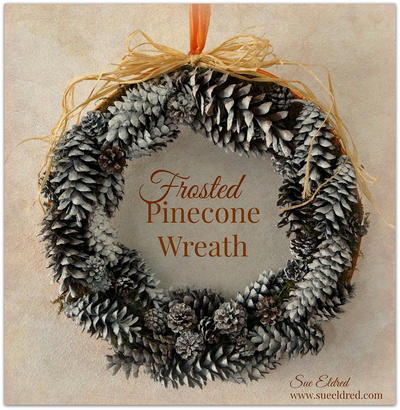
Read NextPinecone Wreath Craft