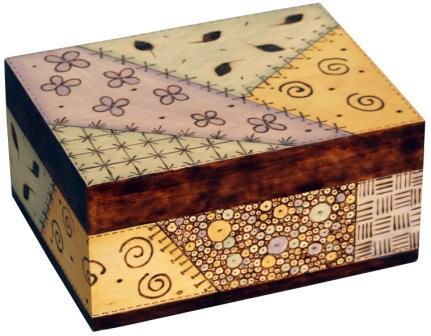
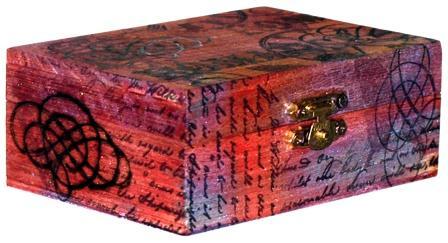
Quilt Pattern Woodburned Box
A special woodburning pen is used to create a quilt design on the wood box. Use your favorite quilts or fabrics as inspiration, or use the attached woodburning pattern to create the design.

Materials:
- Walnut Hollow® #3219 Classic Box
- Walnut Hollow® #5570 Creative Woodburner® Value Pen
- Walnut Hollow® #9912 Oil Colored Pencils – 12 color set
- Walnut Hollow® #1095 Graphite Transfer Paper
- Other Supplies: metal ruler, paper towel, pen or stylus, sandpaper, spray varnish, tape
- Pattern
Instructions:
- To prepare box for woodburning, use sandpaper to lightly sand entire box. Remove dust with paper towel.
- To create the quilt design, use your imagination and create your own design, get ideas from fabrics or papers, or use the attached pattern. To transfer a pattern, place pattern on box. Tape in place. Slide graphite paper under pattern, (carbon side down). Use a pen or stylus to trace pattern. When complete, remove pattern and graphite paper.
- Before using hot tool, read through and follow all safety precautions on packaging. Practice on a scrap of wood to determine which point will work best for the individual designs. Do not press too hard when woodburning. Use a light touch and just let the tool glide over the wood. The Shading Point is used for the leaf designs and for the dark shading around the rim of the lid and also the band across the bottom of the box. The Universal Point works well for the straight lines. The Cone Point will easily create the curved lines of the flowers and the swirls. The Flow Point is used for making dots. For larger dots, just press a little harder. To start, attach the Universal Point to the tool. Tighten with pliers. Secure stand to hard surface with tape. Place tool on stand. Plug into electric outlet and heat for 4-5 minutes.
- Use the Universal Point to create the sections of the pattern. Place a metal ruler on the long straight lines. Pull the Universal Point along the ruler. Use the Universal Point and metal ruler for any other straight lines in the pattern. When complete, unplug tool and let cool.
- Attach a new point to tool and follow directions for use as noted above. If points are removed before they are completely cool, always use pliers and drop points in a glass or metal container to protect the work surface. Continue using whichever point is appropriate. When complete, unplug tool and let cool.
- Use Oil Colored Pencils to add color to the designs.
- Apply 2-3 coats of spray varnish for a protective finish. resize as needed.
Up Next:
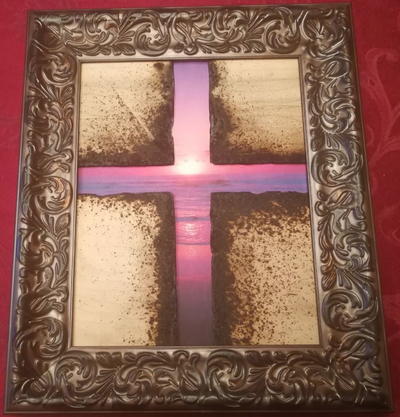
Read NextPurple Sunrise Decorative Cross
Your Recently Viewed Projects
Thanks for your comment. Don't forget to share!
sherryelam 9235011
Feb 06, 2012
I would have been happy to get the pattern for the top of the box!! why won't the pattern come up?
editorKS
Feb 08, 2012
@sherryelam 9235011, The pattern for the top of the box is available as a PDF document, so you will need Adobe Reader to access it. This software is free to download if you do not have it already. Once you have updated your software, the PDF should automatically download if you click the link that says "Pattern" in the materials list. Hope this helps! --Editors of FaveCrafts
catsrcats1
Feb 13, 2010
I'm disappointed that there is not a pattern for the sides of the box. It would have been nice to have one.
Report Inappropriate Comment
Are you sure you would like to report this comment? It will be flagged for our moderators to take action.
Thank you for taking the time to improve the content on our site.


