Photo Block And Tile Tutorial
This Photo Block And Tile Tutorial shows how to make photo blocks and how to make photo tiles. They can be displayed on a table or dresser and are sure to impress your guests!
Materials:
- Block of wood--ours measure about 5.5"x5.5"
- Acrylic paint or spray paint
- Acrylic gel stain (optional)
- Fine sandpaper
- Distressing file (optional--can use sandpaper instead)
- Foam brushes (at least one wide brush)
- Mod Podge
- Photo that will fit on your block (IMPORTANT-ink jet printed photos will not work. Get a professional print with a matte or lustre finish-not glossy!)
- Patterned paper
- Ribbon
- Ribbon slide or other embellishment (optional)

Instructions:
Cut and route your blocks. Board can be bought at Home Depot. You can route the edges, but this isn't necessary if you don't have access to a router. You could also check craft stores for pre-cut and sanded wood blocks. Paint your blocks--do a nice job on the sides and back. The front doesn't matter much. Sand the edges for a shabby look. I applied a gel stain on top of the sanded edges to finish them.

Cut your photo to fit on top. I started with a 5-inch wide photo. Using a foam brush, apply a layer of Mod Podge to the back of the photo. Place on block and smooth down with the side of your hand. Allow to dry about 10 minutes.
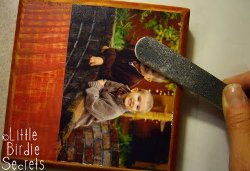
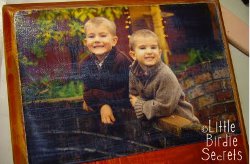
Using a distressing file or fine sandpaper, lightly sand the edges in a downward motion to make the photo become one with your block. Be careful not to rip the edges!
With a wide foam brush, apply a thick line of Mod Podge.
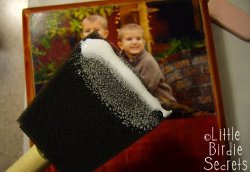
Brush across in a horizontal direction to cover photo with Mod Podge.
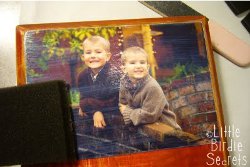
Then, WITHOUT applying more Mod Podge, brush in a vertical motion. This will give your photo some texture, like it's printed on a canvas.

Allow to dry about 15 minutes.
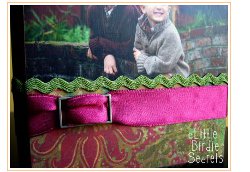
Measure and cut a piece of patterned paper for the bottom of your block. Using more Mod Podge, adhere it to the block. I didn't apply Mod Podge to the top of the paper, but you could if you wanted.

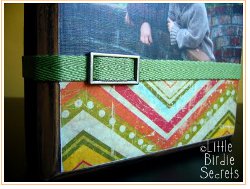
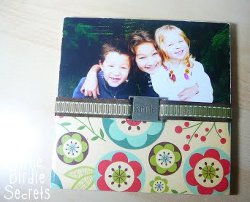
Attach coordinating ribbon, ric rac, or other trim around middle where photo and paper meet. This will hide the line. I used Glue Dots to stick my ribbon on, but a double-sided tape like Tacky Tape would work as well. I also used ribbon slides from Stampin' Up!'s Hodge Podge Hardware set to dress mine up. Making Memories used to make these, too, but they're getting harder to find!

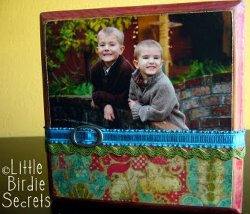

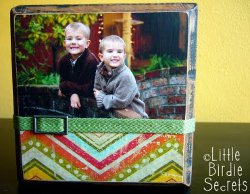
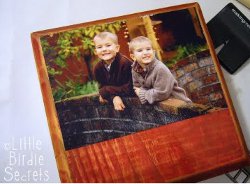
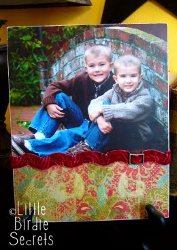
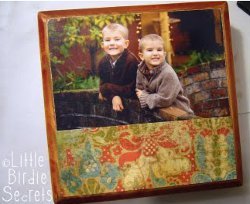
That's it--you're done! The great thing about these blocks is that they stand up on their own. Instant home decor, and cheaper than a photo frame!
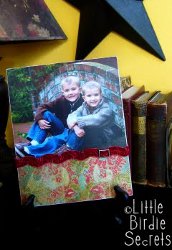
An alternative to the wood block is a tile, as in the ceramic tiles you find in home improvement stores. Use the same technique used in the photo block tutorial (minus the painting and sanding). These range in size, but we like the 6"x6" tile, the 8"x10" tile, and the 12"x12" tile. You will need a small easel to hold your tile.
This is the 6x6 tile.

This is an 8x10 tile.
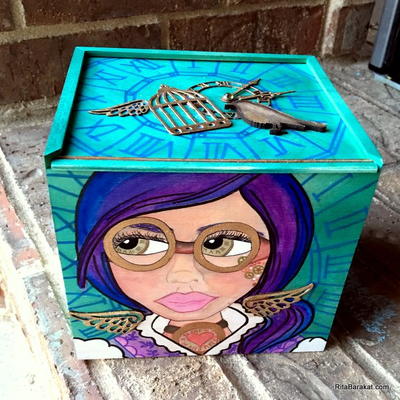
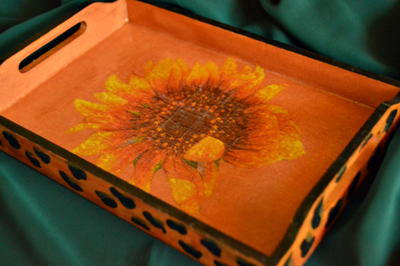
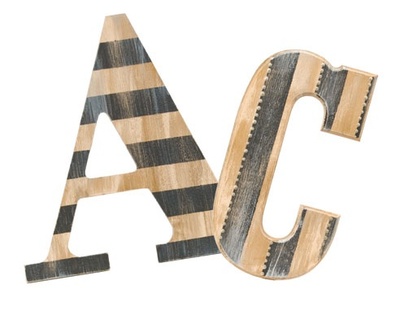
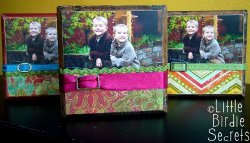
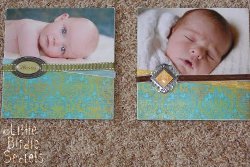
Here are a few made on 6x6 tiles. You could use anything in place of them--buttons, flowers, bows, metal embellishments, monogram letters, chipboard accents. . .
Your Recently Viewed Projects
Thanks for your comment. Don't forget to share!
Weberme
May 31, 2017
Need something for your little one to give dad on Father's Day then why not make this photo block and have them pose for a picture or you can give to a grandparent or keep yourself. This is a great alternative to just that plain old picture frame. The decorating options are limitless. You can let your imagination go crazy. You can finish the bottom with glass tiles or gems,tiles or how about sea shells. A super project. Thanks.
Report Inappropriate Comment
Are you sure you would like to report this comment? It will be flagged for our moderators to take action.
Thank you for taking the time to improve the content on our site.