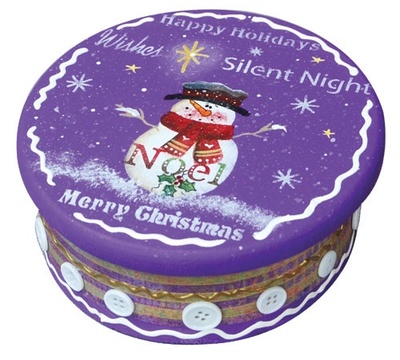
Winter Favorites Box
This adorable Winter Favorites Box is a wonderful way to present everything from a knit scarf to some homemade cookies. Perfect for gift-giving to friends, family, neighbors, and co-workers, this cute box design is sure to be used again and again! You could also use this festive container for Christmas and winter entertaining and parties. Use it to hold mixed nuts or candy...or store small ornaments inside for safe keeping.

Materials:
- Americana Writers in White
- Dazzling Metallics Writers in Gold
- Americana Acrylics Paint in Fawn
- Americana Acrylics Paint in Canyon Orange
- Americana Acrylics Paint in French Vanilla
- Americana Acrylics Paint in Hauser Medium Green
- Americana Acrylics Paint in Deep Burgundy
- Americana Acrylics Paint in Lamp Black
- Americana Acrylics Paint in Burnt Umber
- Americana Acrylics Paint in Lavender
- Americana Acrylics Paint in Snow White
- Laurie Speltz's Instant Images
- 3/4 in. Flat Brush
- 4 Flat Brush
- 1 Short Liner Brush
- 3/8 in. Duo Tool
- 1/4 in. Duo Tool
- Winter Favorites Pocket Template
- Buttons
- Scrapbook papers
- Adhesives
- Permanent ink pens
- Round wooden box with lid
Instructions:
Refer to template and tools packages for additional information on template and tool usage and techniques.
-
Measure and cut scrapbook papers to fit box.
-
Base entire box with Lavender. Spatter with Snow White.
-
Add snowman, snowflakes, and words with Snow White.
-
Shade snowman with Fawn. Arms are Fawn. Snow drifts are Snow White. Dry brush cheeks with Deep Burgundy. Nose is Canyon Orange and eyes and mouth are Lamp Black.
-
Scarf is Deep Burgundy and shaded with Burnt Umber. Add lines on scarf with French Vanilla. Dots are Snow White.
-
Hat is based with Lamp Black. Highlight hat with Snow White. Small dots are French Vanilla.
-
Yellow stars are French Vanilla. Background dots are Snow White.
-
Noel is based by alternating letters in Deep Burgundy and Hauser Medium Green. Pounce bottom of letters with Burnt Umber. Decorate letters with Snow White dots.
-
Ivy is Hauser Medium Green; add Deep Burgundy dots.
-
Outline and add details with permanent ink pen.
-
Adhere papers to box.
-
Add Gold Dazzling Metallic Writer and White Americana Acrylic Writer to lid and bottom of box. Let dry.
- Glue buttons into place.
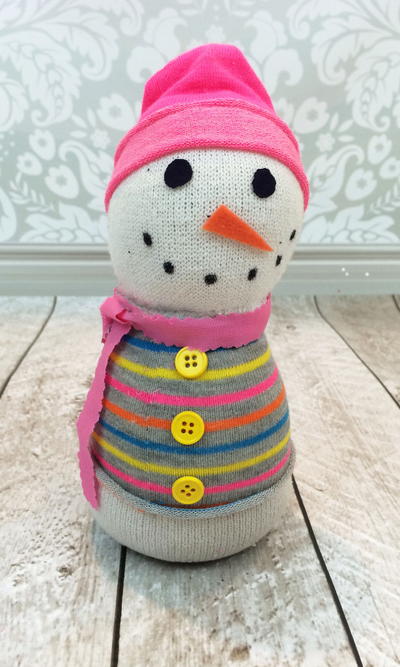
Read NextAdorable Snowman Sock Craft