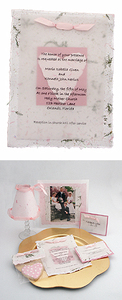
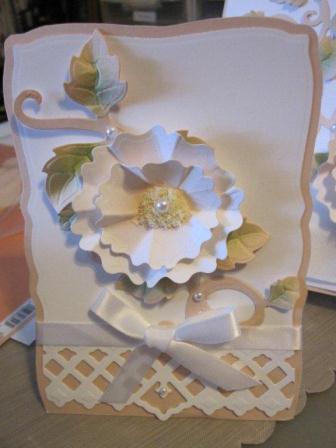
Wedding Place Cards
These intricate place cards from Uchida of America and Sue Eldred look professionally done and will add extra style to your wedding tables.
Materials:
- Clever Lever Super Jumbo Scalloped Heart Punch
- Clever Lever Giga Scalloped Rectangle Punch
- DecoColor Extra Fine Silver
- DecoColor Silver Calligraphy Pen
- Paper Trimming Buddy: Straight and Scallop Blade
- Mini Glue Tape
- Silver Wedding Texture paper (the Paper Studio)
- Silver Wedding Stripes paper (the Paper Studio)
- Wedding Faded Paisley paper (Dé ja Views )
- Adhesive Pearls (K & Company)
- Black Cardstock
- Glue Stick
- Foam Mounting Tape
Steps:
- Cut a 4” x 4” piece of black cardstock using the Straight Blade in the Paper Trimming Buddy. Insert Scallop Blade into the Paper Trimming Buddy and cut the Paisley Scrapbook Paper into a 3 ¾” x 3 ¾” square. Apply glue tape around paisley square and center onto black cardstock square.
- Using the Silver Calligraphy Pen, add a thin silver line around the black cardstock square. Fold in half.
- Cut a thin silver and black stripe ¾” x 4 from the Silver Wedding Stripes scrapbook paper. Apply glue tape to back and attach to bottom of the place card leaving approx. ½” spacing.
- Punch out a Giga Scallop Rectangle out of black cardstock. Cut computer generated names into a 1 ¼” x 2 ¼” rectangle. Apply glue tape to back of name and attach to scalloped rectangle. Add to front of place card with glue tape.
- Punch two Super Scalloped Hearts one from the Silver Wedding Texture scrapbook paper the other from black cardstock. Glue the two hearts together. Using the Silver Calligraphy Pen, add a thin silver line around the front of the scrapbook heart. Add small dots with the Extra Fine Silver Deco Pen in each scallop. Layer a computer generated table number onto a thin piece of black cardstock and add to center of heart. Add adhesive Pearl Rhinestone to heart.
- Attach Scalloped Heart to place card using foam mounting tape.