Be My Bridesmaid Kit
Your best gal pals will have a hard time saying no to this request! Ask your ladies to stand up with you on your big day with this Be My Bridesmaid Kit from Jen Carreiro. Will You Be My Bridesmaid gift ideas like this are memorable and meaningful...and always fun!
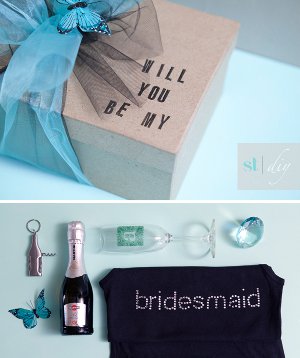
Materials:
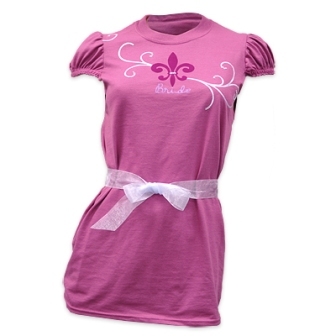
- A ‘bridesmaid’ tank top or shirt
- A personalized champagne glass
- Bottle of champagne
- Wine bottle key chain
- Turquoise diamond paper weight
- Nice cardboard box
- Two colors of 5.5″ ribbon
- Tube from some old wrapping paper
Instructions:
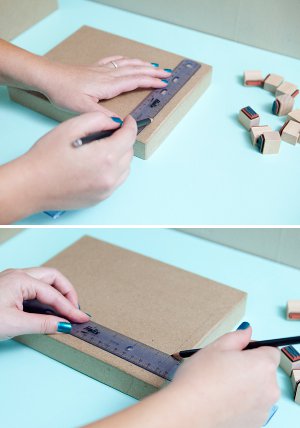
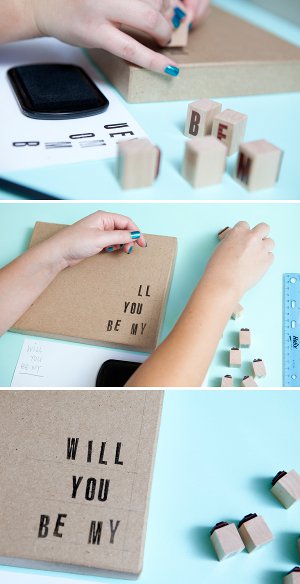
- Start by marking lines on the top of your box to create guides for stamping.
- Since our stamping is aligned at the right, I started stamping from the right side; or backwards.
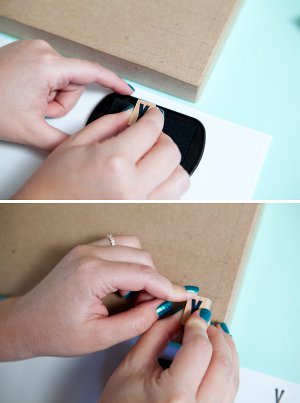
- If your box top is like mine, it might sag a little towards the middle… make sure you apply even pressure with your stamp.
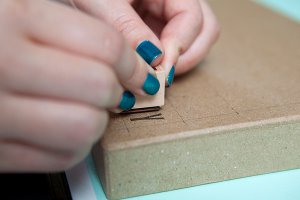
- I always like to test out each stamp along the way… check twice and stamp once.
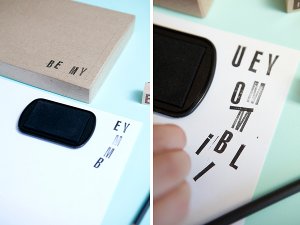
- Keep stamping until it reads, “Will you be my…”. I’m not the best speller and sometimes I forget what letter is next, especially when working backwards, so write out on your scratch paper what exactly you are stamping.
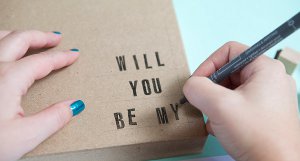
- Since the box had a slight texture to it, I had to fill in some little spots with a fine black marker.
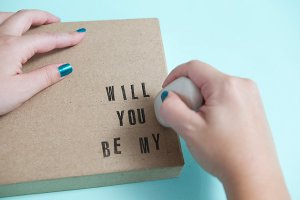
- When your ink is finally dry, carefully erase your guide lines.
- Now we are going to start wrapping! Begin with one of your ribbon choices and measure a piece long enough to span through your box and be able to tie a bow over your present. Tape your ribbon to the bottom of the box so it won’t slip on you.
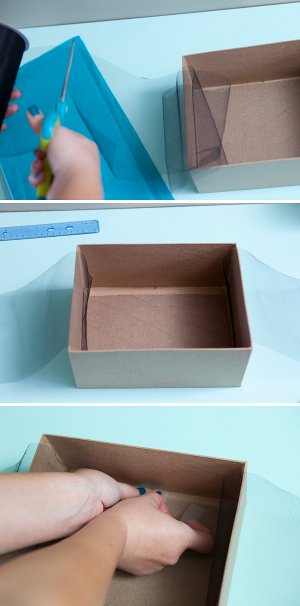
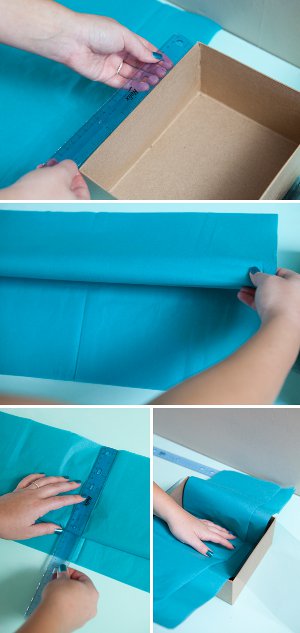
- Now, prepare your tissue paper. Measure the width of your box so that the fold of your tissue paper will be the exact length you need.
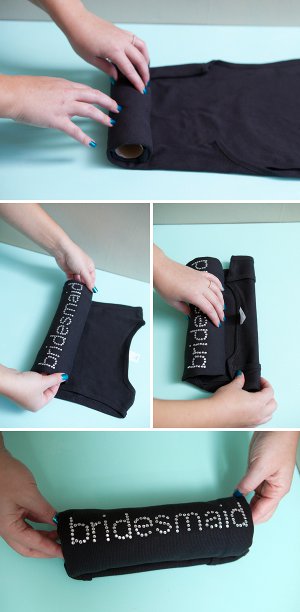
- Next we will roll the bridesmaid tank over your wrapping paper tube so it will stand up when placed in the box. I used an old tube of wrapping paper and cut it with a serrated knife to the width of my box. Fold the edges of the tank inward, so that when rolled up, the tube will perfectly read ‘bridesmaid’.
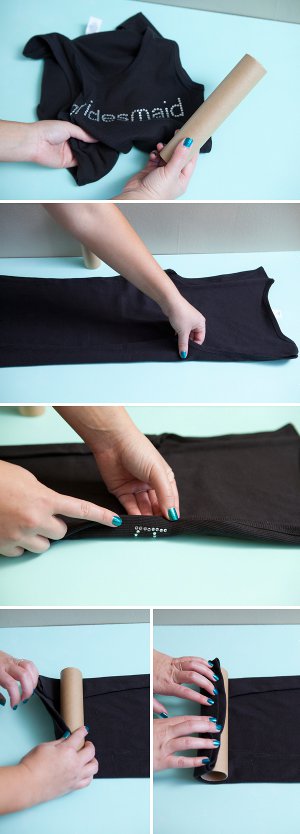
- I folded the top of my tank underneath the tube and kind of tucked the edges inside the empty tube. The beauty of rolling the tank around the tube is that it will stand up for your friend to read the word ‘bridesmaid’.
- Then carefully place the tube into your present box and add all your other fun gifts.
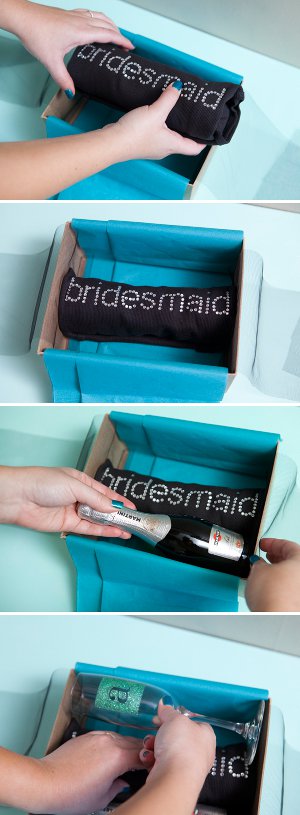
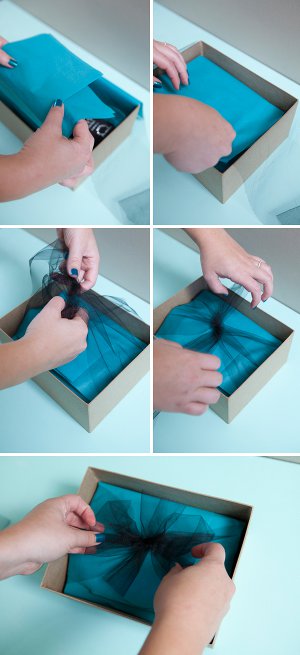
- Next, fold in your tissue paper and tie your ribbon bow.
- Now we will tie the outer bow. Measure both your ribbon choices and start your bow from the underneath of the box.
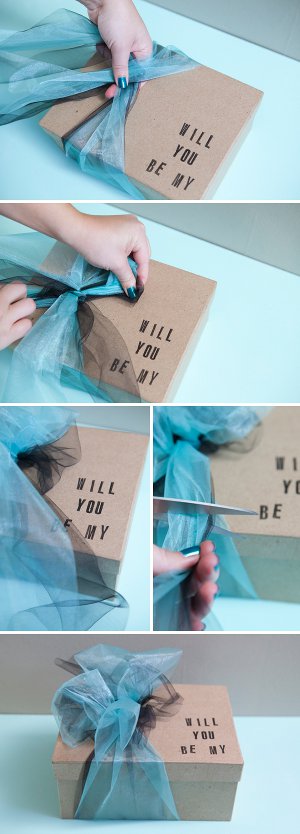
- Carefully tie a bow and fluff it out.
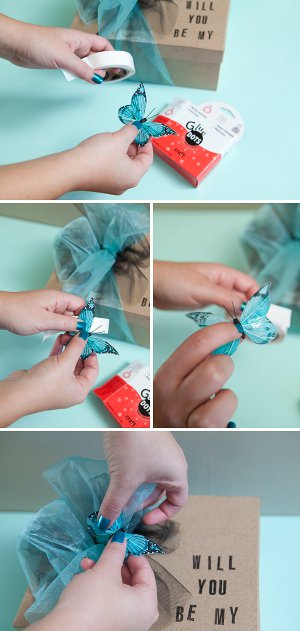
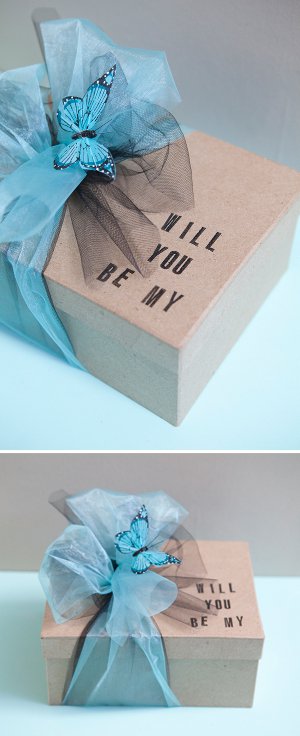
- For the finishing touch we are adding a cute little butterfly. Using Craft Glue Dots apply one to the backside of your butterfly and stick it to an area on your ribbon. Glue Dots are extremely strong and your butterfly will definitely stay stuck wherever you put it.
Read NextForever Spooning DIY Wedding Gift

