Vintage Apron
Turn an old pillowcase into this fashionable Vintage Apron from Pam Dart. Cute handmade aprons like this make great hostess gifts or teacher gifts. This would also be a great way to keep your craft supplies handy as you work!
Materials:
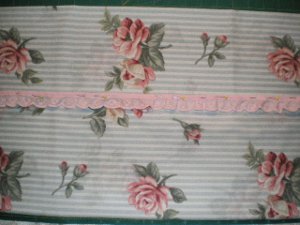
- Extra long pillowcase (mine shown is approximately 38" long)
- Sewing machine
- Iron
- 3 yards of ribbon (optional)
- Vintage eyelet (optional)
Instructions:
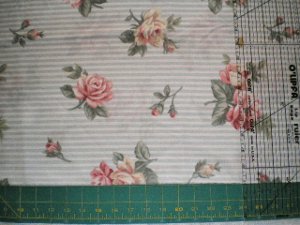
- Lay out your pillowcase flat length wise (length is horizontal). Cut at approximately 28 1/2" for a size 18/20 gal. You can cut at different widths depending on how much material coverage you want.
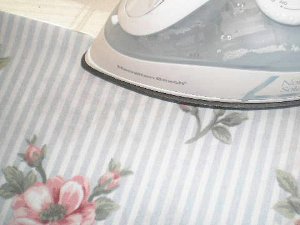
- Turn in edges where you just cut 1/2" and press to make a finished side edge. Machine stitch 1/4" seam along this edge.
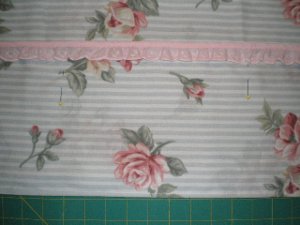
- Fold bottom up approximately 7 1/2". This will be the pockets. If you want to add a decorative trim before sewing together go to next step. If not adding a trim go to Step 5.
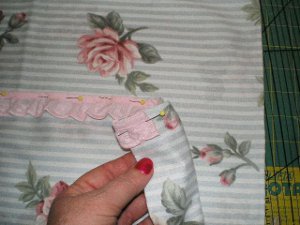
- Pin in place decorative trim.
- Turning ends on side then machine stitch trim. This will be the top edge of pocket.
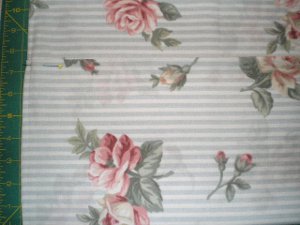
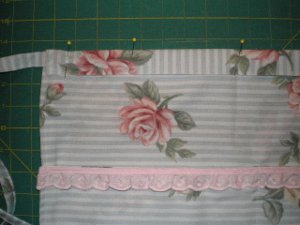
- Machine stitch along sides and bottom of apron starting on right side going down edge using 1/4" seam. Then pin where you want to stitch the pockets. Make sure the apron is flat and begin stitching from bottom to stitch your pocket seams. I've stitched two seams approximately 1/3 from each side giving this apron three large pockets. Don't forget to back stitch at top of pocket to reinforce these seams.
- The apron base is now complete - just have to add a waistband and ties!
- I've cut the extra pillowcase material to make my own waistband and ties. Measure the width of the apron to make the waistband and then use the remaining for the ties. I iron the strips of pillowcase material together and then stitch a seam close to the edge. Then stitch the ties to the waistband. I made these extra long so I can bring back around to front and tie. You can make the ties shorter and tie in back - very cute too! Making the ties and waistband this way is a bit more work but I like the look. If you don't have enough extra material from the pillowcase you can use a vintage sheet or your favorite ribbon!

- Now stitch all along the edges of the waistband onto the apron.
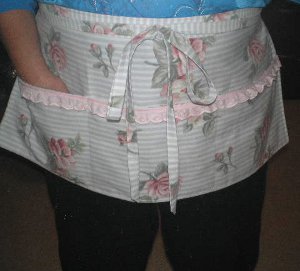
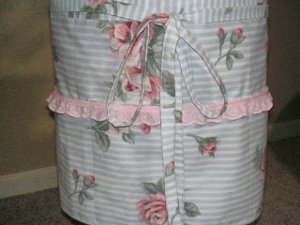
- My finished apron is approximately 28" wide by 13" long (the standard pillowcase apron is only 20" wide). It has three deep pockets to hold all kinds of things. I'll use mine while doing a craft show to hold my money, cell phone, and glasses. When I'm at home I'll put my clothes pins in the pockets when I hang out my laundry.
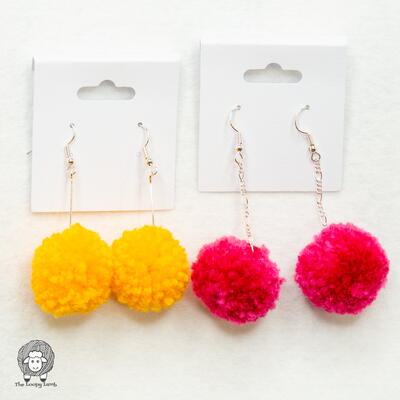
Read NextDiy Pom Pom Earrings From Scrap Yarn
Your Recently Viewed Projects

Thanks for your comment. Don't forget to share!
thesewingco 405989 8
Feb 25, 2013
I love this. I have pillowcases that have out lasted sheets.
Report Inappropriate Comment
Are you sure you would like to report this comment? It will be flagged for our moderators to take action.
Thank you for taking the time to improve the content on our site.