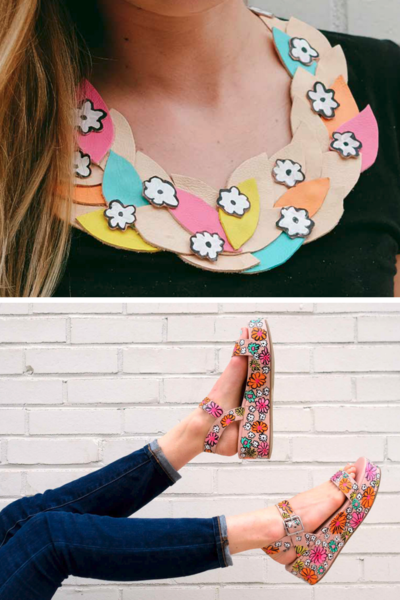
Flower and Feather Accessories
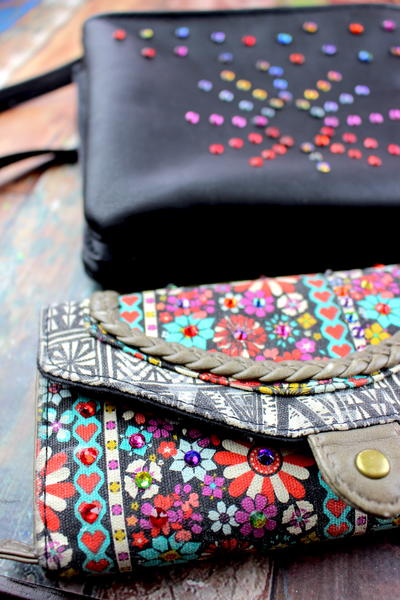
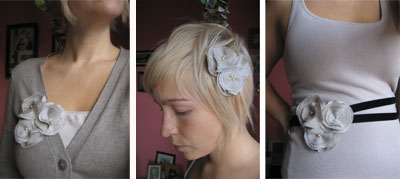
Hello FaveCrafts Readers! I'm Ann of Still Dottie and I'm so excited to be guest writing over here. I was wondering, have you noticed the rise of flowers and feathers being used as accessories? From J. Crew to Anthropologie and New York Fashion Week in the fall, you'll see fabric flowers, leafs or silk ruffles everywhere. Let's not forget about Jen Gotch's lovely Ban.do collection and the many sellers on Etsy. Where it all started for me was this girl, I just couldn't get enough of her necklace. With that in mind, today I'm going to take you through some ideas and tutorials for embellished headbands, clips and brooches so that you can be styley for a fraction of the price.
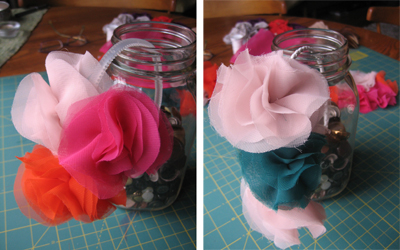
Embellished headbands can be made so many ways; you can use different fabrics for flowers, add feathers as a base or use pearls or beads on the top of each flower. There are also a million ways to get those pieces to stay in your hair; headbands, clips, combs, heavy duty bobby pins or even a couple feet of velvet ribbon. Below is an extended supply list.
What You Need
- pearls or small beads
- linen or other lightweight fabric
- chiffon in various colors
- single feather or large feather cluster
- 1-2 yards 3/8" velvet ribbon
- pin back
- clip or barrette
- headband
- needle
- thread
- hot glue gun & glue
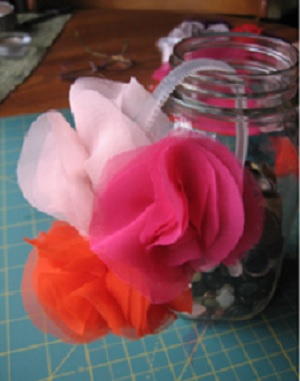
Single Flower Instructions:
- Cut linen or other lightweight fabric into 8 circles of various sizes for each flower you would like to make.
- Stack the circles from small to large
- Thread your needle with a similar color thread & come up through the center of the stack. bring back down & repeat one more time.
- Fold the stack in half & thread through close to the fold. This will create some gathering. fold in the opposite direction & repeat.
- From the bottom, come up straight through the stack & thread the cluster of beads, one at a time. For chiffon or silk flowers i prefer to skip the beads, this allows the flower to become poofier or more 3 dimensional.
- After beading the center you may find that the flower is laying flat again. You will want to bring the needle through various sections & numbers of the circles to gather them together (avoid the top one so that you don't see the stitches). This will create some random scrunching & volume.
- Repeat steps 3-6, to create the number of flowers desired.
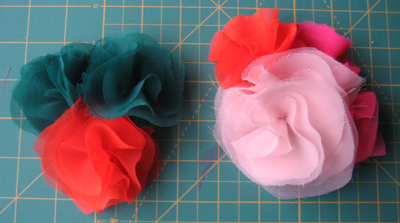
Creating a Cluster:
- Assemble the three flowers in a pattern that you want them clustered. Connecting two at a time, tack them together through the bottom two layers of the flowers. Make sure that your tacking doesn't appear on the top of them.
- Cut a piece of linen or stiff cotton that will cover the tacking & stitched centers of each flower. For lighter colored flowers use white & darker use black.
- Position pin backing on fabric backing. Stitch & secure.
- Dab glue on each flower center & in the middle of the cluster. Place fabric backing over the back of the flower cluster, let the glue dry
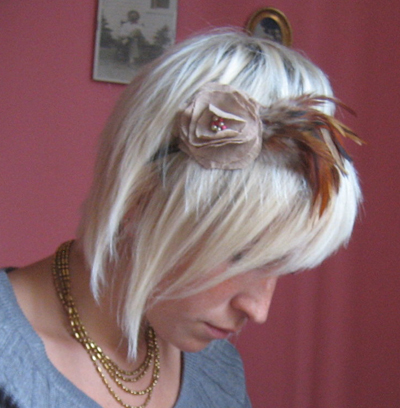
Adding Feathers:
- Once your single flowers or clusters are assembled and dry, choose a large feather cluster or single feather to use.
- Using your hot glue gun, place the flower(s) at the base of the flowers or however you'd like to arrange them.
- If necessary you can reinforce the two with simple tacking (if the feather has a backing).
- If your feather does not have a backing, you may choose to repeat steps 2-4 in the creating a cluster section for the flower/feather combo.
Attaching to Barrette:
- Position the clip & begin sewing the narrow end through the first couple layers of the flower cluster. Maybe 5 loops for each side of the clip.
- Staying under the fabric backing, pull the thread to the opposite side of the clip.
- Secure the back of the clip by stitching underneath the top piece & under the full clip. Loop around 6 times.
- Tie off the loop & knot your thread.
- Reinforce by gluing the back portion of your clip to the fabric backing.
Attaching to Pin Back (for Broach):
- Place the pin back on the fabric backing of your flower, flower cluster or feather backing.
- Using a needle & thread, secure to the backing. Make sure that your stitches are not affecting the flowers or showing on the opposite side.
- Reinforce the back to fabric backing with hot glue.
Attach to a Headband:
- Put the headband on & get a feel for where you'd like your flower, flower cluster, or feather/flower combo.
- Attach to headband with hot glue & let dry.
- Stitch around the headband & cluster backing to secure.
Helpful Hints:
- H&M has great woven headbands for about $3 that you can stitch through in the last step.
- Use two or three types of beads or pearls to create the center piece of the flower.
- Rest the headband upside down for a few hours (& store that way) to allow the feathers to shape around the curve of the headband. That way it will lay on your head better.
Remember that you can add anything you want or attach the flowers to anything you want! Try adding a barrette & pin back to you cluster, making it super versatile! These clusters have multiple uses: pull back one side of your hair for a dramatic look, attach to your favorite cardigan or blazer, or find a pretty piece of velvet ribbon & create a belt to go over your favorite simple tank or dress. For a picture led tutorial - click here. the beginning is for the flower & feather headband, clusters are at the end.
I hope that you enjoyed the post and I look forward to many more adventures here on FaveCrafts and don't forget to visit Still Dottie to see what I'm up to next.
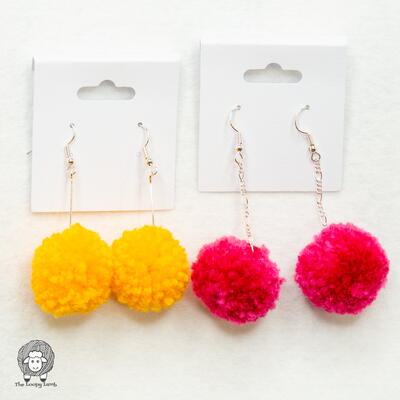
Read NextDiy Pom Pom Earrings From Scrap Yarn
Your Recently Viewed Projects
Thanks for your comment. Don't forget to share!
Report Inappropriate Comment
Are you sure you would like to report this comment? It will be flagged for our moderators to take action.
Thank you for taking the time to improve the content on our site.