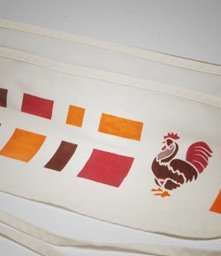
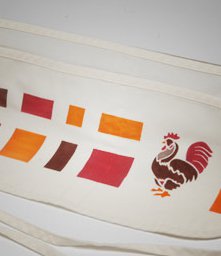
Bonjour Paris Apron
This project from Testors will teach you how to make a simple apron artful and unique. With clean graphics, vibrant colors, and a rooster embellishment, the Bonjour Paris Apron combines a taste of modernism with French Country flair.
Materials:
- ColorArtz Starter Kit
- Kitchen Apron
- Blue Painter's Masking Tape
- Newsprint
- ColorArtz Bonjour Paris Stencil Collection
- Mango Tango ColorArtz Paint Pouch
- Crushed Red Velvet ColorArtz Paint Pouch
- Double Shot ColorArtz Paint Pouch
- White Wedding ColorArtz Paint Pouch
Instructions:
-
Prepare a flat work surface with a drop cloth.
-
If you are new to ColorArtz, practice on a sample.
-
Lay apron flat.
-
Remove stencil backing and place self-adhesive stencil into position. We recommend using stencil adhesive when using non-adhesive stencils for best results.
-
Make sure stencil is fully adhered to the apron.
-
Place masking tape overlapping the edges of the stencil.
-
Make color square shapes by placing 3 horizontal rows and 3 vertical rows of masking tape.
-
Tape newsprint to apron to cover areas that are not going to be sprayed.
-
Cover squares and rooster stencil areas that are not going to be sprayed Mango Tango with masking tape.
-
Apply Mango Tango color, spraying light mist coats to stencil and square areas. Do not soak with paint. Be careful not to spray at an angle to avoid lifting the stencil. To reach a darker color, apply many light coats, letting dry a few minutes in between sprays.
-
Let project dry.
-
Remove masking tape from areas that will be sprayed Crushed Red Velvet color.
-
Cover all other areas with masking tape.
-
Apply Crushed Red Velvet color in the same manner as step 10.
-
Let project dry.
-
Remove masking tape from areas that will be sprayed Double Shot color. Include Rooster's neck.
-
Cover all other areas with masking tape.
-
Apply Double Shot color same as step number 10.
-
Let project dry.
-
Mask all of stencil except for neck.
-
Lightly spray one coat of White Wedding color.
-
Let project dry.
- Remove masking tape, stencil and newsprint.
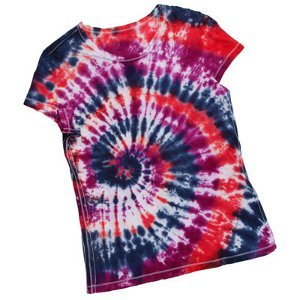
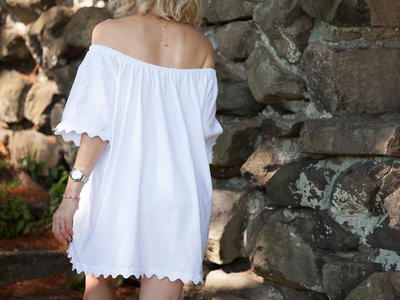
Read NextOff The Shoulder T-Shirt Dress