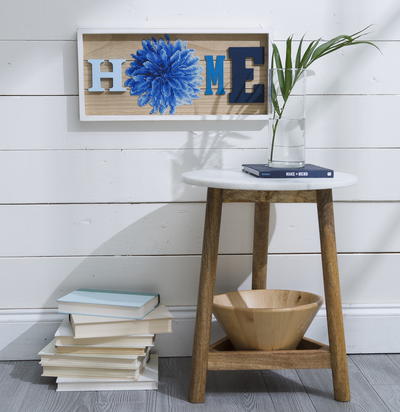
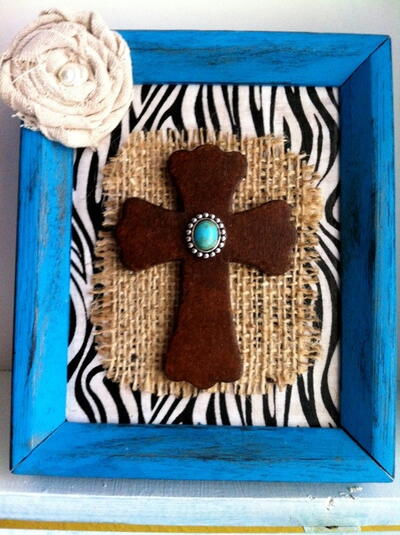
DIY Shadow Box Shelf
Learn how to make furniture with a few power tools and scrap wood in this DIY shadow box shelf tutorial. These make beautiful, custom display pieces for your home.

Materials:
- Scrap plywood
- Level
- Scrap hard board
- Jig saw
- Miter saw
- Safety goggles
- Nail gun
- Elmer's putty
- Sand paper
- Paint
Instructions:
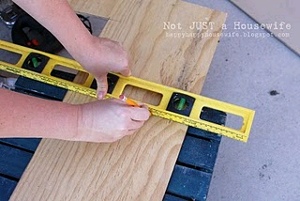
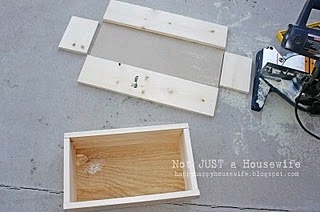
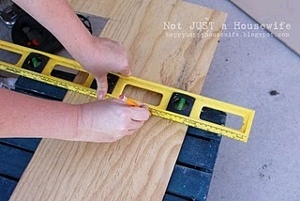
- I used some scrap plywood for the back of one of the boxes. I used the ruler on my level to measure the size I wanted and then used it as a straight edge to mark it.
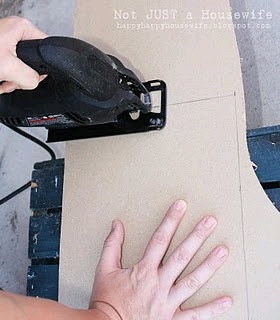
- I used some scrap hard board for the other box. Both the plywood and the hard board I cut with a jig saw. You can get a jig saw for as cheap as $20.00. A table saw would work as well. If you are buying wood at say Home Depot or Lowe's, they have large a saw at the back of the store and they will cut wood for you. Before we had access to a truck we had to do that to get the wood home.
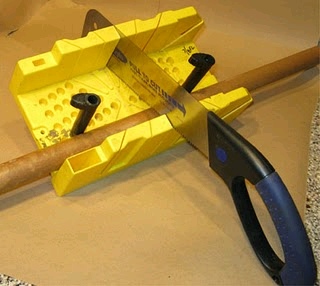
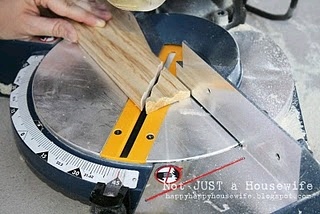
- Once the backs are cut out, you will need a miter saw. If you do not have access to a miter saw, you can use a miter box and a hand saw like this one below. This is a less expensive alternative.
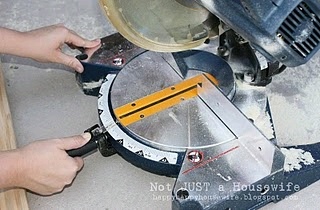
- For a straight cut you will need to have the saw set at 0, which is the center. To move it to the right place, twist the handle to loosen it and then press down on the trigger ( see my thumb) and it will slide right where you need it. Twist it tight again to lock it in place.
- Make sure you have on safety goggles. Mine are old, big and ugly. I am too vain to show a picture of me, but trust me. I was wearing them!
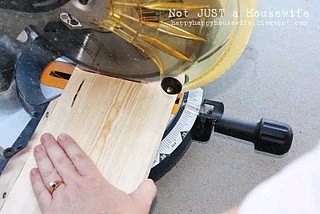
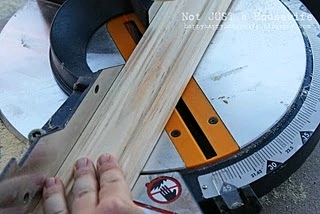
- The saw will take off about 1/8 of an inch, so cut on the outside of the line that you drew. I measure as I go for this reason instead of marking all of my measurements at the same time.
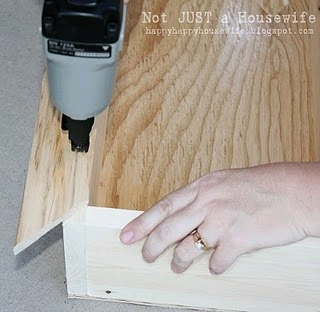
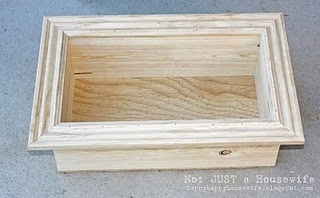
- Once all your boards are cut and you have made sure they fit together correctly, it is time to nail them together.
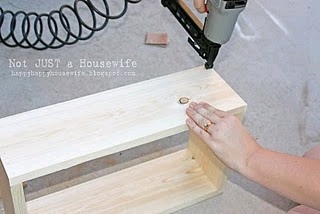
- Nail all the sides together to make the box and then nail on the back.
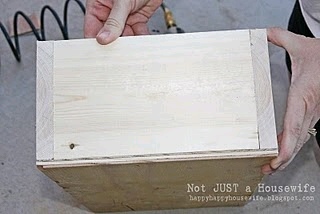
If all your measurements were right then it should be all nice and smooth.
- Now you will cut the molding. The miter saw will have to be turned to 45 degrees.
- Before you measure your molding you will need to cut the end at a 45 degree angle. Then hold it up to your box to measure.
- Most new saws have a laser that will show you where the blade is going to cut. Remember that the saw cuts off about 1/8 of an inch. The picture is hard to see, but don't have the laser match up to the line you drew. Slide it over about 1/16 of an inch or your molding will be a tiny bit too short. If this is your first molding project then it would be a good idea to buy extra molding. It can be tricky. You might even want to practice on scrap wood.
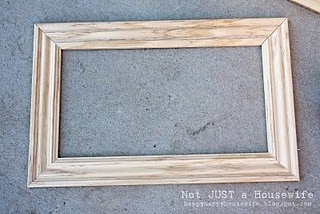
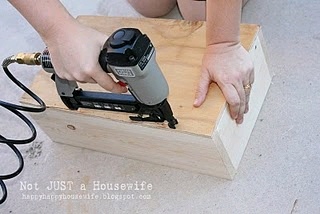
- Before you nail the molding to the box, lay it out on the ground and make sure it is square.
- Nail the molding on the box.
- The nails get embedded below the surface. So you will need to fill the holes with putty. I LOVE Elmer's paintable, stainable, sandable putty. If I am going to be staining something dark I like to use the walnut color.
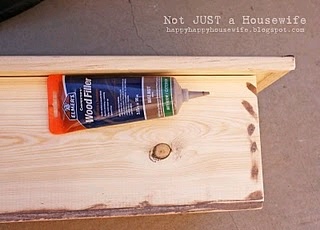
- Putty any cracks or holes and give it time to dry. Then sand it smooth. If there is a big area that needs to be filled, you may have to repeat that process to make sure it is nice and flat.
Your Recently Viewed Projects
Thanks for your comment. Don't forget to share!
acehigh1978 523960 7
Nov 24, 2012
It is so simple and an awesome idea , I would like to join two together at the corners so they overlap each other and three boxes are made two of the same size and one small one in the middle , cool I'm on it lol , that's why I think this site is such a good idea
Sea Lady
Nov 17, 2012
These are lovely, and the instructions are very clear and easy to follow. My only question would be - what's the best way to hang these? Picture wire, sawtooth hanger, or what?
Report Inappropriate Comment
Are you sure you would like to report this comment? It will be flagged for our moderators to take action.
Thank you for taking the time to improve the content on our site.