Custom Canvas Pictures
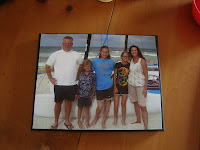
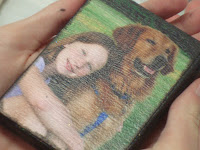
Your best photographs will be easily viewed once you transfer them onto a DIY canvas. Once you've learned to mount an image to canvas, you'll be able to show off your favorite photos in a more unique way than a regular old picture frame could.

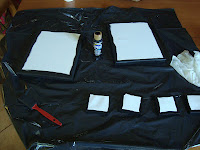
Materials:
- Canvas and photo of approximately the same size
- Black acrylic paint
- Sponge brushes
- Sponge
- Mod podge
- Wax paper
- Cheese cloth
Steps:
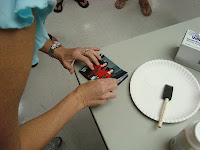
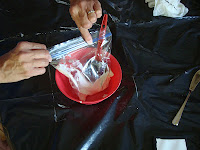
1. Note: For this process, you using small amounts of mod podge at a time with a time span in-between. That causes the mod podge to dry and clump in the container and on the sponge brush. Renata's tip: when not in use, place the sponge brush in a plastic bag. I decided to put several tablespoons of mod podge in a bag, using a bowl for support, and kept the sponge brush in the bag with it. Eliminating the need to pour small amounts on a plate that end up getting wasted.
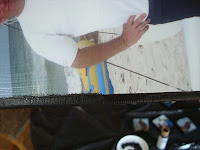
Cover the work surface with a plastic bag. If the paint or mod podge dry to the bag, it will not damage the piece. Paint the edge of the canvas and a bit of the top. Allow to dry completely.
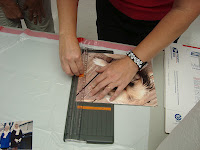
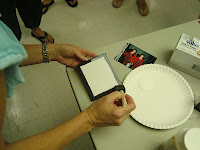
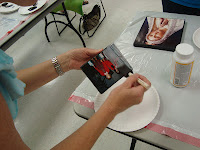
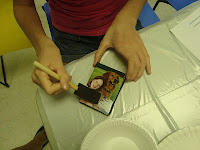
2. Trim photo to fit canvas. I trim it a bit smaller than the edge of the canvas.
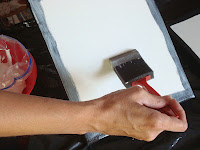
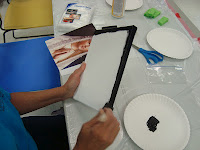
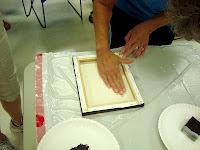
3. Brush even layer of mod podge over canvas

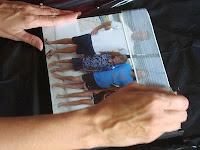
4. Carefully lay photo on canvas starting at one side and roll to the other side. Ok, I accidentally started with the middle and worked outward. It worked, but to be safe, follow Renata's tip. Line up or slide to adjust it.
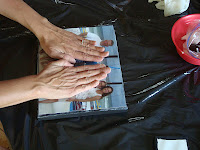
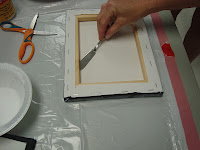
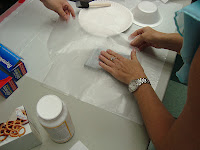
5. Press all bubbles out. Turnover and continue to press out bubbles. Tip: Use a butter knife to help push the air bubbles out from between the photo and the canvas.
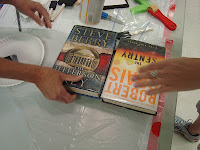
6. Leave flat on table. Put heavy books on if needed to press together.
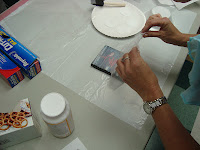
7. Apply first coat (short direction) of mod podge over photo. Ok, I didn't follow directions . . . again. I started the long direction, but it works. Just be careful not to damage the photo with this first coat. Let dry.
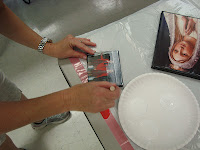
8. Apply second coat (long direction) of mod podge over photo. Let dry.
9. Apply third coat (short direction) and press a piece of clean, dry cheesecloth or sponge texture before it dries. Press into wet mod podge using wax paper if needed.
10. Gently and evenly, pull cheesecloth off while still wet. Pull off any stray strings that might have fallen off cheesecloth (using a straight pin helps). Let dry.
Note: When using cheesecloth, handle it very carefully, and lay it on the table first, placing the canvas above it, slightly over the top edge. After you lay the cheese cloth over the piece, use wax paper to press it into the mod podge, being careful not to slide the cheesecloth.
The cheese cloth adds another dimension to the mod podge texture. I didn't have time to go out and get cheese cloth, so mine doesn't have that effect.
11. Apply modpodge to edges of canvas. This can be done earlier, but will make the edges wet to touch. Let dry.
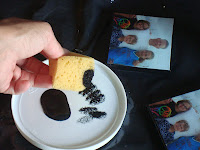
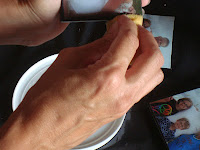
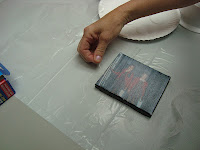
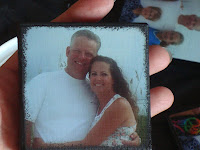
12. Sponge paint edge of photo. Begin with a small amount (dabbing most of the paint off of the sponge) and just touch the edge of the photo all the way around.
Come in slightly on the corners.
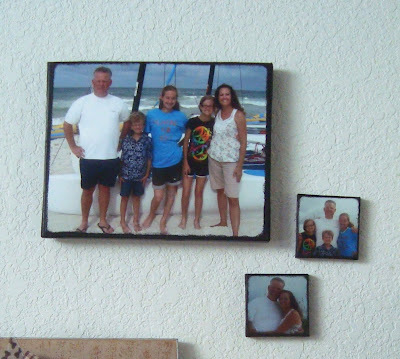
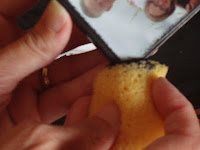
Why paint? Well, besides the cool aged/distressed effect, it helps camouflage the raw edge of the photo (see above where 1/2 is painted and 1/2 is not).
13. Hang and enjoy your canvas photo art.
Note: When you want to hang your finished pieces, you don't have to fill the wall with nail holes as you change your mind over and over again (or is that just me?). Canvases are very lightweight. You can use stick pins to hold the piece in place while deciding.