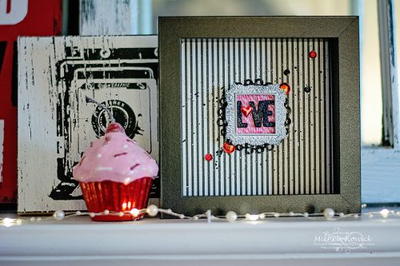
Valentine's Trading Card
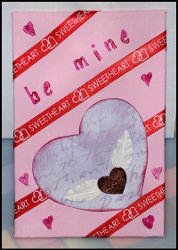
Looking for fun Valentine's Day craft ideas? Make Valentine's Trading Cards from Alyice Edrich! It's a great way to celebrate the loveliest day of the year!

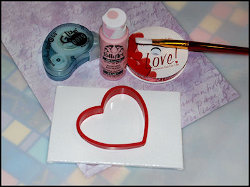
Materials:
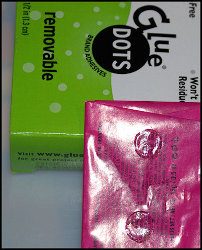
Glue Dots Dot-n-Go Memory Dots
Glue Dots Micro Dots
Glue Dots Removable Dots
4" x 6" Canvas panel
Decorative paper
Sweetheart or "Be Mine" ribbon
2 White fabric leaves (or wings)
1 metal heart
Folk Art acrylic paint: baby pink
Liquitex Quinacridone Magenta
Color Box Stamp pad: Chanti
Mini stamp pads: b, e, m, i, n, and a heart shape
Heart-shaped cookie cutter
Paint brush
Pencil
Scissors
Black Marker
Candy Bar
Instructions:
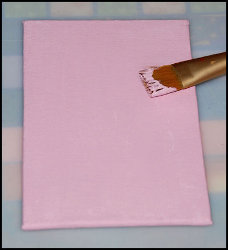
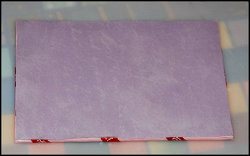
- Paint the canvas panel pink and let dry.
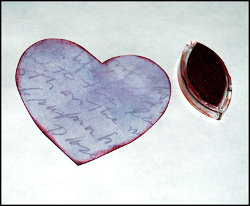
- Trace the cookie cutter on the backside of the decorative paper and cut it out.

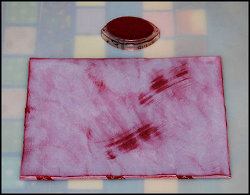
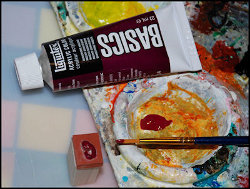
- Use the stamp pad to paint the edges of the heart and set aside to dry.
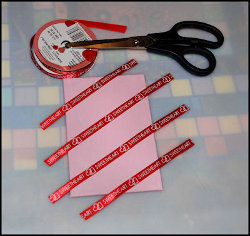
- Unroll the ribbon and lay it diagonally across the top of the painted canvas panel and cut a single strip. Go down an inch and repeat. Continue to do this until you reach the bottom of the canvas.
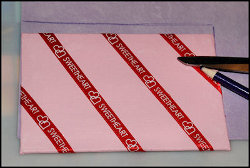
- Place a single Glue Dots Dot-n-Go Memory Dots in the center of the strip of ribbon you've just cut and adhere the ribbon to the canvas. When all ribbon pieces are secure, flip the canvas over.
- Place a single Glue Dots Dot-n-Go Memory Dots at the end of each strip of ribbon. Fold the ends over the canvas panel creating a snug fit and press down.
- Trace the canvas panel on the backside of the decorative paper and cut it out.
- Roll the Glue Dots Dot-n-Go Memory Dots over the backside of the canvas panel, then lay the decorative paper on top and press down, firmly.
- Use the stamp pad to paint the edges of the decorative paper (and if you'd like the top) and set aside to dry.
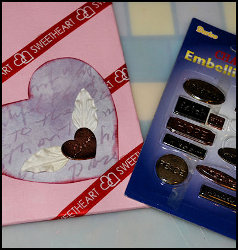
- Roll the Glue Dots Dot-n-Go Memory Dots over the backside of the heart cutout, then lay the heart on top of the canvas panel and press down, firmly.

- Place two Glue Dots Mini Dots on the edge of each white leave and place them on the bottom of the heart at a slight angle.
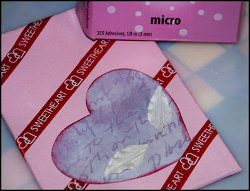
- Place a single Glue Dots Dot-n-Go Memory Dots on the back of the metal heart and place the heart on top of the ends of the leaves.
- Grab your stamp pads and spell out the words, "Be Mine".
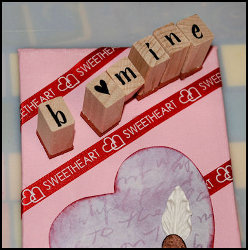
- Use a thin-tipped paint brush to paint the stamp pads, then press the stamp pads down onto the canvas panel, gently. Once the words are spelled out, add tiny hearts in the open spaces and let dry.
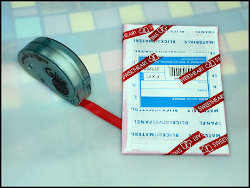
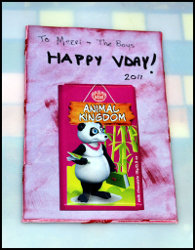
- Place the Glue Dots Dot-n-Go Removable Dots on the back of a thin candy bar and adhere the candy bar to the back of the canvas panel.
- Address the back of the canvas panel.
Note:
- Glue Dots Adhesive was provided, free of charge, by Glue Dots. This post was written while I participated on the Glue Dots design team as a Dottess. www.gluedots.com
Read NextQuick Valentine's Day Wreath