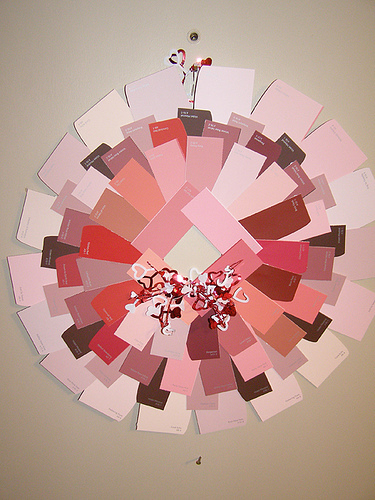
Paint Chip Valentine Wreath
Use paint chips in pinks and reds to create a fun Valentine's Day wreath at little to no cost! Lish uses the paint cards with 4 different shades, perforated between colors for easy separation. Get ready for Valentine's Day with this easy, indoor craft wreath.

Find this pattern and many more in our new eBook, 41 Valentine's Day Crafts: Valentine's Day Cards, Gifts, and More!

Materials:
- 1 12×12 piece of cardboard (I used a piece I found inside a new calendar)
- Paint samples (The number of strips depends on what size your wreath is)
- Double-sided tape
- Hole puncher
- Ribbon, decorative wire, hearts, magic
Instructions:
-
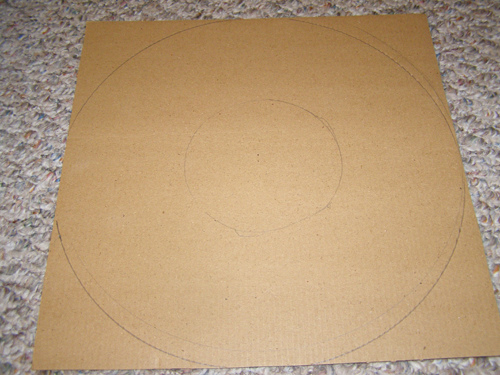
Start by tracing a circle onto your cardboard. I wanted mine to be as big as the piece of board, so I used the top of a trash can. An old record would fill the space nicely, too. For the center hole, I used a small Pyrex mixing bowl. Again, the size of middle will vary on how big or small you want it to be.
-
I used Dutch Boy paint samples from my local grocery store. These worked great because they were perforated, and popped apart easily. If you can’t find perforated strips, simply cut them apart at each different color. Because I had one big sample on each, I used this as the beginning layer of the wreath.
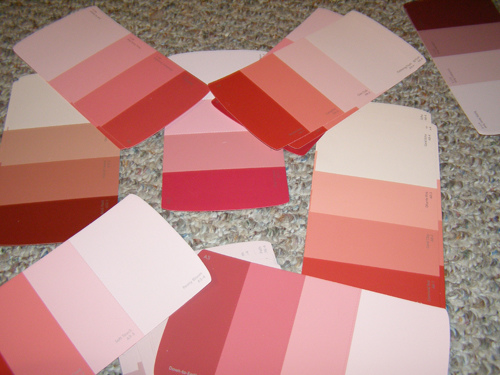
I went around and fanned them out, not paying attention to color. (Feel free to be more coordinated.) I used one piece of double-sided tape on this wreath because I was working with paper products, and was afraid hot glue might be too hot. (This also worked well because the wreath isn’t going outside.)

-
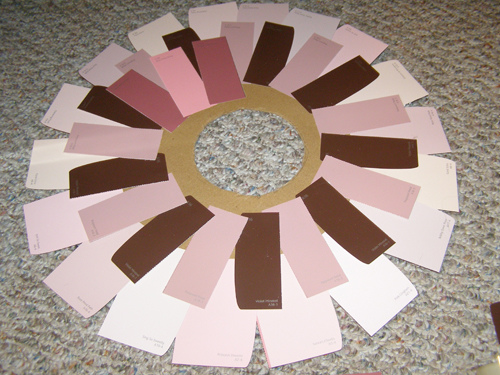
Once your base layer is down, continue making smaller layers, trying to cover any gaps in the cardboard or between samples. I kept going with layers (three) until I reached the center of the wreath, shown in the photo below.
-
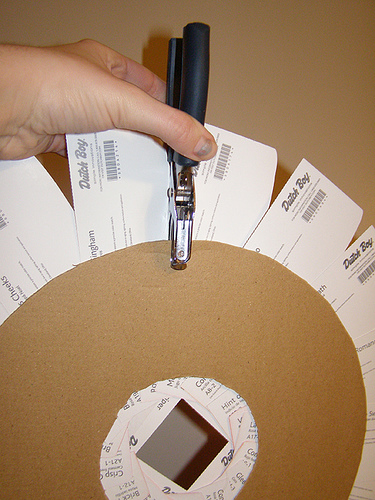
Use your hole punch to make a small hole for ribbon, wire, etc., for hanging.
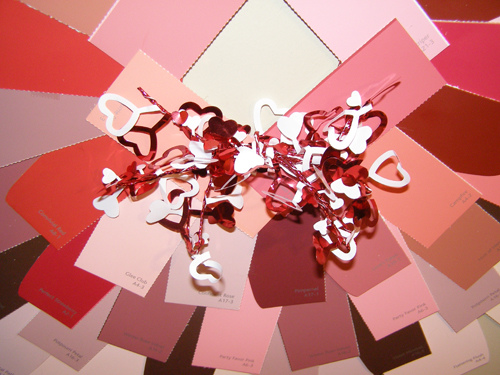
I used some leftover heart wire to make both a hanger and a bow. Feel free to add any “extras” at this point in the game.
-
Hang it up, stand back and admire your work!
Note: While I made mine to go inside my apartment, a varnish might make this wreath more weather-friendly, but I’d suggest using a different base other than cardboard. Depending on the colors you pick, this wreath works great for all sorts of holidays, or when you need a more Technicolor approach to your home decorating.
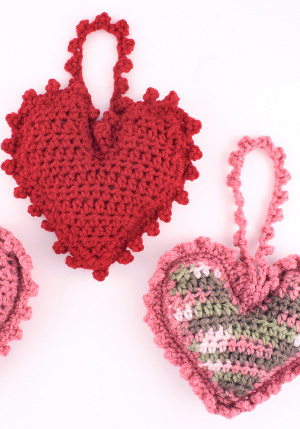
Read NextPink and Red Crochet Hearts Pattern
Your Recently Viewed Projects
Thanks for your comment. Don't forget to share!
marykayser 5527737
Mar 12, 2013
I'm surprised this little craft took on an ethical discussion about stealing. I see your point - if you're not taking the samples for the intended use, it's wrong, but I think calling it stealing is a stretch. If it's FREE, is it stealing? But then again some people feel like it's not a crime if there is no victim. For example - a white lie. Who does it hurt? But that's no justification. I guess there's so much BIG stuff to worry about that I don't fret over something this small, hence the crack in the dam that eventually causes the flood! In a perfect world there would be no wrong, only good. For now a few paint chips is not high on my list of evils.
TN Lizzie
Jan 26, 2013
artist I appreciate your integrity but there are creative sources for paint samples Walmart Sears and Interior designers throw away tons of samples every year The paint companies change out their samples to reflect the latest trends Why not meet someone in your local architectural or interior design community and simply ask for their trash Where does their unclaimed trash go THE LANDFILL Check this out http www zerolandfill net Stealing anything is unethical but using objects for something other than their intended use is called creativity You vilify another artist which is not unlike stealing their good name and cannot seem to see the artistry in crafting with unlikely materials Dutchboy is getting good advertising from this Companies donate old materials to my -H group - they know we will use them to make entries in the Arts and Crafts division at the county fair and win prizes which gives…Read More them free publicity It's a win-win situation
artist 1859697
May 06, 2012
Personally, I question the ethical implications of this project. It's highly unlikely that anyone would have enough, in the right colors of these paint chips taken for legitimate reasons (ie, to sample paint you are truly considering) Most likely, they would be taken for the express purpose of completing the project, which is theft. While I recycle and upcycle, I stop at just taking things that are paid for by companies for the use of those considering their products, just to make a craft project. I consider this craft to be unethical, in general and a sad sign of our society's selfish attitude. "They're free" is no excuse for taking items to use for something other than their intended use. These are supposed to be tools to help people choose paint, not free materials for craft projects.
jifrpreston
Nov 24, 2011
This is a nifty idea, but I would try to make sure that the color names were put towards the center so as to not distract from the pattern. Of course, this would also depend on the type of swatches you could get, or if you were doing this for a product presentation. :)
Report Inappropriate Comment
Are you sure you would like to report this comment? It will be flagged for our moderators to take action.
Thank you for taking the time to improve the content on our site.