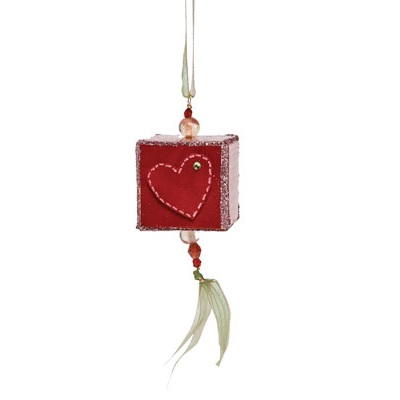
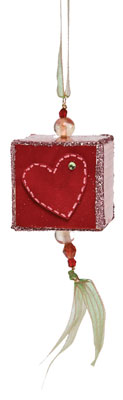
Heart Box Necklace
This red heart, box necklace made with your choice of paper would complete a Valentine's Day outfit. The unique necklace designed by Lisa Fulmer for C&T Publishing also makes a great Valentine's Day gift or party favor.
Materials:
- 24″ length of cord or ribbon
- 3 different red and/or pink specialty papers (such as a pink metallic, red metallic, and red velvet)
- 1 Ready-to-Go!® 1 1/2″ Blank Board Block
- Screwpunch or other sharp, pointed tool
- Straight pin
- 5 or 6 decorative beads
- 3″ beading headpin
- Rounded beading pliers
- Wire cutter
- Assorted embellishments and/or small photos
- Your favorite paper adhesive
- Red or pink glitter
Instructions:
- Cut 2 squares 1 3/8″ x 1 3/8″ from each paper. You should have 6 squares, one for each side of the cube. Decide which 2 squares will go on the top and bottom of your cube, and poke a small pinhole in the center of those squares.
- Use a screwpunch or a sharp, pointed tool to make a small hole (about 1/8″ diameter) in the center of the block’s top and bottom sides. Make the holes big enough to easily pass a beading headpin through the center of the block.
- Select a few beads for the bottom of the cube, drop them on to the beading headpin. Feed the headpin through the pinhole in the bottom square of paper, with the side to be glued facing up. Apply your favorite adhesive to the bottom of the cube, then feed the headpin through the hole in the bottom, so it comes out through the top. Press the paper into place on the cube.
- Apply adhesive to the top of the cube, then feed the paper for the top (the side to be glued faces down) on to the headpin and press into place on the cube. Careful not to let the headpin slip out of the cube! Add a few desired beads to the top of the headpin, keeping about 3/8″ of the pin above the top bead, and use wire cutter to snip off any excess. Use rounded beading pliers to curl the remaining section of pin into a loop.
- Adhere the remaining 4 squares to the sides of the cube. Embellish the sides as desired (shown: a heart cut from the red velvet paper, adhered with foam tape, and outlined with a white opaque marker to look like stitching, with self-adhesive rhinestone).
- Apply a thin line of glue to each edge of the cube and dip into glitter, one edge at a time. Allow to dry.
- Thread a length of cord or ribbon through the loop above the top bead, and knot the ends. Your necklace is ready to wear!
Alternative: Use a 3″ eye pin instead of a headpin, if you want to add a little tassel to the bottom of the necklace as shown. Feed a couple 2″ lengths of ribbon through the loop of the eye pin so the loop is in the center of the ribbon. Fold the ribbon ends down and twist them in the center snugly against the loop, then tightly wrap a short length of beading wire (24 gauge works well) a few times around the twisted area to secure. Trim off excess wire, and trim the 4 ribbon ends to varying lengths.
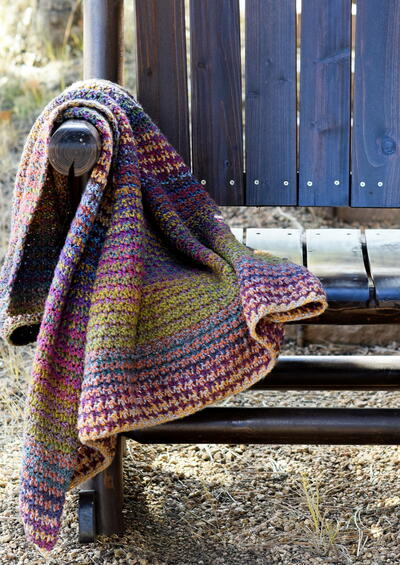
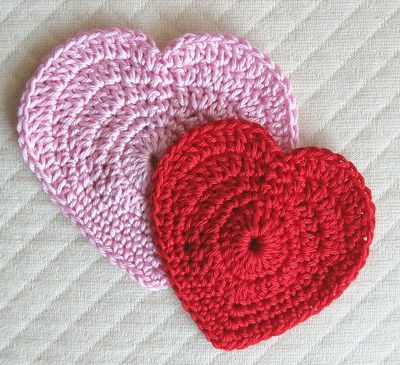
Read NextPink and Red Crochet Hearts Pattern