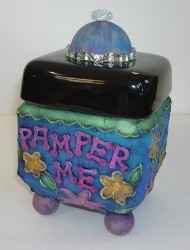
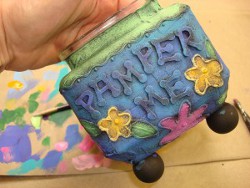
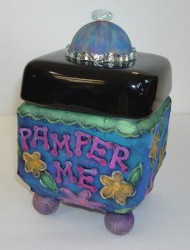
Pamper Me Jar
All out of decoupage craft ideas? Find crafty inspiration with this Pamper Me Jar from Heidi Borchers. Life can be crazy, so use this jar to remind yourself to unwind and de-stress. Use paint, foam letters, and other materials to customize this piece.

Materials:
- Jar with lid
- Collage glue ( I used Aleene’s Collage Pauge)
- Brush- 1/2” flat
- Wax paper
- Paperback Book Pages (I used a romance novel)
- Ruler
- Acrylic Paints- Black, Purple, Med Purple, Medium Blue, Light blue, Medium Green, Light Green, Dark Pink, Light pink, Yellow Orange
- Wood balls-1” for legs- 4
- Glue- To attach wood legs and for the look of embossing(I used the Aleene’s Original Tacky Glue )
- Craft foam letters- 3/4” tall with adhesive back
- Tape- for glue bottle nozzle
Instructions:
- Tear or rip the pages of book. Place several pages on table top, place ruler where you want to tear page. Place one hand on ruler to hold in place, and rip the pages with the other hand.

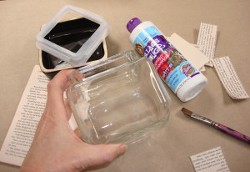
- Place jar and supplies on wax paper on workspace.
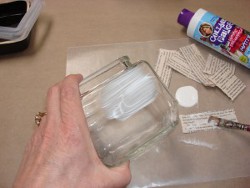
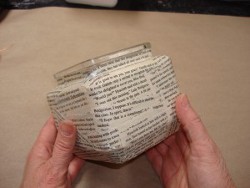
- Working a small area at a time, brush the Collage Pauge glue onto the surface of the glass jar.
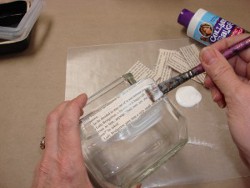
- Brush Collage Pauge glue on the back of the paper. Place glue side down onto the jar in the wet glue. Brush collage glue over top of the paper.
- Continue until entire jar is covered.
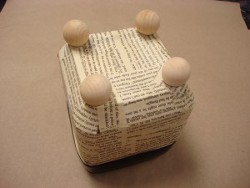
- Glue the wood balls for legs to the bottom of the jar. Let glue dry.
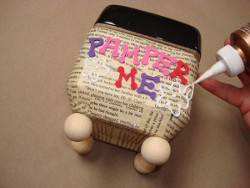
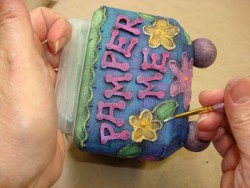
- Remove the adhesive from the letters and place onto the prepared jar. To create a fine line of the glue for the look of embossing, place a tape nozzle over the glue nozzle. Lightly trace with pencil flower and leaf designs around bottle. Squeeze glue out onto the traced lines. Let glue dry.
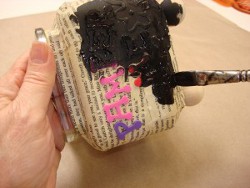
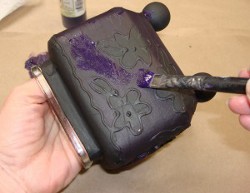
- Paint entire jar, over the letters and the dried glue designs with the black acrylic paint. Let paint dry.
- When adding the paint colors to the background of the jar, use a dry brush technique. When you put brush into paint, wipe off excess before placing paint on the background. Lightly brush purple paint onto the background.
- Using the same dry brush technique, apply the medium blue paint to the background.
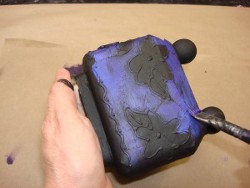
- Continue to apply different colors to the background using the dry brush technique.

- Using the same dry brushing technique, apply the colors to the embossed glue designs (flowers and leaves).
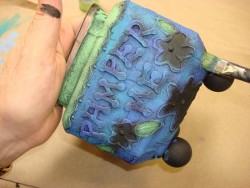
- Lightly brush paint onto the letters and onto the legs.
- Use a liner brush for the detail around the flowers and leaves.
- To put ‘pampered’ ideas into the jar, print onto paper cut out and place into jar. "Pamper Me" ideas to get you started: Manicure, Pedicure, Massage, Creative Day, Read A Book…
For a comprehensive video tutorial of this project, check out How to Make a Pamper Me Jar.