Hope Springs Eternal Kinetic Art
You might be asking, "What are kinetic art projects?" Let this Hope Springs Eternal Kinetic Art from Candace Jedrowicz be your guide to this fun and innovative style of crafting. Use a meaningful quote to make the project stand out from the crowd.

Materials:
- Decorative Papers – 12″ x 12″
- Foam core board – a circle (mine is 8 1/2″ and two smaller squares)
- Aleene’s Original Tacky Glue
- 20 Gauge wire – about 2′
- Plastic paint brush cover cut to about 3/8″ (long enough to go through 2 layers of foam core board)
- Decorative buttons, gems and beads
- Head pins – 16
- Washers – 5
- Poem or saying in separate words or letters
Instrucions:
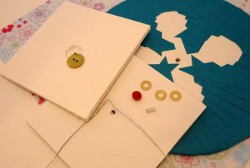
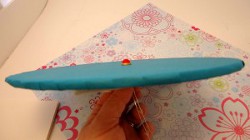
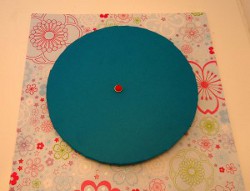
- Cover the foam core board circle with decorative paper.
- Make a hole in the center of all three foam core board pieces, large enough to fit the brush cover into.
- Choose a button for the center of the turn mechanism.
- Choose a flat button for the back of the second square of foam core board. Carve out a divot for the button to make it sit flat against the back.
- Thread an 8″ piece of wire through the shank of the center button and fold in half.
- Thread washers over the shank of the button right up to the wire. If you use a holed button, you won’t need the washers.
- Push the brush cover into the hole of the circle and the first square.
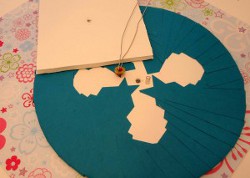
- Glue the circle and the first square together.
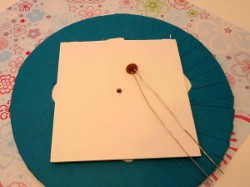
- Thread the wire through the front of the circle, making sure that the button will not flop around when the circle spins. If it’s floppy, add more washers.
- Add two more washers to go between the 2 squares.

- Thread the wire through the second square, through the button holes and flatten the wire ends.
- Trim the wires to the edge of the square.
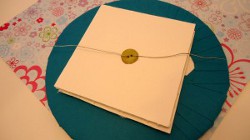
- Glue the second square to the back of your piece.
- For the Slinky wire, wrap about a foot and a half, or more, around a small cylindrical shape, like a fat paint brush handle.
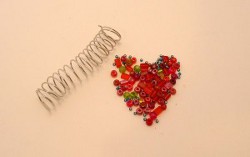
- Slide the coil sideways to flatten it a bit.
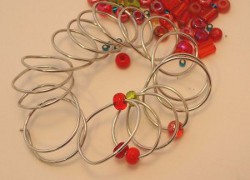
- Add as many beads as you would care to have. They will move around delightfully when you turn the wheel.
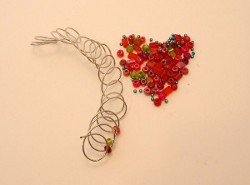
- You’ll need a bead with a fairly large hole to secure the end of the wire.
- Thread it around the first loop and onto the end of the wire.
- Hook a couple of loops together to make a circular shape.
- Glue the Slinky to the center.
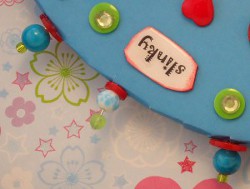
- Add your saying and decorative elements.
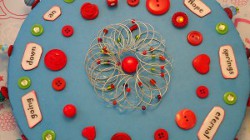
- Thread beads and buttons on head pins.
- Put a drop of glue on the outer edge of the circle and slide the head pins into place.
- Mount in a 12″ x 12″ dimensional frame with the glass removed.