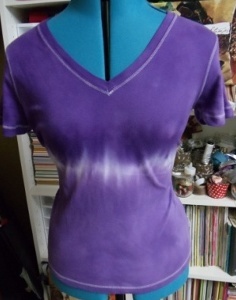
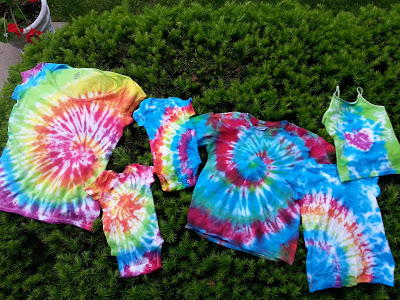
Peace and Hope Tie Dye Tee Shirt
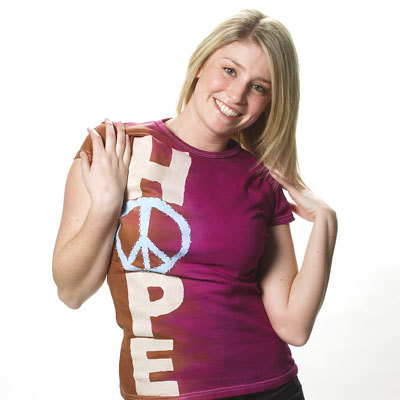
Make your own Peace and Hope Tie Dye Tee Shirt with only a few materials. If you were wondering how retailers produce those tie dye t-shirts with peace signs on them, this tutorial will show you how to do it yourself. You can even choose your own style of shirt and your own colors for the dye to personalize this craft. This tee is a must-wear in the summer and you could even make them as gifts for almost anyone. Celebrate your inner hippie with this pretty tie dye t-shirt.
Primary TechniqueGeneral Crafts

SeasonSummer
Materials:
- Tulip® One-Step Tie-Dye Kit® Purple
- Tulip® T-shirt Form
- Tulip® Soft Fabric Paint™: Cool Blue 1oz, Linen 1oz
- Clear Tulip® Glam-It-Up!™ Iron-On Crystals™
- Computer and printer
- Jerzees T-shirt – white – 100% cotton
- Trash bags
- Contact paper
- Sponge
- Scissors
- X-Acto knife
Instructions:
- Prewash T-shirt to remove sizing. Do not use fabric softener.
- Cover work surface with trash bags. Lay damp T-shirt on prepared surface.
- Wearing rubber gloves, add water to dye bottles up to line indicated. Replace caps tightly and shake until dye is dissolved.
- Squeeze Brown dye onto left section of T-shirt, covering only about a quarter of the shirt. Squeeze Purple dye onto remainder of shirt, blending into the brown so no white remains.
- Cover shirt with trash bag and let sit 4-6 hours. Wash in a large load of water with a small amount of laundry soap. Dry in dryer.
- While waiting for the shirt, type up and print out the letters “H,” “P” and “E” in your favorite font as well as a “peace” symbol, making sure the letters are large enough to fit down the entire length of shirt. Refer to photo. Cut out letters and peace sign, then trace onto contact paper and cut out with X-Acto knife to create stencils.
- Position stencils on the left of shirt, with middle of letters over section where dyes meet. Refer to photo. With peace symbol acting as an “O,” the stencils should form the word “HOPE.”
- Pour Linen Soft Fabric Paint™ onto a piece of foil and use sponge to dab an even coat of paint into all stencils except the peace sign. Pour a puddle of Cool Blue paint onto foil, then, with a clean sponge, dab Cool Blue into peace sign. Remove stencils and let paint dry.
- Once paint is dry, use Fashion Art Tweezers™ to place clear crystals evenly spaced around peace sign. Refer to photo. Adhere crystals to shirt with Cordless Heat-Setting Tool™, following package instructions.
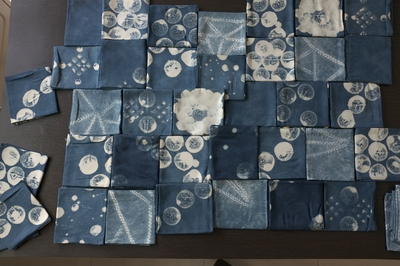
Read Next6 Shibori Tie Dye Techniques