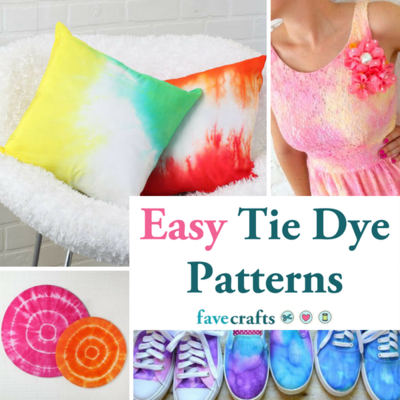
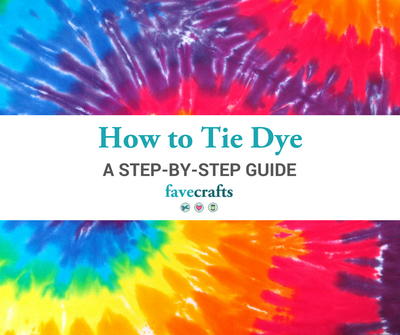
Mood Indigo Tie Dye Design
Tie dye techniques do not need to be limited to bright tees. Check out this indigo dye tutorial and learn how to make a classy bedspread.

Tie dye techniques do not need to be limited to bright, spiral tees for the summer. This time-honored crafting technique can easily be applied to plenty of projects. Dyeing fabrics is a great way to upcycle, recycle, and transform just about any fabric. Grab a bottle of the ever-popular indigo dye and get to creating a bedspread you can be proud of.
Unlike many other tie dye techniques, this how to tie dye tutorial is a bit more involved and much better suited for DIY crafts for adults. This tutorial focuses primarily on how to make a bedspread, but you could easily use this idea to make other DIY home décor ideas like curtains or a tapestry. Plus, if you have an old pillowcase or bed sheet to recycle, consider using this tie dye technique before using free sewing pattern to make a brand new dress or skirt.
Time to CompleteIn an evening

Project TypeLearn a Technique
Materials List
- Tulip® One-Step Tie-Dye Kit® Turquoise (21548)
- Plastic bags and cellophane
- Rubber bands in various shapes and sizes
- Marbles in various shapes and sizes
- Gloves
- Plastic drop cloth
- Plain white duvet cover, King
- Washing machine and dryer
Instructions
-
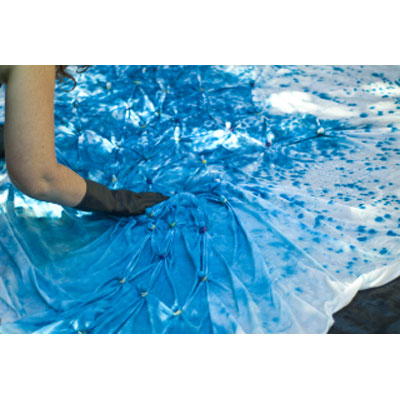
Prepare your work surface by laying out the plastic drop cloth. Sketch out a design that you love. I went for a random scattering along the diagonal of the duvet cover.
-
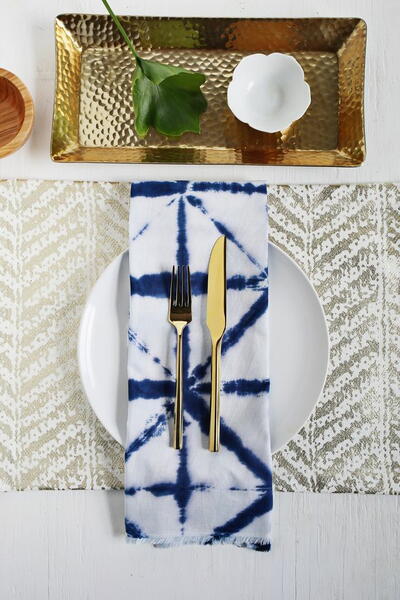
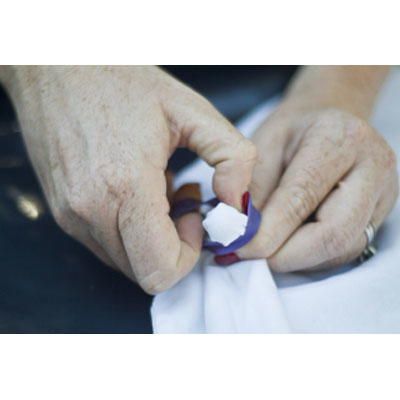
Shibori dying relies on fastening the fabric around a relief. One simple relief technique is to secure a marble on the backside of the fabric with a rubber band.
Hold the marble to the back of both layers of fabric, then wrap the rubber band around the top of the fabric as tightly as you can. To make sure the marble is held in place, give the fabric a good tug. -
Everywhere that you want a diamond, tie in a marble.
-
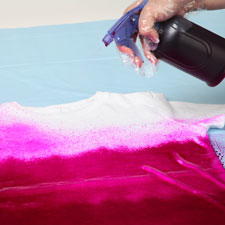
Once you have tied all the marbles, get the fabric wet with water. Then, don your gloves, and fill the Tulip One-Step Dye with water up to the line. Shake the bottle vigorously until all the dye powder is dissolved. The prepared dye is best used in the next 45 minutes.
-
Now, just cover the duvet with dye. I emptied the first bottle down the center where my marbles were. Then I filled in the corners with the second bottle, and used the third bottle of dye for filling in the spots that I missed. To blend in all the drops of dye, massage the fabric by kneading it all over with your hands. I really got a workout with the heavy soaked duvet cover, but the dye became homogenous and took to the fabric beautifully.
-
Cover the duvet with plastic to keep it damp, leave it for 6-8 hours, then rinse it out as well as you can. Remove all the rubber bands and collect all the marbles before you throw it in the washer and dryer. Follow the Tulip One-Step Dye's easy instructions for washing and caring for the fabric in its early stages. Voila!
Let Us Know:
What other household items could use a tie dye upgrade?
Read NextHow to Dye Cloth Napkins
Your Recently Viewed Projects
Thanks for your comment. Don't forget to share!
azulwaterz 6332709
May 24, 2016
SO funny! I laughed at the cat picture! I was hoping for instructions on dying the cat! Oh well, sheets are cool also. FaveCraftsTieDye
Mistress of All Ev il
Mar 11, 2016
I'm not going to lie. The cat is what brought me in. My tie dye skills aren't up to par quite yet, but I'm sure I'll return to this tutorial a bit later (read over the summer when I feel like the Tie Dye Queen).
Report Inappropriate Comment
Are you sure you would like to report this comment? It will be flagged for our moderators to take action.
Thank you for taking the time to improve the content on our site.