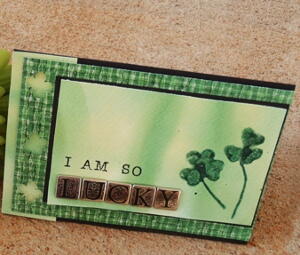
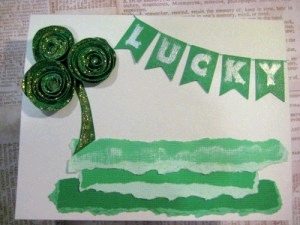
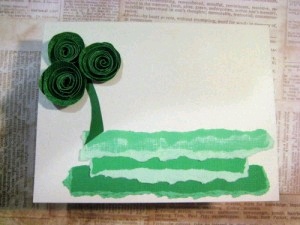
Sparkly Shamrock Card
St. Patrick's Day cards are a fun and thrifty way to celebrate the holiday and tell someone they're special to you. Make this sparkly shamrock card from Consumer Crafts to celebrate your Irish heritage.
Materials:
- Pearls Core’dinations cardstock (white)
- Martha Stewart Scoring Board
- Core’dinations cardstock family pack (Shamrock greens)
- Perfect Pearls (pearl powder, embossing ink pad, paint brush)
- Birthday Bash Cricut cartridge
- Stickles (icicle)
- Sanding block or sand paper
- Hot glue gun
- Adhesive runner (Glue Glider Pro)
- Green marker
- Alphabet stamps
- Paper trimmer
- Scissors
Instructions:
- To start off, take a sheet of the Pearls cardstock and cut it in half, so that it is now 8.5″ x 5.5″. Then, using your scoring board, score that piece in half and fold to make a card that is 4.25″ x 5.5″ in size.
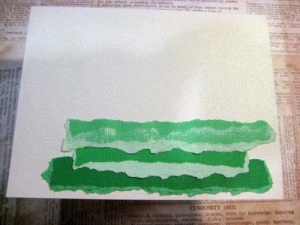
- Next, take 3 pieces of cardstock from the Shamrock Greens family of Core’dinations, and tear off a piece of each, 3-4″ long. Tear on all 4 sides, sand the tops of the paper, and then glue to the lower right corner of the card, using your Glue Glider Pro.
- Tear three strips of cardstock from same color family, sand, and glue to card using Glue Glider Pro.
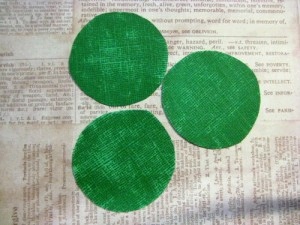
- Now for the fun part…creating the shamrock! Cut out 3 circles from the darkest color of green cardstock in the pack, roughly 2″ in diameter each. Don’t worry about making your circles perfect! Then sand the circles as desired.
- Cut out 3 circles, roughly 2" in diameter each.
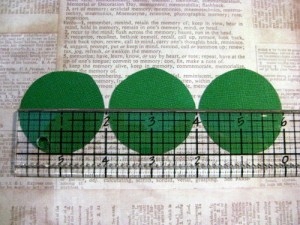
- Sand circles as desired to reveal core.
- Then, using your scissors, start at the outer edge of a circle, and begin cutting around and around towards the center of the circle, creating a spiral. This is what it should look like after cutting:
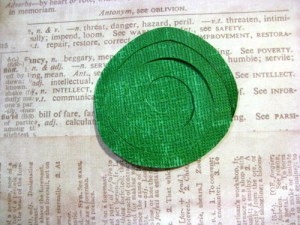
- Cut a spiral, starting at outer edge of circle.
- Repeat for all three circles. Next, beginning with the outermost piece of the spiral, begin rolling the cardstock. I like to use tweezers for this part, to help me hold the center of the spiral and assist in the rolling process, but they are not necessary. It is possible to just use your fingers to do the rolling.
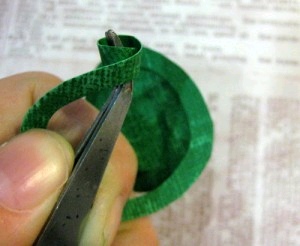
- Begin rolling cardstock, starting at outermost edge.
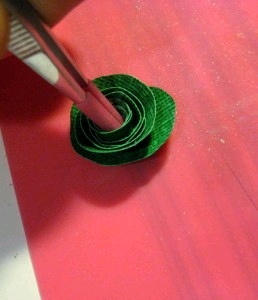
- Once the entire spiral is rolled, the center-most part will naturally fold under and become the base for the rolled flower. Using tweezers or your fingers to hold the flower in place, use a hot glue gun to put glue on the very bottom of the flower – on top of the folded-under center part – and push the entire rolled flower down into the glue. It will dry very quickly.
- Hold rolled flower down, and apply hot glue to flower base to hold spiral in place.
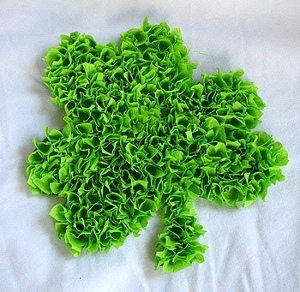
- Once you’ve repeated for all three circles, cut a small piece of green cardstock to be the stem for the shamrock, and then glue all the pieces onto the upper left corner of the card, forming the shape of a shamrock. I used the Glue Glider Pro for the stem, and the hot glue gun to glue down the rolled flowers. For a final touch on the shamrock, add some Stickles as desired.
- Glue stem and all three rolled flowers to card to form the shamrock.
- Next, using the Birthday Bash Cricut cartridge, cut out 5 banner pieces at 3/4″ size. Stamp the letters for “LUCKY” on the banner pieces using alphabet stamps and Perfect Medium ink pad that comes with Perfect Pearls. (Alternately, you can use an embossing ink pad.) Then, using a fine paint brush, dip it in the jar of “Perfect Pearl” color of Perfect Pearls, and brush the powder over the stamped letters.
- Finally, glue the banner pieces in place across the upper right part of the card, and use a green marker to simulate string/rope in between the pieces.
- Add banner pieces to upper right part of card; use green marker to fill in as "string" between the pieces.
Read NextHow to Catch a Leprechaun