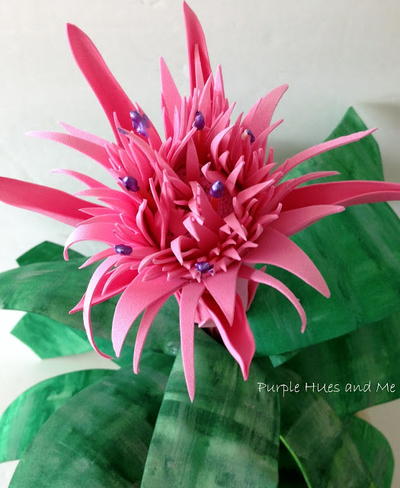
Illuminated Blossoms Spring Craft
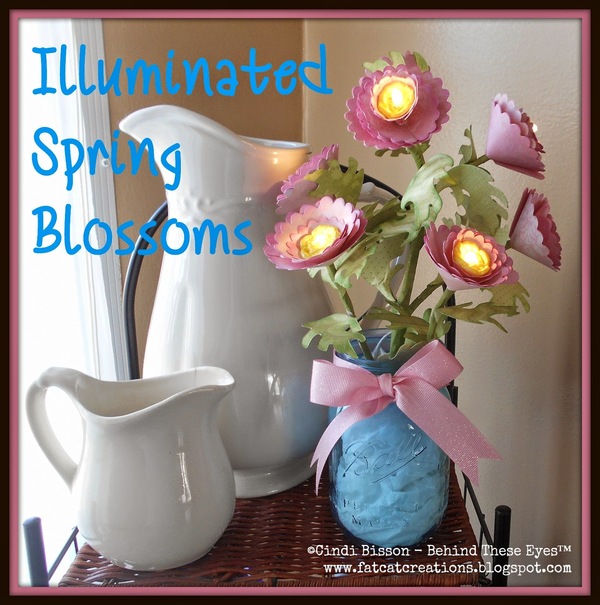
These Illuminated Blossoms Spring Craft is a pretty way to usher in warmer spring days. Display them near a sunny window for a little springtime cheer. When the sun goes down and the light of day begins to darken, you can relish in the beauty of spring craft ideas. Turn on the lights in the center of each floral and watch the warm sunny glow illuminated from within the flowers themselves! You might think that this project requires a lot of time and energy, but think again! In fact, you can actually start and finish this project in a single day.
Estimated Cost$11-$20
Time to CompleteIn an evening
Primary TechniqueMixed Media
Type of Paper UsedScrapbook Paper

SeasonSpring
Materials List
- ADORNit Blender Basics Paper Pack
- FloraCraft Design It: SimpleStyle LED Lighted Branch
- Sizzix Big Shot, Eileen Hull Bigz Flower 3-D Wrapped, Flourish & Leaf
- Makin's Clay - 120g White, Floral Push Mold
- DecoArt Americana Decor Chalky Finish Paint - New Life
- Clearsnap ColorBox Crafter's Ink Pad - Sweet Pea, Jungle
- Earth Safe Finishes Ann Butler Designs Iridescents - Sunshine
- Offray Ribbon - 7/8" Glitter Pink
- Westcott Titanium-Bonded Non-Stick Scissors
- Beacon Tacky Glue
- Vintage Blue Mason Jar
- Paintbrush, craft sponge
Instructions
-
Paint LED lighted branch with green Chalky Finish paint. Let dry.
-
Use Big Shot Machine and Flower 3-D Wrapped die to cut multiple From pink patterned papers in ADORNit Blender Basics pack. Number of flowers cut will depend on number of finished flowers. For the 7 flowers I made, I cut 10 large size, and 11 small.
-
Use Big Shot Machine and Flourish & Leaf die to cut multiple leaves from assorted green patterned papers in ADORNit Blender Basics pack.
-
Sponge edges of pink flowers with Sweet Pea ink, edges of leaves with Jungle ink.
-
Assemble flowers per instructions on die - for five I used 2 large flowers and one small for the centers; for two of the flowers I layered 3 of the small.
-
Mount flowers, using Tacky Glue, to the end of each branch with the light in the center of the flower.
-
Mount leaves randomly to each branch and to the stem.
-
Open 120g white Makin's Clay and cut about 1/4" of package. Place remaining clay in zip lock bag with damp paper towel for later use. Use floral push mold to create 7 flowers for centers of paper flowers. Carefully push end of paint brush through the center of each clay flower while wet to create hole for the light.
-
Paint flowers with Sunshine Iridescents paint. Let dry.
-
Carefully insert each clay flower over the light, use Tacky Glue to hold in center of flowers.
-
Add batteries per instructions and insert floral branch into blue mason jar, add white tissue paper to cover the wire and battery pack.
-
Tie glitter pink ribbon around rim of jar and tie bow.
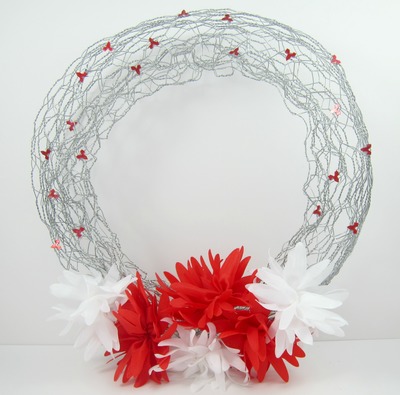
Read NextChicken Wire DIY Spring Wreath