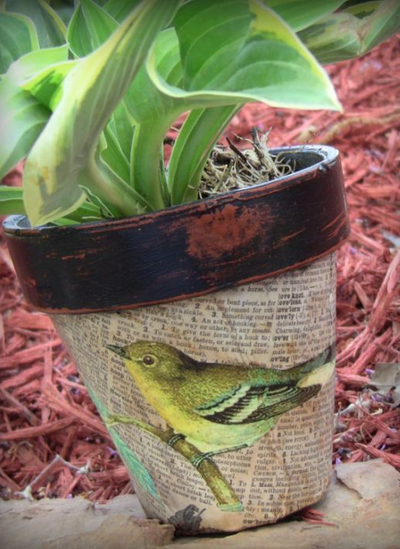
Clay Peepers
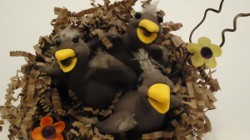
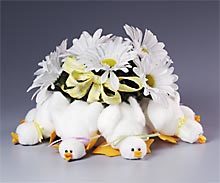
Who doesn't love adorable polymer clay animals? Create cute Clay Peepers from Candace Jedrowicz to celebrate spring. Make them a nest and display them in your home for instant cheer!

Materials:
- Water bottle – any size
- Crinkle paper
- Glue – I used Aleene’s Original Tacky Glue
- Polymer clay – I used combined leftover clays to make a grayish brown, yellow and black
- Feathers
- Twigs
- Fabric flowers
- Clear glossy sealer
- Brown acrylic paint
- Aluminum foil
Instructions:
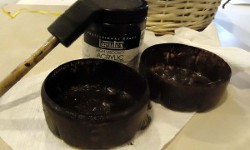
- Cut off the bottom of the water bottle. EcoHeidi recommends making the first cut with a craft knife, then use scissors to finish.
- Paint with brown acrylic – or any color you want, depending on the color crinkle paper you chose.
- When the paint is dry, cover the outside with glue. You can use a brush to apply the glue, or use your finger to spread it out, like I’m about to do here.
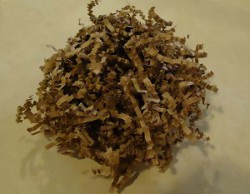
- Set the whole thing into a big pile of the crinkle paper. Push the paper up around the glue to secure it.
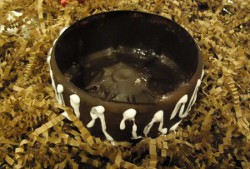
- Apply glue to the inside and continue to push the paper to the inside. You may want to set something on top of the paper inside to firmly attach the paper.
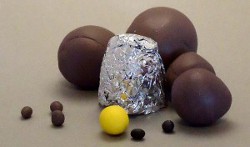
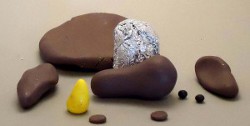
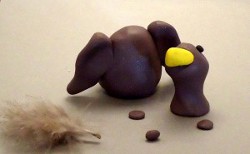
- This photo shows the proportions of polymer clay you’ll use to make each bird.
- Using about an 8″x8″ piece of foil and squish it down to a gum drop shape.
- Flatten the largest ball of clay to about 1/4″thick. Mold it over the foil shape and give it a flat bottom.
- Use the second largest piece to begin the head and neck.
- The next size down will be the wings. Make them into a long tear drop shape.
- Make a cone from the yellow clay for the beak.
- Roll the tiny black pieces into eyes and press them gently on the head.
- Slightly flatten the beak and press on below the eyes. Keep in mind his little face is looking up.
- Flatten two of the small pieces for cheeks. The third piece will be his tongue.
- Trim the downy parts of the feather.
- The cheeks are set on the sides of the beak.
- Use a craft knife to “open” the beak.
- Press the tongue into place.
- Bake the clay according to the directions.
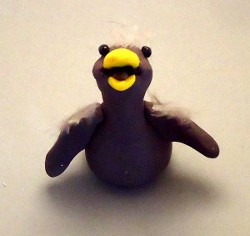
- Glue little bits of down on top of his head and wings.
- Drop a tiny drop of glossy sealer on the eyes.
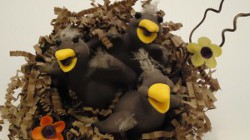
- The twigs are optional, but, if you use a muted color of clay like I did, the twigs are a great way to bring in the colorful flowers with jewel centers.
For a comprehensive video tutorial, check out How to Make Polymer Clay Peepers in a Nest.
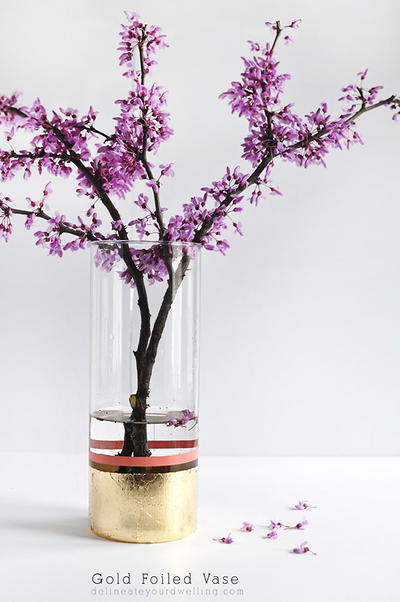
Read NextDIY Gold Foiled Vase