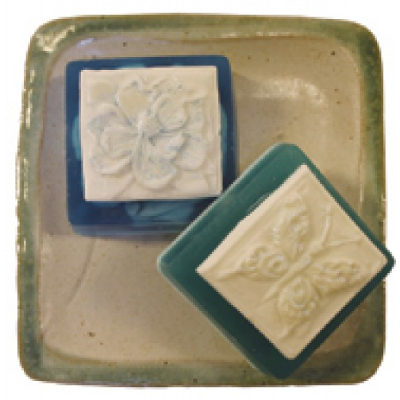
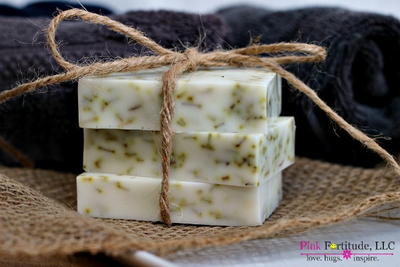
Melt and Pour Soap Basics
Melt and pour soap making is fun and easy. You do need to know a few things that will help you make the best soap possible. Here are a few things I’ve learned as a soap maker.
.jpg)
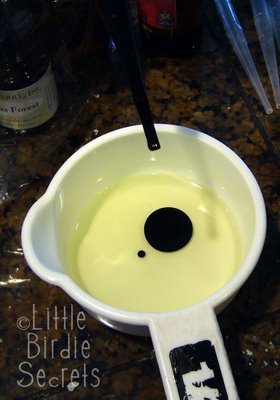
The easiest way to use melt and pour soap is to melt it in a microwave. Melt and pour soap is sold in blocks so you’ll need to chop up the soap into smaller bits and pieces. The finer you chop the soap base, the quicker it will melt when microwaved.
Follow manufacturer recommendations, but in general using a 4 cup microwaveable measuring cup filled 3/4 full, you will microwave on medium for 1 minute, then in 15 second intervals until the soap has completely melted.
Never leave the “cooking” soap unattended and never allow the melting soap to boil or smoke. If the soap is boiling or smoking, you’ve melted it at too high a temperature. Microwaves vary so it’s important that you melt the soap on medium rather than high. If your soap base is boiling or smoking, remove from microwave using a pot holder and allow it to cool enough for a light skin to form at the top. Remove this skin before adding scent, color, or any other additive. This soap is useable, but may feel rubbery.
If you get bubbles in your soap or on top of the soap as you are pouring it into a mold you can make the air bubbles disappear by spraying the surface with alcohol, either cosmetic grade or rubbing alcohol. Alcohol helps make glycerin melt and pour soap base even clearer looking, but only add a few drops per cup of soap.
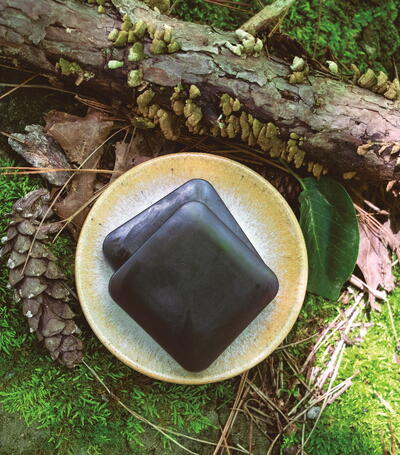
Soap mold rarely need any form of release applied, but read your mold packaging carefully. If you are making your own mold keep in mind the mold should be flexible enough for you to “pop” the soap out of it. If making a loaf of soap, cut it as soon as it has cooled as waiting past this point will make the soap more difficult to cut. You can polish soap with oil and a paper towel to give it a pretty sheen. Use almond, coconut, or vegetable oil with no scent.
Keep your finished soaps in air-tight containers in a cool, dry place. Melt and pour soap has a self life of well over 6 months if fresh fruits or botanicals have been used, slightly more if no fresh ingredients were added. Keep your soapmaking tools clean and dry.
Some great soapmaking videos:
Learn more about Maria and see her other articles here.
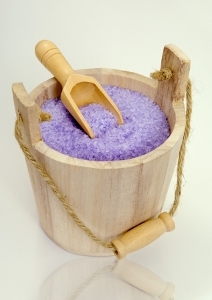
Read NextSimple Homemade Bath Salts
Your Recently Viewed Projects
Thanks for your comment. Don't forget to share!
Weberme
Oct 24, 2018
Do you like all natural soaps but find that they are expensive to buy then why not make them yourself. You can add some essential oils or freash herbs to gie you those health benifits and you can even use some natural colorents. It is not as hard as it seems and this tutorial walks you through. I am looking forward to making some real soon. Frankensence may be my first.
Report Inappropriate Comment
Are you sure you would like to report this comment? It will be flagged for our moderators to take action.
Thank you for taking the time to improve the content on our site.