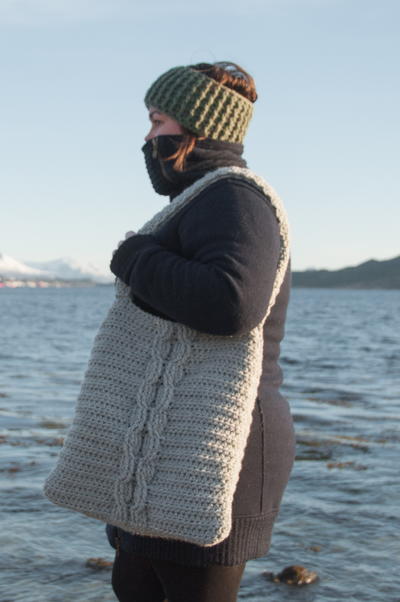
Sweatshirt Tote
Looking for unique free craft ideas? Try transforming your old sweatshirts into Sweatshirt Totes with this step-by-step tutorial by Jane Skoch.

Materials:
- Old sweatshirt
- Stretch Needle
- Thread
- Scissors
Instructions:
- Cut off bottom band of sweatshirt.
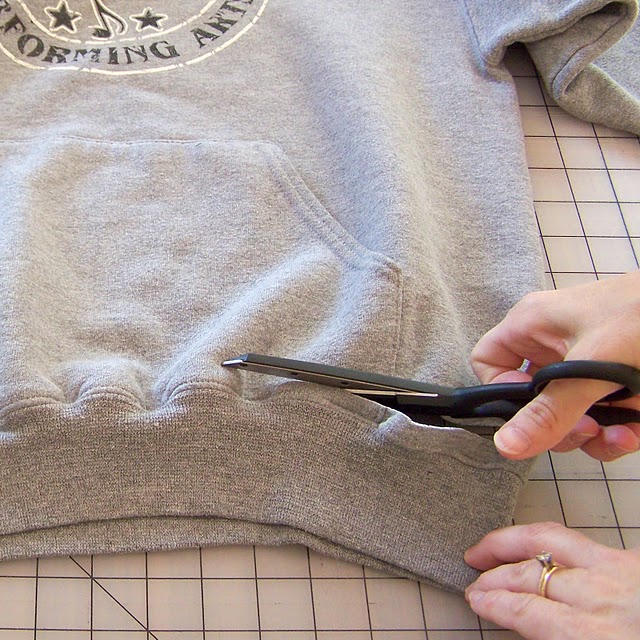
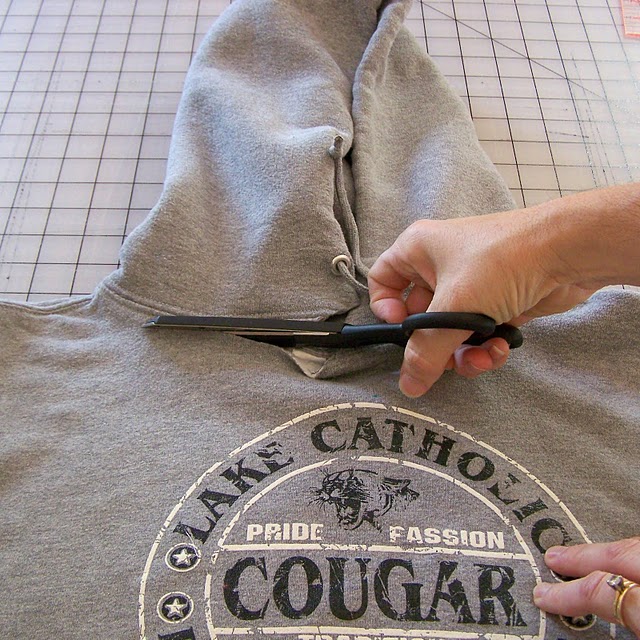
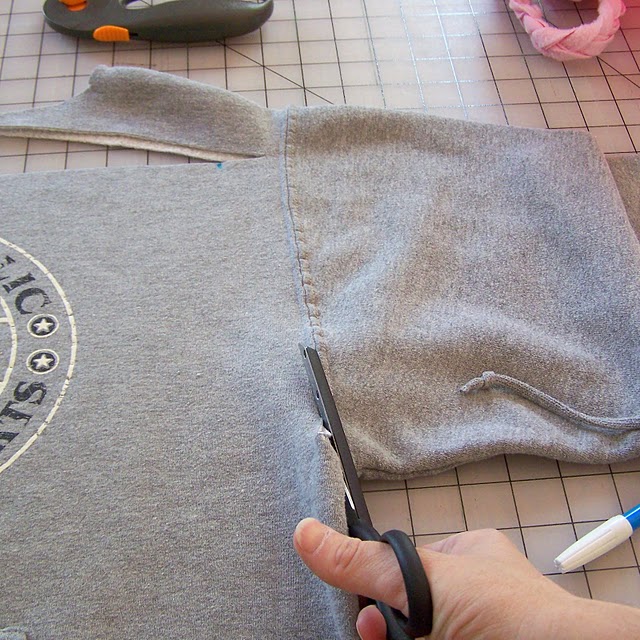
- Cut off hood and sleeves as close to the seam as possible.
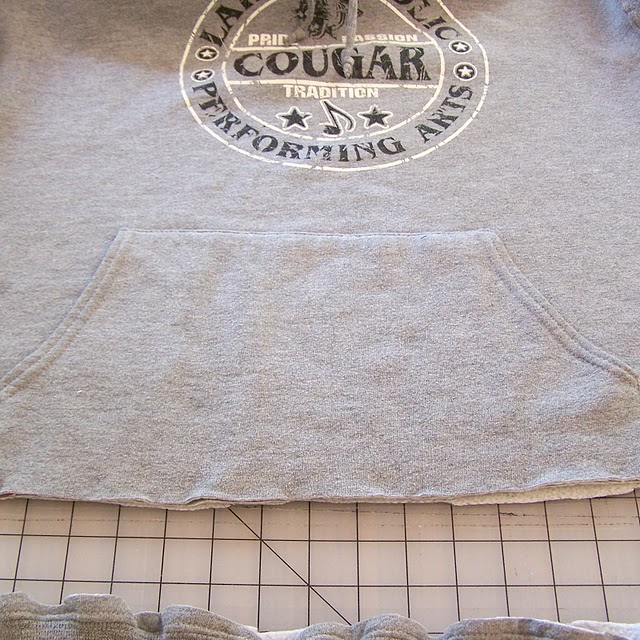
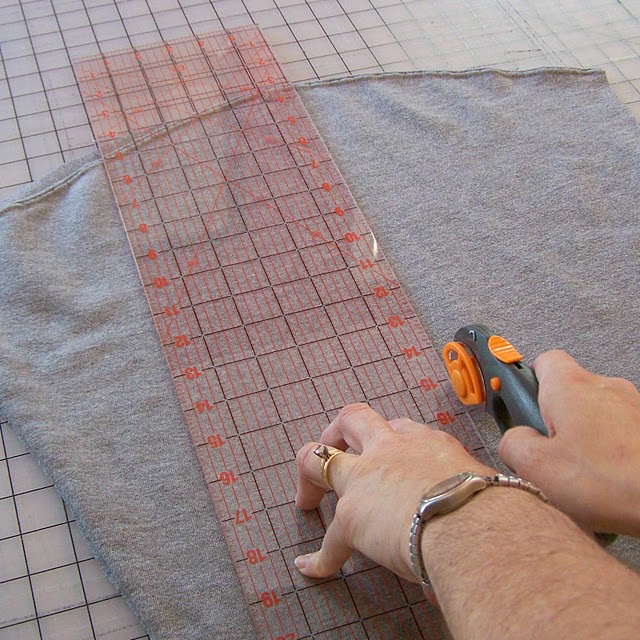
- Smooth out sweatshirt front and back. Determine center of motif and the desired width and length of tote.

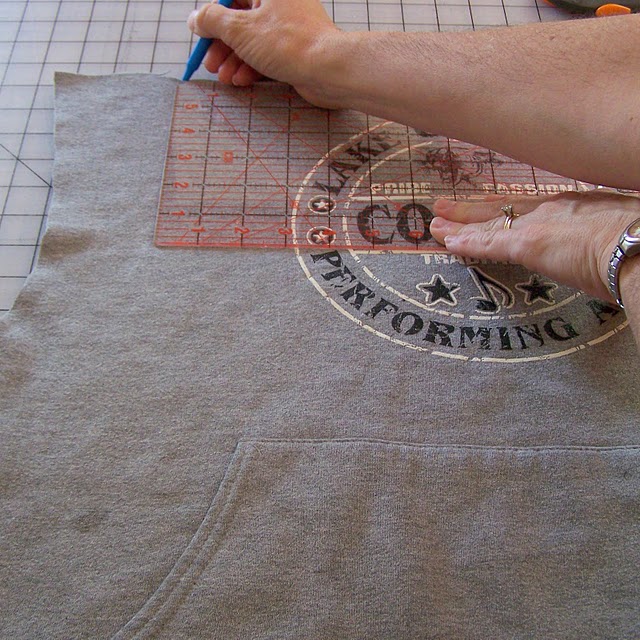
- I wanted the tote to have a finished size of 14" x 16", so I cut the sweatshirt to 15" x 18".
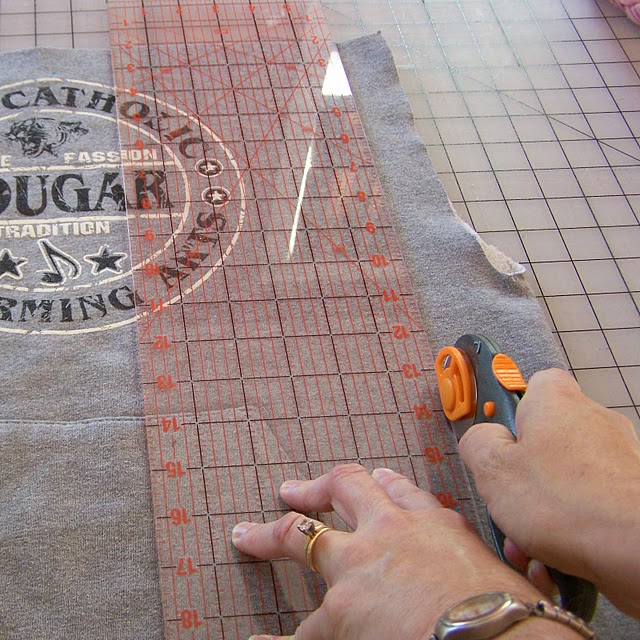
- Cut and remove the sleeve band and cut sleeve open along seam.
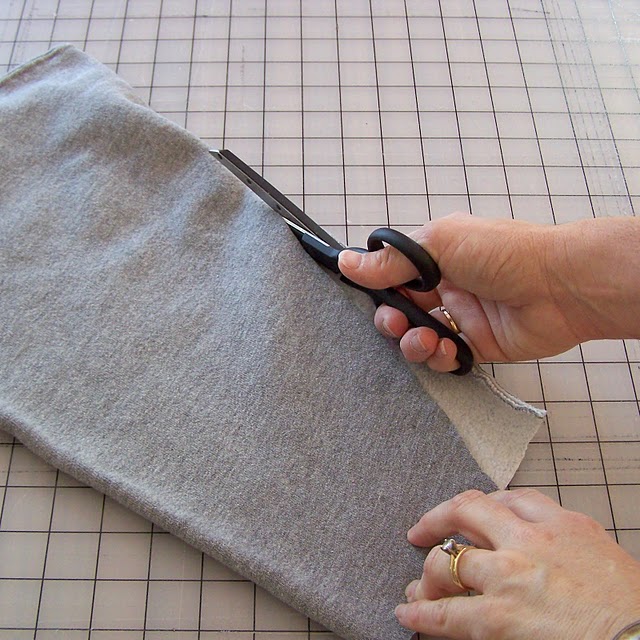
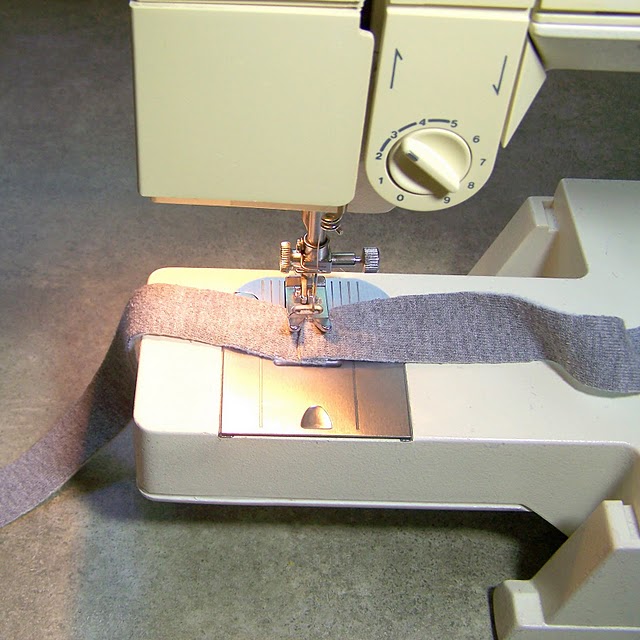
- Using the sweatshirt sleeve, cut 1" strips. These will be used to create a strap.

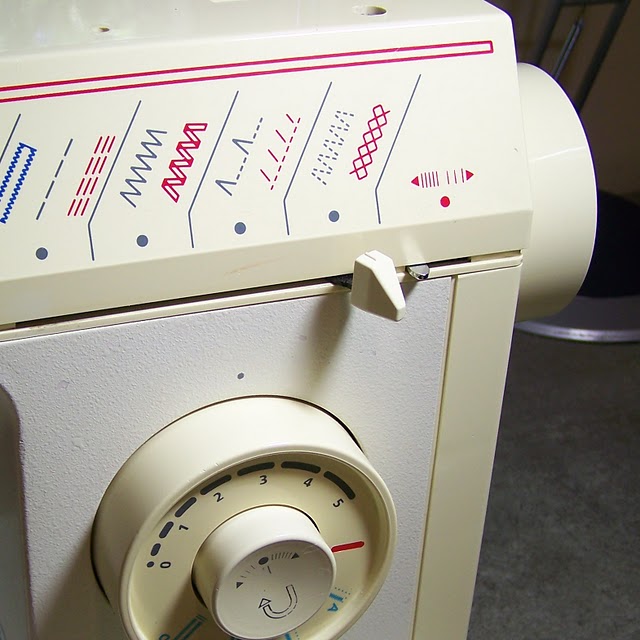
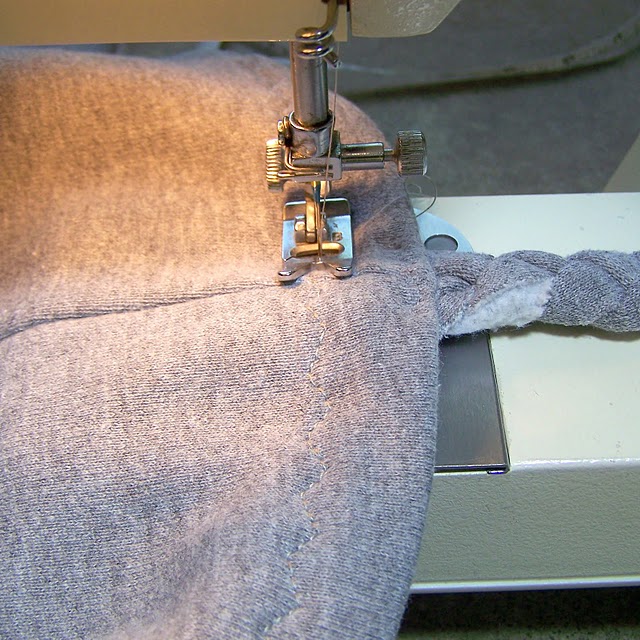
- Place sweatshirt front and back right sides together, pin and stitch using a 1/2" seam allowance. I used a serger to sew along the sides and bottoms. You can use a regular sewing machine and use a "stretch" stitch if your machine has one. If not, use a small zig zag stitch.
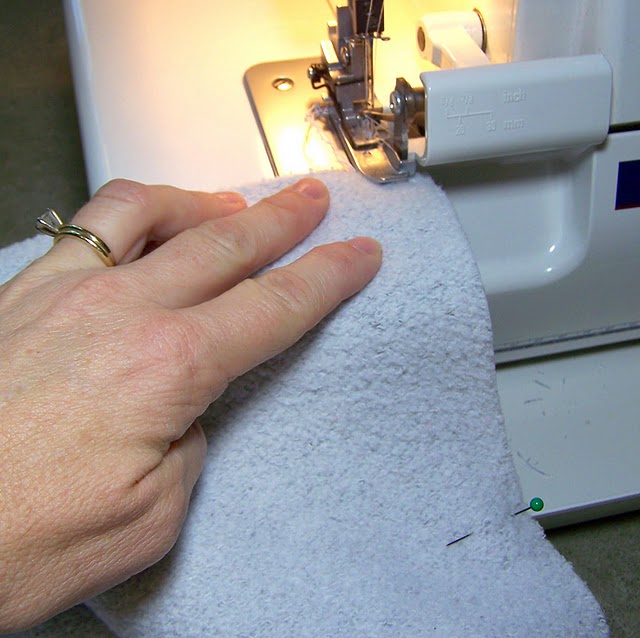
- Press the seams. (Be careful not to use a hot iron near the motif.)
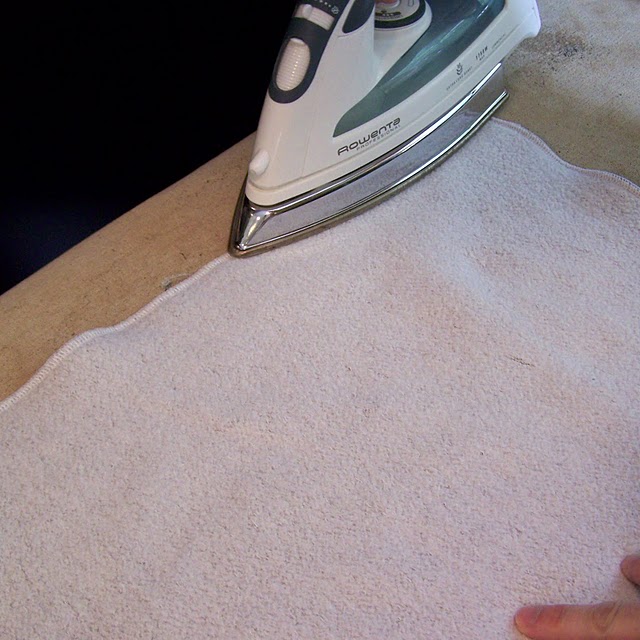
- Fold the top of the bag to the inside and press. I pressed approximately an inch. This was dictated by the location of the sweatshirt motif on the right side.
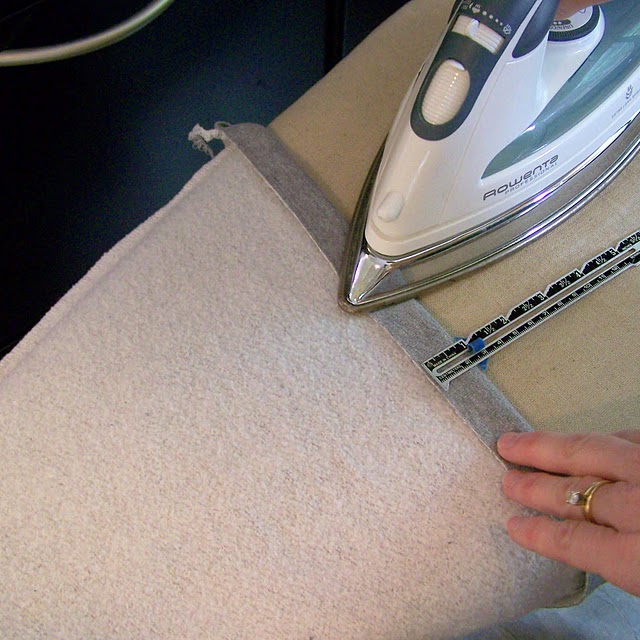
- Stitch the folded fabric near the raw edge. I used a three-step zig zag stitch, but a regular zig zag or even straight stitch would be fine.
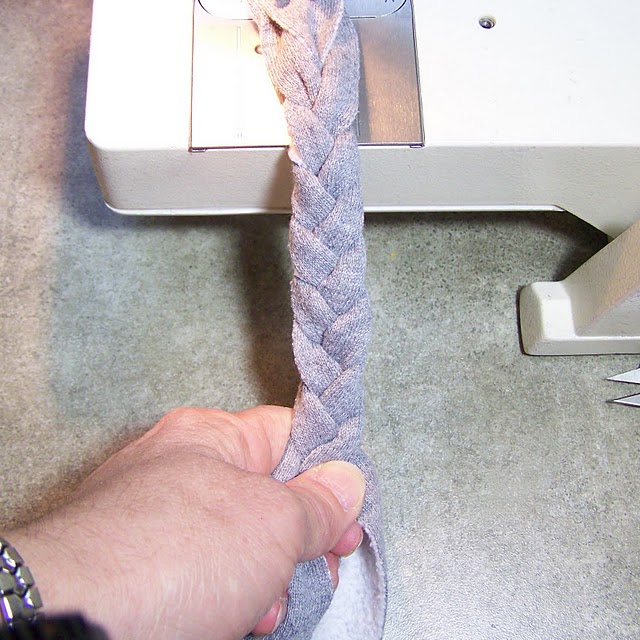
- The strap will be created by braiding three long strips. Create the long strip by sewing together three 1" wide strips. Overlap the ends and use a zig zag stitch to secure. My strips were 52" long.
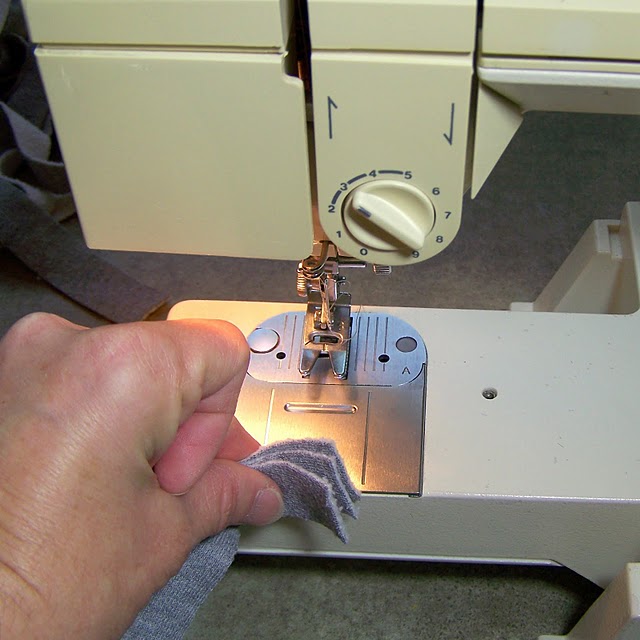
- Take three strips and lay the ends on top of one another. Stitch these together using a zig zag stitch.

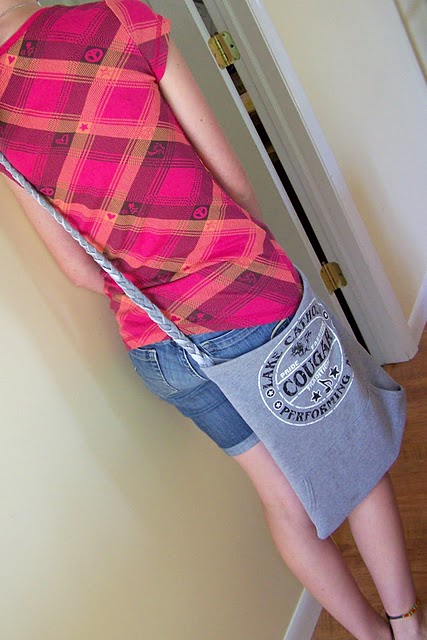
- Secure the ends under your needle and braid the long straps. Use your creativity when you braid. I folded the material as I braided to create a solid look. You could use the reverse size of the sweatshirt for a fuzzier look. My finished strap measures 42" long. The straps stretch a bit, so adjust it to your desired length.
- Secure the other end of the braid with a zig zag stitch and trim the excess fabric. Sew the strap to the two seam sides of the tote. I stitched the strap near the very top of the tote and then, from the outside, stitched the strap over the other stitching.
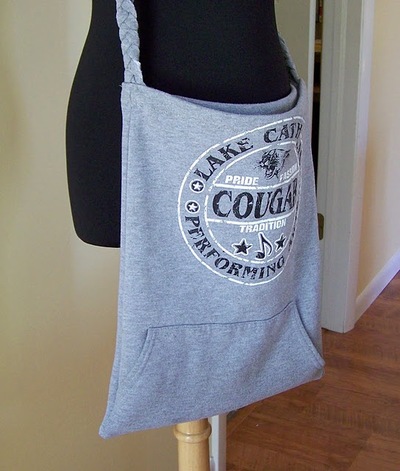
- Enjoy the finished result!
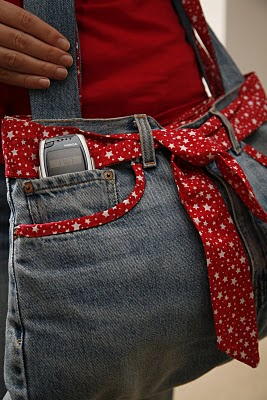
Read NextFunky Jeans Bag
Your Recently Viewed Projects
Thanks for your comment. Don't forget to share!
nhart0057 4498339
Sep 02, 2013
Great bags for grocery shopping. Bigger, stronger, and cheaper than those you buy at the store.
deeannakadee 09754 66
Dec 25, 2012
This sounds like a great bag for the many projects we all start. A Ready to Go project. A welcome gift.
granny40
Dec 10, 2010
I can't wait to try this. I've wondered what to do with old sweatshirts that no longer fit. This is much faster than a quilt or blanket. I think this would work with little kids sweatshirts for small purses.
nangy
Oct 10, 2010
Neat bag,I buy sweats at yard sales and thrift stores.I am going to make some of these for my knitting and crocheting friends.
tinkbell622
Jul 06, 2010
Easy pattern to follow. I made one this weekend...a NASA sweatshirt...came out perfect.
Report Inappropriate Comment
Are you sure you would like to report this comment? It will be flagged for our moderators to take action.
Thank you for taking the time to improve the content on our site.