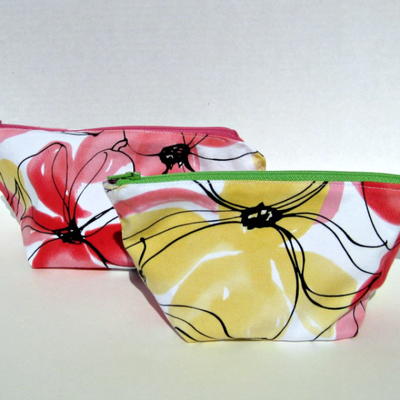
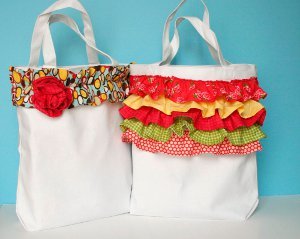
Summer Dreams Ruffled Bag
With bright ruffles of colorful summer fabric, this Summer Dreams Ruffled Bag is great for bringing with you to the beach or the Farmer's Market. Girls of all ages will love showing off this bag, and you won't believe how easy it is to make. Great for sewists of all skill levels, these adorable sewn bags are a quick and easy summer project that will last you for many seasons to come.

Materials:
- Canvas bag
- Cutting Mat (12" x 18")
- Coastal Colors Acrylic Ruler (6" x 24")
- Comfort Loop Rotary Cutter (45mm)
- Children’s Clothing Series: Little Girl’s Blouse and Skirt
- Sewing machine
Instructions:
-
Measure the width of your bag. Using your rotary cutting tool, quilting ruler and cutting mat, cut 5 coordinating fabric strips to 3” wide. Trim the length of the strip so it measures double the width of the bag.
-
To hem each strip, fold one long edge of the strip up ¼” and iron. Be conscious of which edge you are hemming if you are using a directional printed fabric. Then fold the same edge up ¼” again and iron. With most fabrics, ironing will hold the crease long enough for you to stitch, but be prepared to use pins to assist with finicky fabrics.
-
Stitch the ruffle using a coordinating color of thread, stitching as close to the outside edge as possible to create the hem. Hem both short ends up in the same fashion. It is easier to sew through the bulk at the corners if you trim off the excess by cut the fabric at a 45-degree angle at the corners prior to hemming each short end.

-
To ruffle each strip, stitch along the remaining raw edge using the longest stitch length your machine will allow. Make sure to allow a long thread tail at both the beginning and ends. You will pull the top thread at one end and the bottom thread at the other to gather your ruffle. DO NOT clip these threads yet in case adjustments to your ruffle length need made.
-
Before pinning, lay your ruffles out on top of the bag to get your desired order in which the ruffles should be layered.

-
Pin each end of the first ruffle to the bag at opposite side seams approximately 1” from the top edge. For the first ruffle only, tuck under the raw edge as you pin the ruffle in place to create a finished edge. Stitch the ruffle to the bag making sure to not catch the handles or the backside of the bag as you stitch. Removing the tray from your sewing machine will allow more room and an easier time stitching the ruffles to the bag. If you don’t have a removable tray, another alternative is to use the seam ripper from your Tool Taxi to open the side seams of the tote, sew on your ruffles, then re-sew the side seams of the tote.

-
Continue pinning and stitching ruffles, each 1” below the one above. The spacing can be adjusted at your discretion if using a wider ruffle. Just make sure the ruffle above will cover the stitching.

-
Trim all threads, iron creases from tote and enjoy!

-
The possibilities for this project are endless. If multiple ruffles are too much of an undertaking, consider a single ruffle with a simple fabric rosette embellishment.
-
Cut your fabric to 7” wide and double the width of the bag long. Fold in half and sew the long seam. Turn inside out and iron so the crease is in the middle. Tuck the raw edge of both ends inside the tube, pin and stitch closed.

-
Pin the ends to each side seam of the tote making sure the top edge of the fabric is flush with the top of the tote. Then find the middle of the fabric and pin to the top-middle of the tote. Continue pinning the remaining fabric gathering in a ruffle-like fashion as you pin. Stitch the fabric down the middle of the strip across the width of the tote.

- To create the rosette, create a long tube of fabric in the same fashion, using the same measurements. Start rolling and pleating one end of the fabric, hand stitching each pleat and tuck in place as you go to create your rosette. Tack the rosette to the tote with several more hand stitches. Several ways to change the look of this tote:
- Adjust the fabric measurement on the 5-tiered ruffle tote so each ruffle is longer and they cover the entire front.
- Ruffles all the way around, just make double the ruffles and sew them on both the front and back of the tote.
- Make the ruffles the same color as the tote.
-
Dye the totes with fabric dye prior to sewing on ruffles.

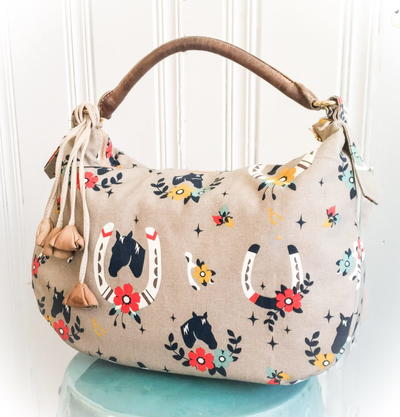
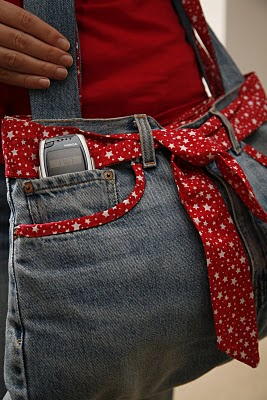
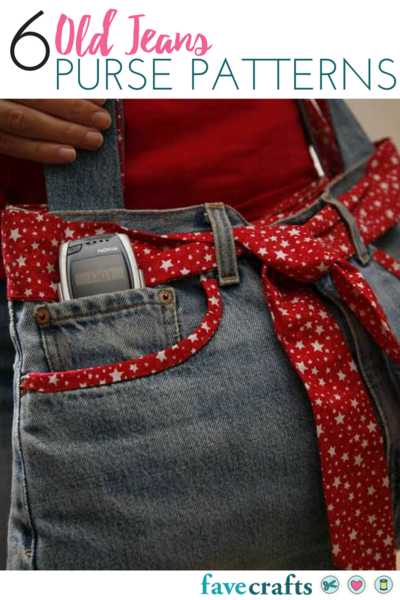
Read NextFunky Jeans Bag
Your Recently Viewed Projects
Thanks for your comment. Don't forget to share!
Weberme
May 03, 2016
GREAT IDEA. Ruffles what girl does not like them some ruffles.I know my granddaughter does and she can design this tote herself and make it as colorful as she likes. She is always designing on paper so here she goes. And what a great time to find your tutorial with Mother"s Day on Sunday. Could not think what to get her Mom and now I know. She will make this tote. Anyone else making for their Mom? Thanks.
gacarter 0201028
Jul 10, 2013
I love this tote! It will be a real treat for my grand-daughter and a look-alike for myself.
madquilter 6712295
Jul 09, 2013
i have made a bag somewhat like this one I made my own bag and just put ruffles on one side it was so cute. I called it my girlie bag
Report Inappropriate Comment
Are you sure you would like to report this comment? It will be flagged for our moderators to take action.
Thank you for taking the time to improve the content on our site.