Sewing Series: Floral Garden Tote Bag
Follow along with our first ever sewing series! Each week we will reveal a new part of the project tutorial in our Quick and Crafty newsletter. This sewing series project is the perfect spring item. Learn how to create a floral spring bag that is perfect for toting around your garden tools. This beautiful tote tutorial comes to us as a guest project from Dorinda Dombrowski of Flower Girl Designs Collection.
Part I
Part II
Part III
Part IV
Part V
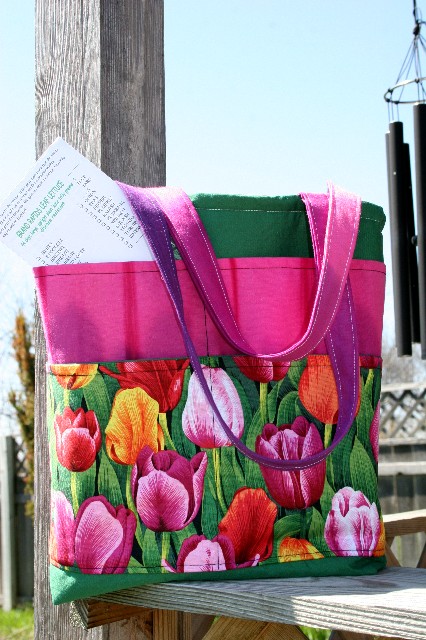
Finished size approximately 12 ½”h x 12 ½”w
Materials:
½ - yard outside fabric
½ - yard lining fabric (durable canvas fabric)
7/8-yard pocket & strap fabric (2 different colors optional)
½ -yard fusible fleece
All purpose thread to match fabric
Scissors & Rotary Cutter
Ruler
Pins
Sewing Machine
Iron
Cutting Fabric for Garden Tote:
Cut 2– 15” x 15” outside tote fabric
Cut 2- 15” x 15” lining tote fabric
Cut 2- 9” x 15” pocket fabric
Cut 2- 10” x 15” pocket fabric
Cut 2- 7” x 15” pocket fabric
Cut 2-4” x 20” strips for straps
Cut 2- 15” x 15” fusible fleece
Notes:
Remove all pins before sewing over them.
All seams are a ¼”.
Garden Tote- Fusible Fleece- Corners & Pockets:
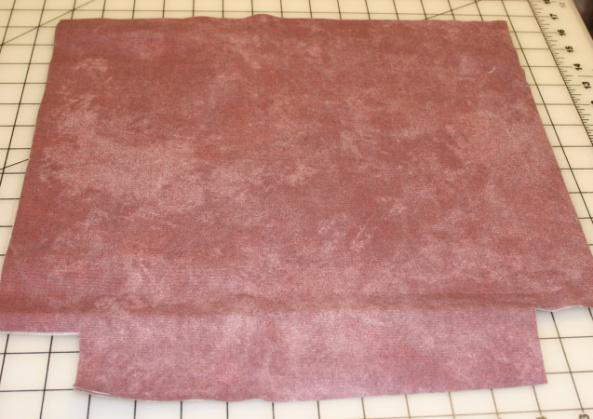
- Iron on fusible fleece to the 2 -15” x 15” outside tote fabric cuts, following manufactures directions.

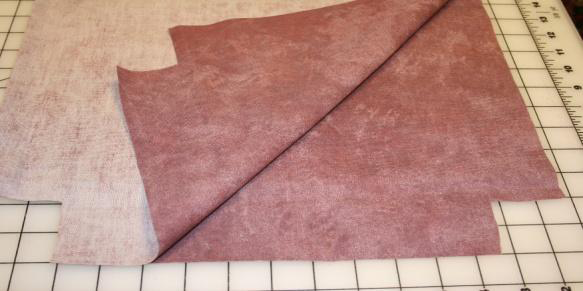
- Cut out a 2” x 2” square out of each corner on one side of outside fabric cuts.

- Take the 2- 9” x 15” pocket cuts.

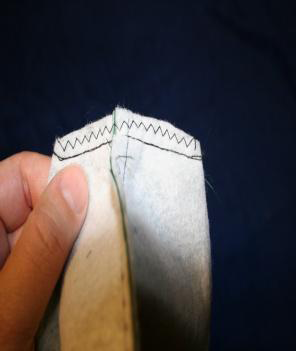
- Place them right sides together and sew a seam on a 15” side.

- Fold right sides out, press and topstitch the seam.

- Place raw edges up and 12” down from the top of the bag. The 2” x 2” square cut will now be under the pocket.

- Pin in place and sew.

- Fold pocket up, press and topstitch the bottom seam.

- Fold the cut in half to find the middle and sew a straight stitch down the middle, back stitching at the top to make it more secure.

- Take the 2- 10” x 15” pocket cuts, for the other side of the tote.

- Place right sides together and sew a seam on a 15” side. Turn right sides out, press and topstitch the seam.


- Place the pocket raw edges up and 11” down from the top of the other tote fabric cut. Pin in place, sew, fold up pocket and topstitch the seam.

- Take the 2-7” x 15” pocket cuts; once again place right sides together sew a seam on the 15” side. Fold pocket right sides out, press and topstitch the seam.

- Place the pocket raw edges up and right under the pocket that you just sewed in place, pin and sew.

- Fold pocket up.

- Topstitch the bottom seam. Fold the tote fabric cut in half to find the middle, once again sew a straight stitch down the middle, back stitching at the top of both pockets to make them more secure.

Floral Garden Tote Part III: Sewing Together the Outside of Tote
- Place outside fabric cuts, right sides together.

- Sew the sides & bottom, leaving the top and corners open (zigzag or serge seams, after sewing, to make them more secure). You don’t have to worry about lining up the pockets; it was designed so no pockets will have to match at side seams.

- At the corners match seams (side & bottom) and sew, zigzag or serge all seams to make them more secure. Turn tote right sides out.

Floral Garden Tote: Part IV
Lining- Corners & Sewing Together:
- Take the 2-15” x 15” lining cuts (I used a durable canvas fabric), cut out a 2” x 2” square at each corner on one side.
- Place right sides together, sew sides and at the bottom leave a 3” opening for turning. Leave corners and top open. Then, sew the corners the same as the outside of the tote. (zigzag or serge seams to make them more secure) Leave wrong sides out.
Straps:
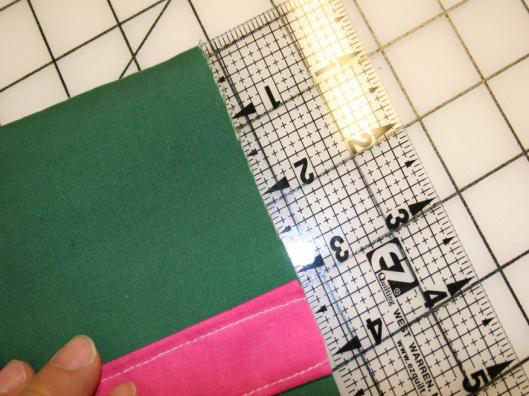
- Take the 2- 4” x 20” strips of fabric for straps, place raw edges to the middle, the long way and press.

- Fold again and press, making a 1” strap. Sew close to both long edges.

- Place the raw edge of one side of the strap to the raw edge of the tote, 3” in from one seam, pin and zigzag in place. Make sure the strap is straight and place it on the same side, other end, 3” in and zigzag in place. Sew the other strap to the other side of the tote the same way.
- Now, both straps are sewed on the tote.

Floral Garden Tote: Part V
Finishing:
- Take the outside of the tote and place it (right sides together) inside the lining with the 3” opening at the bottom. Pin and sew all around the top of the tote, backstitching over the straps to make them more secure.
- Turn tote right sides out through the 3” opening. Machine or hand stitch opening closed.
- Press and topstitch all around the top of the tote.

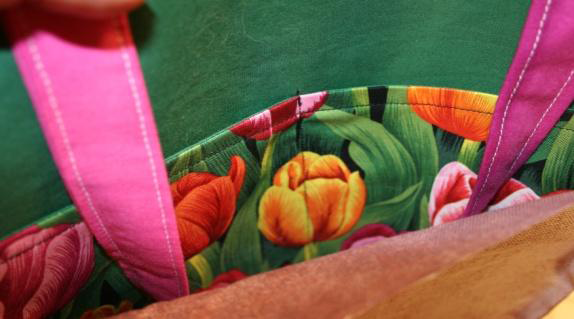
Your Garden Tote is done and ready to use. It looks Great!

Read NextRuffled Envelope Clutch
Your Recently Viewed Projects
Thanks for your comment. Don't forget to share!
facdec 5429672
Feb 03, 2013
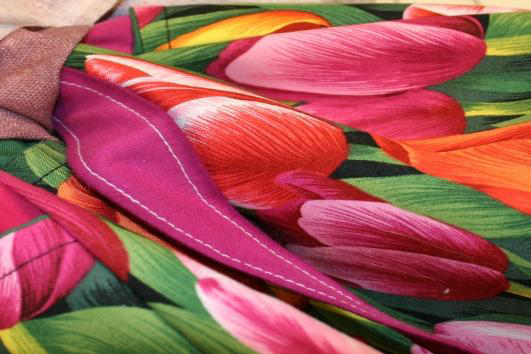
I love the tote and would like to know where to get the tulip fabric used on the outside of the tote. I have searched several fabric sites but did not see anything similar. Is it available in fabric stores?
lesliegross77 4033 048
Jun 21, 2011
I really love the tote,it is so beautiful,the details were done so perfect,I would hate to take it in my flower bed and get it dirty,I am going to print this out,great job.
Sewing with Sher
Mar 17, 2011
I love the tote but it came out so nice I hate to dirty it in the garden. sherrypell
Jaci Oh
Apr 03, 2010
I just love this tote! I am confused about where the pleats in the material pictured in Part II, step 3 came from. I see them in the picture but there are no directions for the measurements and how to accomplish.
Report Inappropriate Comment
Are you sure you would like to report this comment? It will be flagged for our moderators to take action.
Thank you for taking the time to improve the content on our site.