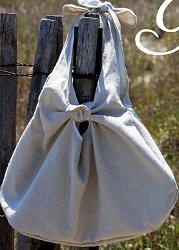
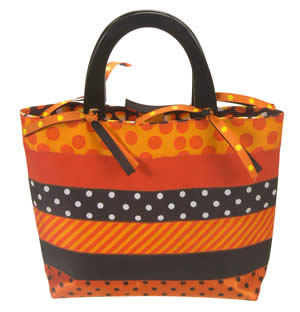
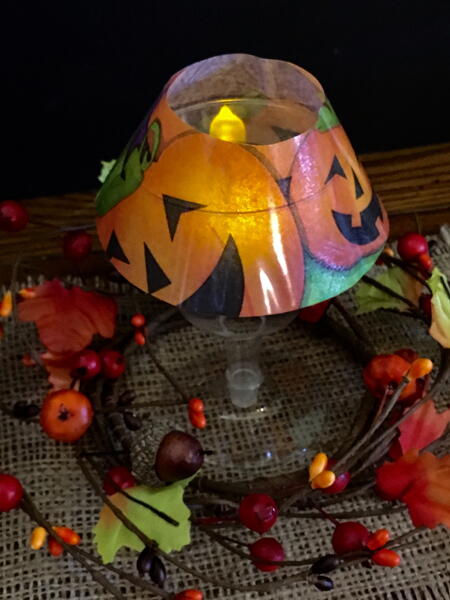
Ribbon Stripes Bag
Various-colored ribbons and wood handles become a unique little bag, like this one perfect for Halloween. The project is quick and easy, as the bag and lining are made together. Find this bag pattern in the Sewing for Beginners eBook with 19 other great sewing patterns.
Time to completion: 1 ½ to 2 hours
Materials List:
- ½ yard - lining/foundation fabric
- ½ yard – fusible interfacing
- 2 yards - ½” ribbon (ties)
- 1 yard each of assorted ribbon to equal a 9” width of bag. ( ex. Six ribbons with a width of 1 ½” equals 9”)
- Fray Check™ - Dritz® # 674
- Plastic Canvas – 2 ½” by 8 ½” rectangle
- Sewing/Craft Glue Stick – Dritz #401
- Sewing Machine with zig-zag stitch
- Bag Boutique™ Handles
Before beginning, create a design chart by cutting a small amount from each ribbon and tape them to an index card in placement order. Label top and bottom ribbon.
Instructions:
- From foundation/lining fabric, cut one 9 ½” by 26” rectangle ( bag foundation ) , one 2” by 26” strip ( bag bottom ) and one 3” by 18” rectangle ( plastic canvas cover ) . Interface each piece following manufacturer’s instructions.
- Place wrong side of 2” strip on right side of foundation fabric along one 26” length. Stitch using a ¼” seam allowance. Press seam allowance toward wrong side of foundation fabric.
- On opposite 26” length, fold and press a ¼” hem, wrong sides together.
- Referring to design chart and aligning along top edge over hem, place top ribbon, right side up on wrong side of foundation fabric. Set sewing machine to a narrow zig-zag stitch and stitch ribbon along top edge of bag covering hem. Tip – use Sewing/Craft Glue Stick to temporary baste ribbon in place.
- Select next ribbon from chart and place on bag butting edges together. Again, zig-zag along edges making sure to catch both edges to join ribbon.
- Continue aligning and sewing ribbon along wrong side of foundation fabric with last ribbon covering seam edge. Continue and zig-zag last ribbon on bottom edge to secure in place.
- Using a rotary cutter and mat, trim ribbon evenly with sides of foundation fabric. Apply Fray Check to ribbon edges to prevent fraying.
- Set machine to regular straight stitch. With ribbon side of fabric together, turn and stitch sides using ½” seam allowance. Press seam open.
- Returning to zig-zag stitch, secure edges of seam by stitching down each seam allowance, creating center back seam of finished bag.
- Continue with right sides together, and create the bag bottom by stitching remaining bottom fabric together using a ¼” seam allowance. Press seam open.
- To create a bottom gusset, fold bag with right sides together so bottom seam is centered and facing up, forming triangles on each end. Stitch across bottom of triangle using last zig-zag seam as guide. Turn bag right side out.
- Center bag handles on each side of bag and mark placement for ties.
- Cut ½” ribbon to eight 9” lengths. Using two 9” pieces together, fold in half and mark center. Attach to bag by stitching on the right side of bag, across center mark of ribbon at handle placements. Tie ribbon to handles to attach.
- With right sides together, fold 3” by 18” fabric piece in half to create a 3” by 9” piece. Stitch each 9” side together using ¼” seam allowance. Turn and insert plastic canvas. Fold opening and hand or machine stitch in place. Place in bottom of bag for stability.
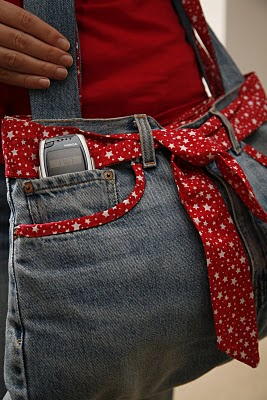
Read NextFunky Jeans Bag

![Striped Christmas Stocking Pattern [Knit and Crochet Versions]](http://irepo.primecp.com/2019/08/421962/Striped-Stocking-Crochet_Large400_ID-3353163.jpg?v=3353163)
Thanks for your comment. Don't forget to share!
granny40
Dec 10, 2010
I think this would be good for Christmas using strips of Xmas fabric inn place of the Halloween. The holiday possibilities are many. I think I'll try it with Christmas first! Can't wait to try it.
RosieW
Aug 05, 2010
Such a fun and cute idea! Ive made this bag in all sizes and shapes. I made my handles out of braided ribbon and Ive use different fabrics (jeans,old shirts&blouse etc) for a lining. Same idea with a little different twist, Ive also made casserole holders. As you may can tell, I have WAY too time on my hands OR I need a life. My husband thanks you for keeping me busy and saving a bundle of money on anti-depressents.
Crafter 19444
Nov 11, 2009
I really do love this bag. thank you . I am sharing it with another friend of mine who loves to sew.
Report Inappropriate Comment
Are you sure you would like to report this comment? It will be flagged for our moderators to take action.
Thank you for taking the time to improve the content on our site.