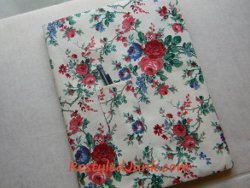
Scrap Fabric Notebook Cover
Think all notebooks are created equal? Think again - a Scrap Fabric Cover can turn a generic notebook from an office supply store into a one-of-a-kind art project. If you're looking for easy sewing crafts, this is the perfect craft tutorial for you.

Materials:
- 1/2 yard fabric
- Ruler
- Scissors
- Straight pins
- Sewing machine
- Iron
- 7-1/2 inch wide by 9-3/4 inch long composition journal
Instructions:
-
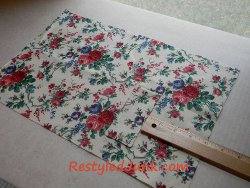
From 1/2 yard of fabric, cut two 11 inch wide by 16-1/2 inch long rectangles for the cover, four 6-1/2 inch wide by 11 inch long rectangles for the flaps and two 2-1/2 inch wide by 5 inch long rectangles for the pencil pocket.

-
Place the two pocket rectangles together with the right sides facing and pin. Sew around all four edges using a 1/4 inch seam allowance. Leave a 2 inch opening in the center of one long edge. Clip the corners to remove bulk. Turn the pocket right side out and press.
-
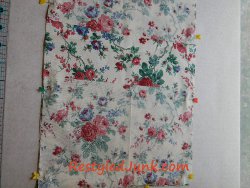
Lay one cover rectangle on your work surface with the right side facing up and the long edges running horizontally. Place the pocket on the rectangle with the long edges running vertically. Position the bottom edge 1-1/2 inches above the bottom edge of the cover rectangle and 4 inches from the right hand edge. Pin the pocket to hold. Top stitch the two long edges and the bottom edge of the pocket as close to the edge as possible. This rectangle is the outside of your journal cover. Note: The opening in the side of the pocket used for turning will be closed when top stitched.
-
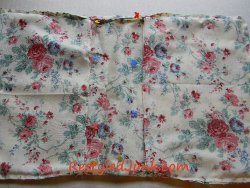
Lay the outside cover on your work surface with the right side facing up. Place a flap rectangle on each short end of the cover rectangle. Align the edges and pin. Sew the pinned flaps using a 1/4 inch seam allowance. Repeat with the remaining cover rectangle and flaps for the lining. Leave a 4 inch opening in the center of one short edge on the lining cover. Clip the corners on both the outside cover and the lining to eliminate bulk.
-
Turn the outside cover right side out and press. Insert the flaps of the right-side-out cover inside the flaps on the wrong-side-out lining. Match the raw (inside) edges of the flaps and raw (center top and bottom) edges of the covers. Pin the raw edges together. Sew the pinned edges using a 1/4 inch seam allowance. Clip the inside corners of the seam just sewn.
-
Turn the entire cover right side out through the opening on the short end of the lining. Hand sew the opening closed. Tuck the lining flaps inside the flaps of the outer cover. Press the cover.
-
Insert the front of the journal into the front flap of the journal cover.
-
Note: The front of the journal cover has the pocket attached. Insert the back of the journal into the back flap. Close your journal and place your pencil in the pocket.
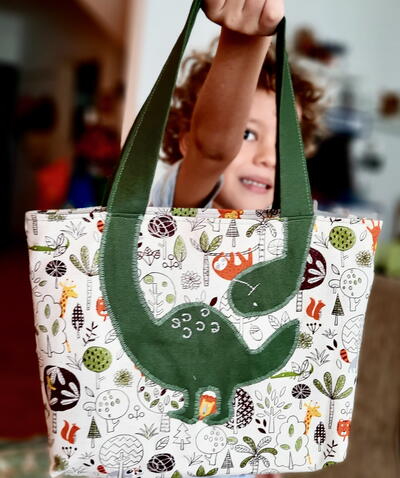
Read NextDinosaur Bag