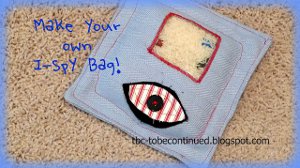
DIY I Spy Bag
This DIY I Spy Bag from Catherine Haley is a great project to take on a road trip or a trip to grandma's house. It's easy to make and fun for kids of all ages. This is also a great way to use up those little toys and random odds and ends that you have in your junk drawer! This fun and easy game also makes a great stocking stuffer for a family member or friend.
Materials:
- 2 fabric scraps, about 8"x8"
- Clear plastic scrap (needs to be thick and durable- I cut up a bag that some sheets came in, you know the heavy plastic kind with a zipper?)
- Rice, beans or plastic fillers
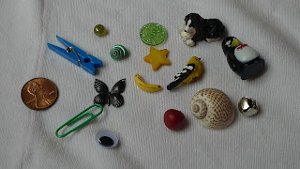
- Tiny objects to fit inside (Try the craft store, tiny dollhouse pieces, bead shops have cute things too)
- Sewing stuff (machine, thread)
- Scotch tape (the satin finish kind)
- A camera
- A computer and printer
- Contact paper (or a trip to the office store to laminate)
Instructions:
-
Gather up your tiny items and photograph each one individually. Here is a sample of what is in this bag.
-
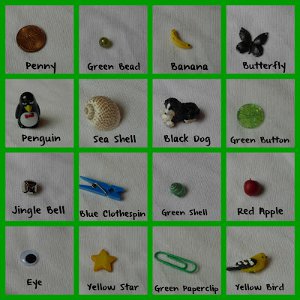
Use the individual photos to make a composite and label each item. I used the free online photo editor "fotoflexer" in collage mode to make this!
-
Print out the composite, and cover with contact paper or laminate. This page will be kept with the I-Spy bag. You can attach it to the bag with double sided velcro, a metal ring, etc. Whatever you prefer.
-
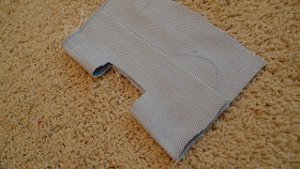
Cut out two squares, about 8"x8".
-
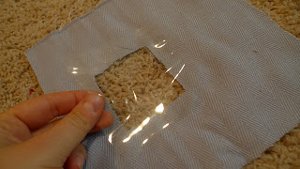
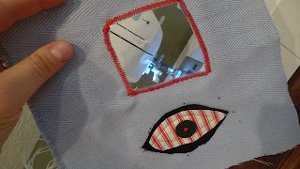
Fold one square over, about 1/3 of the way. Then cut a window out!
-
Cut out a plastic window slightly larger than the fabric window.
-
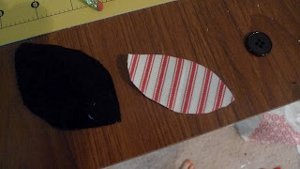
Cut out any appliques you want to use to decorate the bag. I made some eye pieces with a button for the eyeball. The stripes will top the black part.
-
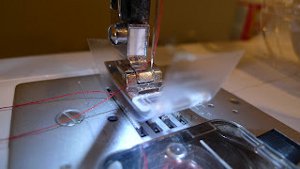
Place a piece of the Scotch satin tape on your presser foot. This will make it slide effortlessly over the plastic. (Do this anytime you sew on plastic, laminated fabric, oilcloth, etc.)
-
Using an applique stitch of your choice, attach the plastic window. I set my stitches close together so I didn't need to hem the window first. Yay for saving time!
-
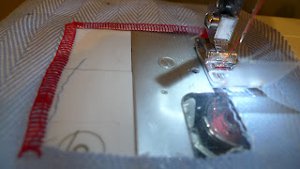
Apply your design item, in my case the Eye for I-spy!
-
With right sides facing, sew the two squares together leaving an opening to turn/stuff. Clip corners!
-
Stuff with rice (or whatever you chose to use) and the tiny items. Leave space for the top stitching!
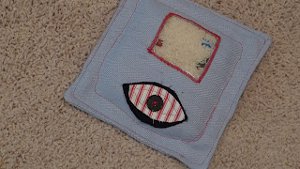
- Top stitch once on the very edge to close the hole. Then go in about 3/4" and do it again! You will need to move the rice around carefully so you don't stitch over it!
Read NextTwenty Minute Baby Blanket