Home Layout
Due to my equal love of traditional scrapbooking and digital graphics, I guess I can be labeled a "Hybrid Scrapper". In this layout, "Home" I wanted to capture features of my home that I take little notice of, but are a part of my every day life. I use a little bit of graphic bling to help jazz things up! I'm a firm believer in using what you have and making it work with the layout.
Materials:

- 12x12 in. burnt orange cardstock
- 4 1/4x12 in. sage green patterned paper
- 3 or 4 4x6 in. photos
- 1 5x7 in. black and white photo
- "Connect the Dots" photo embellishment
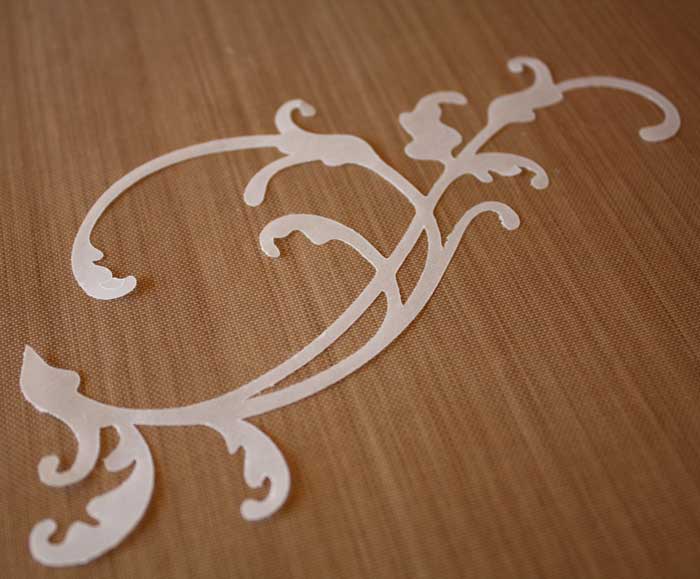
- "Home Accents" Cricut Cartridge for flourish (or similar)
- "Gypsy Font" Cricut (Gypsy) Font for lettering (or similar)
- 13 in. long piece of 3/4 in. thick black and white polka dot ribbon
- 12 in. long piece of 3/4 in. thick blue patterned paper
- Embellishments: metal key, 1x3 1/2 in. bracket-shaped sticker/die cut and several coordinating buttons, brads, flowers or die cuts
- Jewels and pearls with adhesive backings
- Adhesive
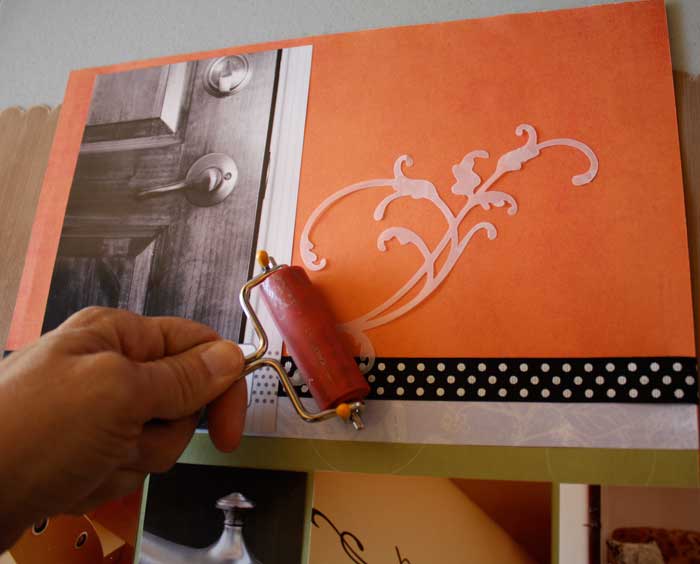
- Brayer
Steps:
1. Choose 3 or 4 photos from your home and crop to 3 in. high and a width no larger than 12 inches when placed side by side. Select another 5x7 black and white (optional) photo as the focal point.
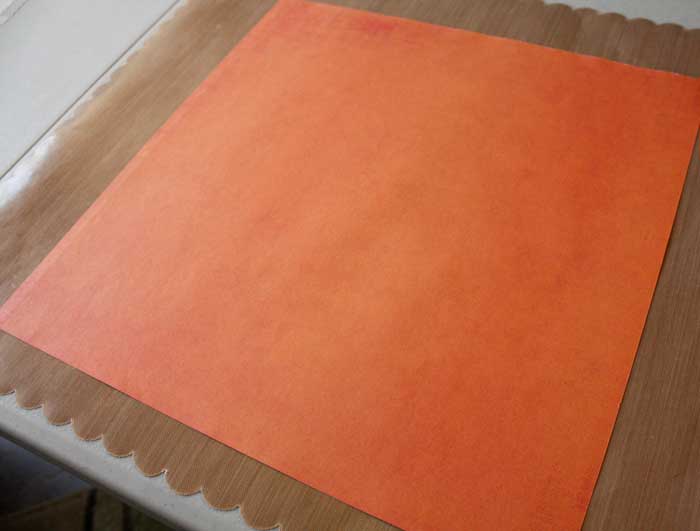
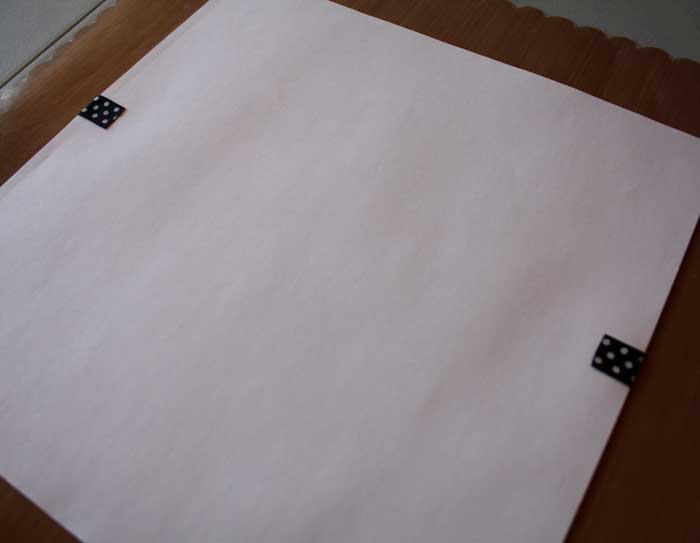
2. Select a solid burn orange 12x12 in. cardstock paper.
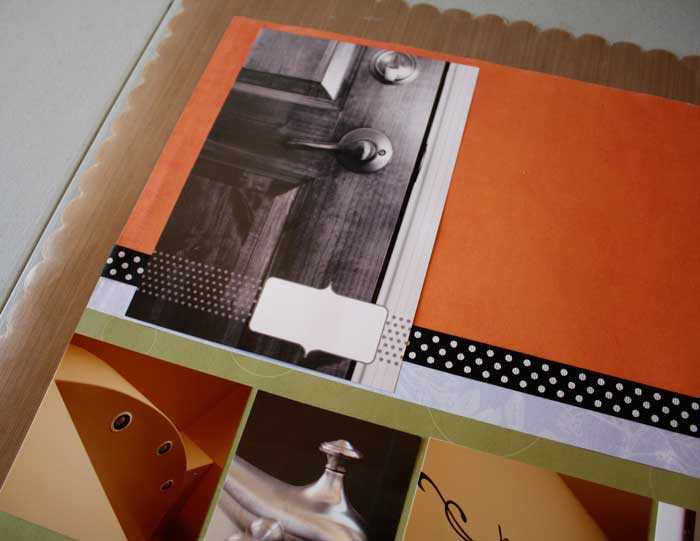
3. Cut a 4 1/4x12 in. piece of sage green patterned paper. Adhere your smaller cropped photos evenly, lengthwise.

4. Adhere the sage paper and photos to the orange card stock paper as shone below.
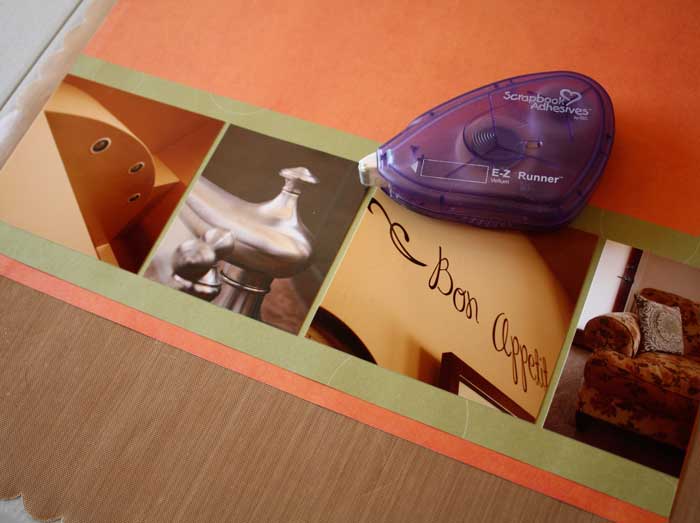
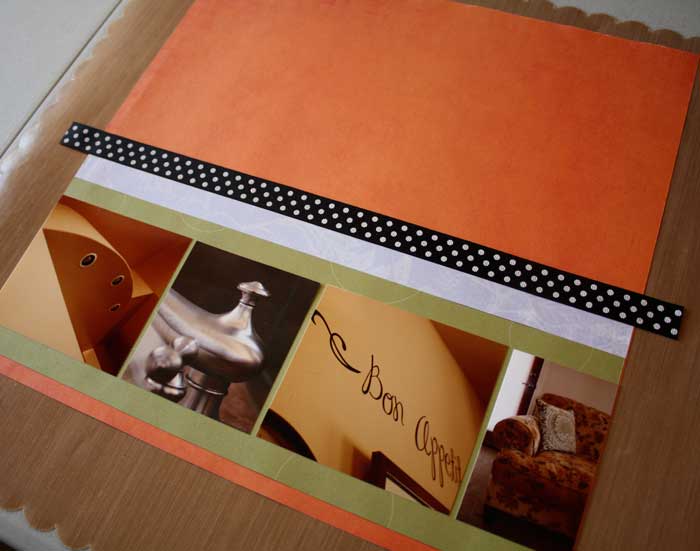
5. Cut a 12x3/4 in. piece of power blue patterned paper and adhere above the sage/photo piece.
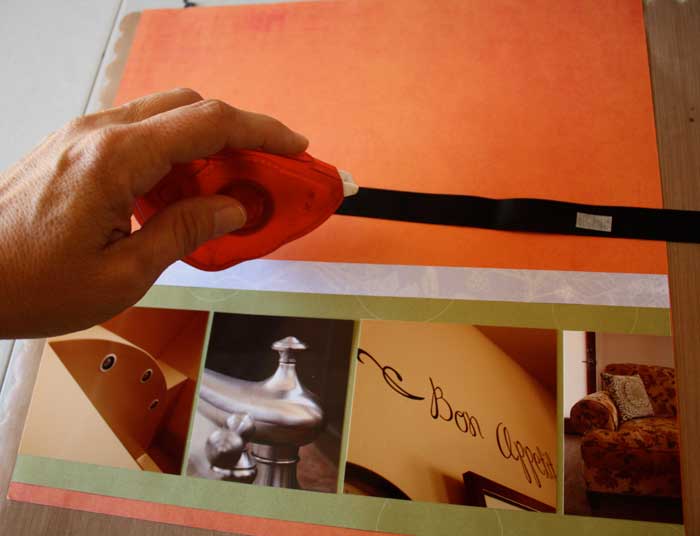
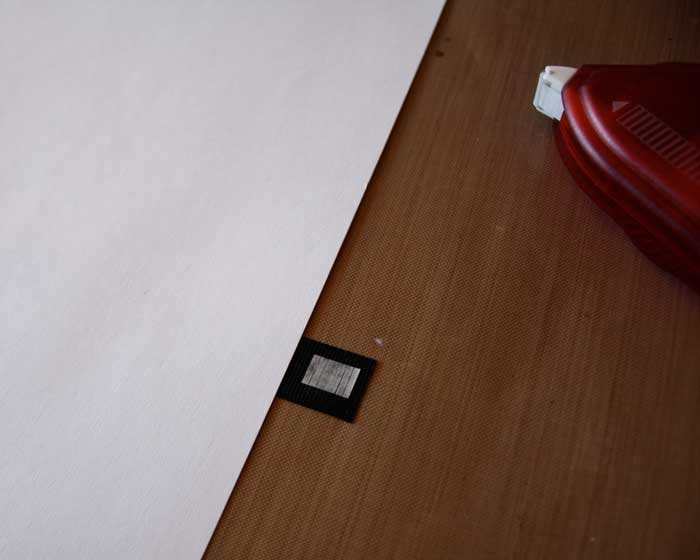
6. Cut a 13 in. piece of 3/4 in. thick black and white polka dot ribbon and adhere above the blue strip. 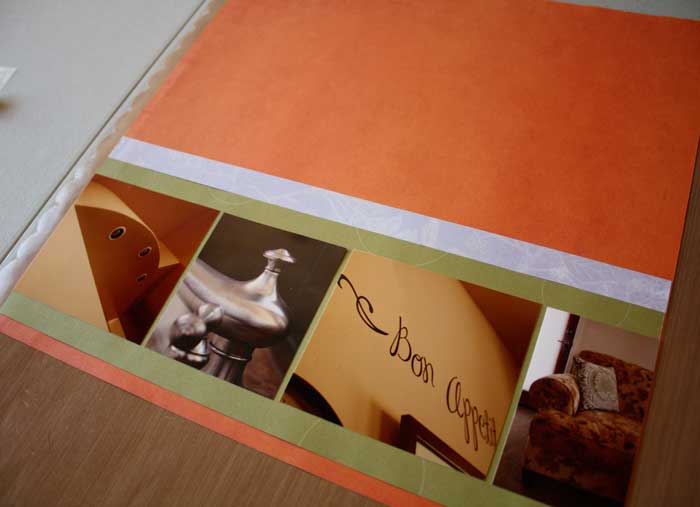
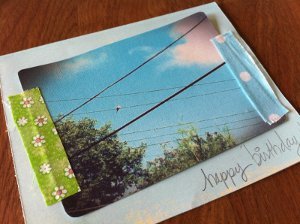
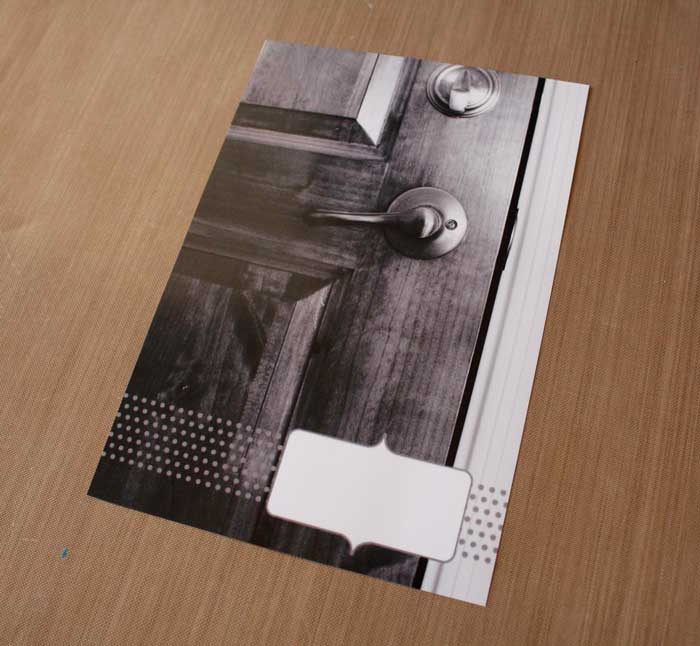
7. On the 5x7 in. focal point photo select a digital overlay like "Connect The Dots" photo embellishment and using a photo editing program (Adobe Photoshop Elements) add the graphic to your photo. Process or print out your new embellished photo.
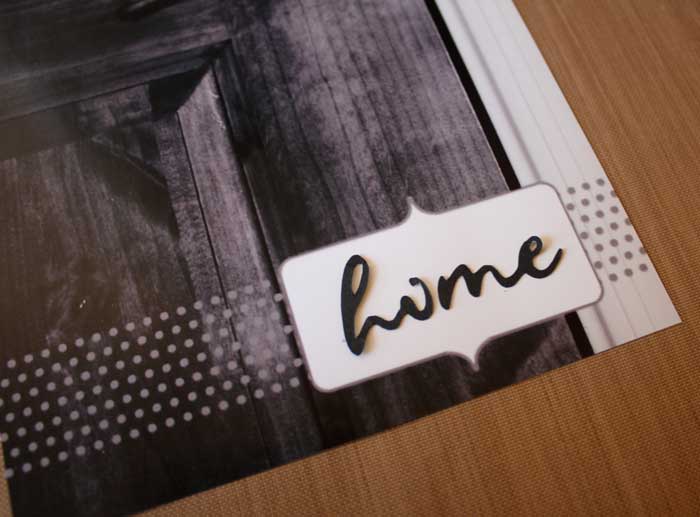
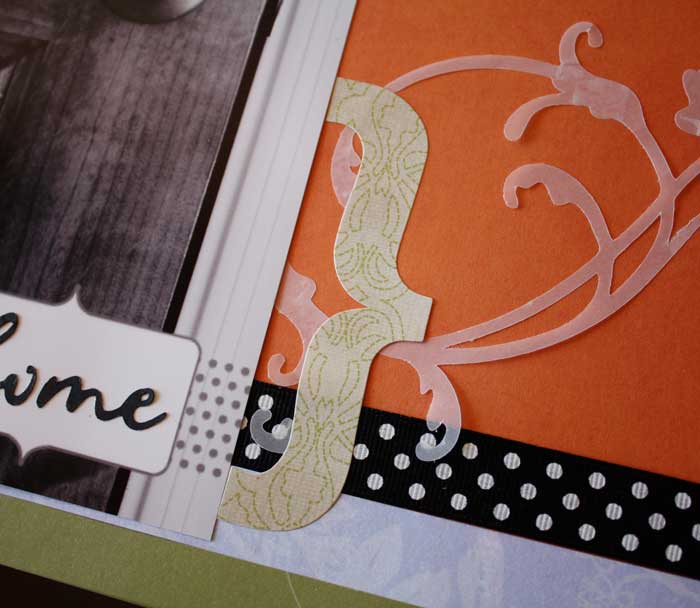
8. With 1/2 in. high black alphabets stickers or a Cricut font, adhere the word "Home" on the journaling area of the larger, focal point photo.
9. Adhere the focal point photo directly above the ribbon/blue paper strip, about 3/4 in. from the left border.
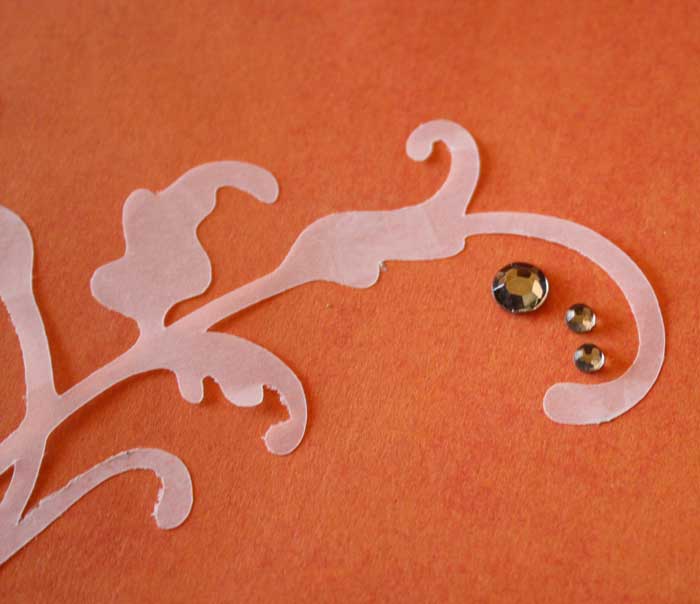
10. On the Cricut, cut out a 5x5 in. flourish from the "Home Accents" cartridge on vellum (or use a similar die cut or sticker). Using vellum tape and a brayer, adhere the flourish in the corner where the focal point photo and the strip of photos meets.
11. Starting with the bracket-shaped sticker/die cut, layer the embellishments atop the flourish, anchoring them to the focal point photo.
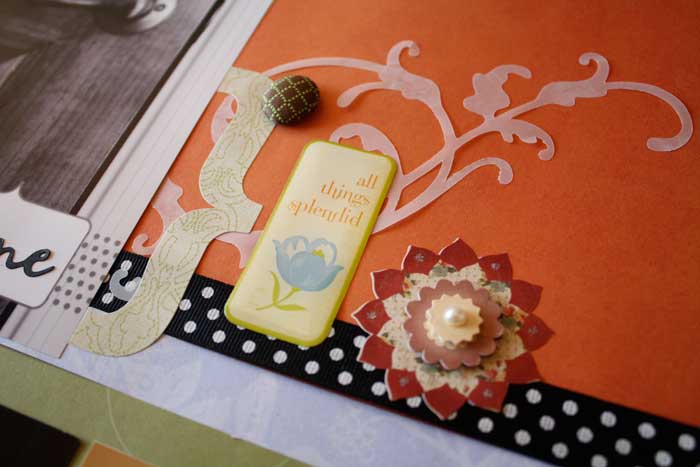
12. Finally, use jewels and pearls with adhesive backs around the curves of flourish.
You're done!
Read NextEasy DIY Photo Scrapbook Template
Your Recently Viewed Projects

Thanks for your comment. Don't forget to share!
Report Inappropriate Comment
Are you sure you would like to report this comment? It will be flagged for our moderators to take action.
Thank you for taking the time to improve the content on our site.