Pizza Party Decor
Who doesn't love a pizza party? With this cute Pizza Party Decor, you can create an Italian style feast that kids and adults are sure to enjoy. With instructions on how to create cute party favors and fun invitations, all this DIY party decoration kit needs is a few piping hot pizzas for all to enjoy.

You can find this project, as well as many others, in our free downloadable eBook, Fuse Creativity System Project Guide: Fun Party Themes, Ideas for Handmade Cards, and More Paper Crafts from Fiskars!

Materials:
-
Fuse Creativity System® Starter Set
Medium Design Set 100780 - Circle - Medium Expansion Pack 100860 – Circle
- Large Design Set 101030 – Favor Wrap
- Medium Design Set 100850 – Bird
- Apron Lace Border Punch
- ¼” Circle Hand Punch
- Paper Trimmer
- Scissors
- Adhesive – liquid glue, glue gun
- Baker’s twine
- Cardstock – red, white, green, buff, black colored
- Felt – black
- Ink – brown
- Patterned paper - green
- Ink – brown
- Split chopsticks
Instructions:
-
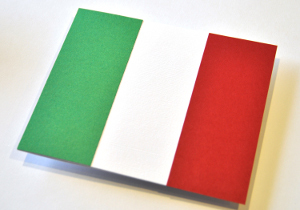
Let’s start by making a card or invitation for your next pizza party: Trim white cardstock to measure 5” x 12”. Fold in half to create a side-folded 5” x 6” card.
-
Cut a 2” x 5” piece of red cardstock and adhere it to the right edge of the card.
-
Cut a 2” x 5” piece of green cardstock and adhere it to the left edge of the card.

-
Stamp brown ink over the Circle letterpress plate from the Medium Circle Expansion Pack.

-
Run the die and the inked letterpress plate through the Fiskars Fuse Creativity System® using a piece of buff-colored cardstock. This is the “pizza” base.

-
Create “pizza toppings” using a ¼” hole punch with red cardstock for the pepperoni. Use the negative punches of the Apron Lace Border Punch for the green peppers.

-
Individually attach the “pizza toppings” to the “pizza” using liquid glue with a fine tip applicator.

-
Separate a “slice” from the pizza by cutting it out, then adhere the pizza and slice to the center of the card.

-
Wrap baker’s twine along the right fold of the card and tie a bow.
-
Print or stamp a sentiment on a strip of green cardstock. Cut a V-notch on the tip and wrap its left end around the baker’s twine.

-
Now that you’ve made your invitation, it’s time to make some favors! Here’s how you can create a gift bag to go with your pizza theme: Run a 12” x 12” red cardstock through the Fiskars Fuse Creativity System® using the Large Favor Wrap die.
-
Assemble the favor bag with strong adhesive.
-
Insert a favor of choice inside the bag. Seal the top flap closed.

-
Wrap a 1 ¼” strip of green patterned paper around the favor bag.

-
Run two pieces of black felt material through the Fuse using the Bird Design Set.

-
With the two bird shapes facing each other, draw a curved line as shown on each to mark the cutting line to create the mustache shape.

-
Cut on the lines. The mustache shape is now visible.

-
Join the two birds using fabric glue and have them slightly overlap. It’s a mustache!

-
Attach the mustache to the favor bag and tie baker’s twine around it.

-
Print or stamp a sentiment on a strip of buff cardstock. Cut a v-notch on the tip and wrap its left end around the baker’s twine.

-
Finally, have some fun with the Fuse using the same techniques with different materials. Make your party even more of a hit by creating props for a fun photo booth!

-
Run two pieces of black cardstock through the Fiskars Fuse Creativity System® using the Bird Design Set.
-
Just like you did for the felt Bird die cuts on your favor bag, draw a curved line on each bird shape to make the cutting line and cut as shown to create the mustache shape.

-
Face the two shapes together and apply liquid glue.

-
Join the two birds using liquid glue and have them slightly overlap to create a fun mustache prop!

-
Hot glue a chopstick to the back of the mustache.

- Tie a bow around the chopstick with baker’s twine.
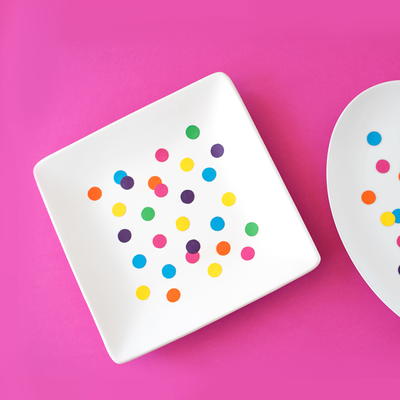
Read NextPolka Dot Serving Platters