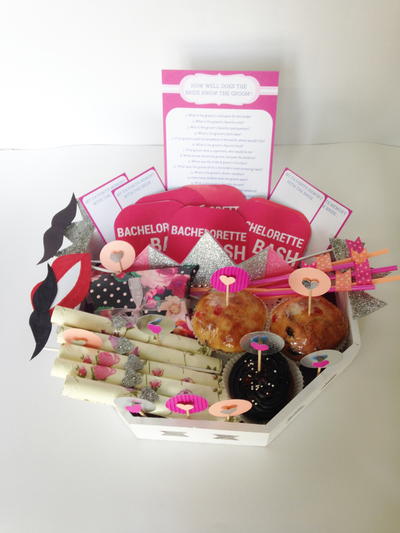
Bachelorette Bash Tray

"A bachelorette bash on a tray- consisting of themed articles to make the evening even more delightful. This is a perfect DIY a bridesmaid can prepare to make the bride feel even more special. These could be customized for any bachelorette party style- a cozy dinner, a few drinks over chatter, a home cooked meal or a night around town!"
Estimated Cost$11-$20
Time to CompleteIn an evening
Primary TechniquePaper Crafts

SeasonSpring
Project TypeGift Ideas
Materials List
- 2/3 sheets of fancy paper (for cupcake toppers)
- 1.5 inch circle punch (for cupcake toppers)
- Small heart punch (for cupcake toppers)
- 10 toothpicks (for cupcake toppers)
- 1/2 washi tape rolls (for party straws)
- Coaster print outs
- Game print outs
- Blank rings (for bridal party giveaway)
- Wooden hearts (for bridal party giveaway)
- Sparkle dust (for bridal party giveaway)
Instructions
-
The pictures explain the steps clearly. For the cupcake topper- use a 1.5? circle, a heart punch in contrast color and a toothpick. Using Fevicol Glue Drops wrap half of a drop around the top edge of the toothpick and attach the paper heart to one side. Keeping the toothpick sandwiched in the middle attach the paper circle to the opposite side. Now insert the sticks in the cupcake or place around the tray for a burst of color.
-
For the straws attach about 1.5 inch of washi tape at 1? below the sipper side. Keeping the straw in the middle of the washi tape strip, fold over itself and cut a small triangle on the outside edge. This gives the tape a flag like shape. The washi tape flags add flare to a mundane item like the straws.
-
These bachelorette coasters are a little tricky. First on a sheet of A4 paper, minimum 200 gsm, print out this design. I was able to adjust 6 coaster shapes onto a single sheet- you could either use my printable or design one yourself using a graphic software. Next cut them out in shape and paste onto a hard card-stock, this adds durability to these paper coasters. The next step is optional- add a layer of Mod-Podge or Fevicol mixed with water (2 parts Fevicol for 1 part water). The fevicol layer makes the coasters less porous, thereby further increasing the durability.
-
For the party props I drew the shapes free-hand onto card-stock and filled them in with markers. You could use paint or bigger sized print-outs. Next cut them in shape and using an all-purpose glue attach the white painted bamboo skewers to the back-side on the right. You could use 8? to 12? bamboo skewers, but not shorter. Use regular acrylic white paint to paint them.
-
For the bridal party giveaways I used blank rings and heart shapes (used from wooden pegs). You could buy these blank rings from Ebay or use basic round rings too. First paint the rings using a silver marker. next apply a thin coat of Fevicol on one side and dip the wet side into a bottle of silver glitter. Once the heart is dry paste it onto the ring using glue dots or a hot glue gun.
-
I arranged for two games- memory with the bride and how well does the bride know the groom (both are linked to A5 sized graphics of the game). There are a few more games you can find on the internet, but knowing my friend these were the best choices and am glad she loved them. :) When arranging the questions for the groom keep in mind the comfort level of the couple, especially in arranged marriages, and make sure to tell the groom to be discreet about it.
-
For the crown I drew a free-hand crown and used a pink and silver foam layered over it. I glued a line of clear rhinestone on the bottom edge and used pink organza ribbons for the tie-up. Use your own head as a rough guide for the crown size and to test the ribbon tie-ups.
-
Once you have all the items ready start placing them onto the tray. I layered the bottom of the tray with purple pearl shine paper and a white doily. Next place the cupcakes, then the crown, the thick paper items and so on. The placement of each item depend son your tray shape and height. You can also add balloons to the set-up.
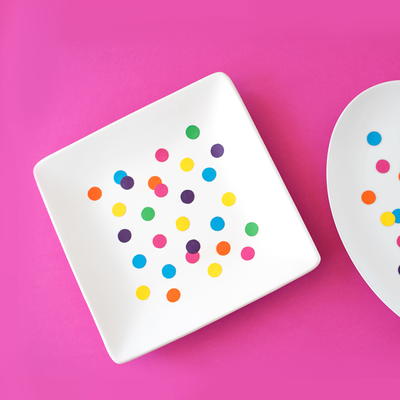
Read NextPolka Dot Serving Platters