Pansy Memory Book DIY Paper Craft
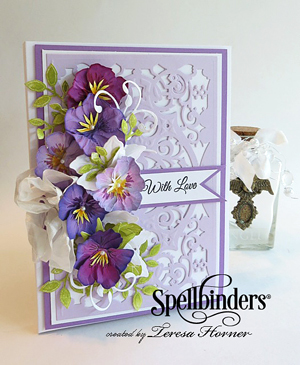
Save your precious moments in a beautiful Pansy Memory Book DIY Paper Craft. If making paper flowers is an exciting prospect for you, then you'll fall in love with this DIY craft project. Channel spring no matter the season and create something you'll want to keep forever. This is also a great gift idea for a wedding shower, baby shower or birthday. The cover of this homemade book is beautiful and intricate, but you don't need a degree in paper crafts to complete it. Use colored papers and inks to give your flowers a unique look. DIY paper flowers may seem like a complicated concept, but this project is actually super easy.
Primary TechniquePaper Crafts

Materials:
Spellbinders Products:
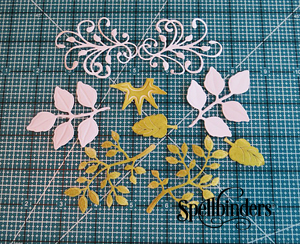
- Sprigs
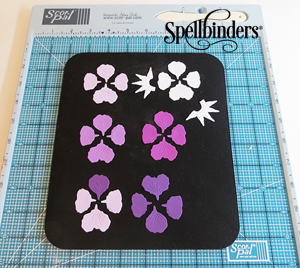
- Pansy
- Foliage
- Tapestry
Other Supplies:
- IMAGINE Crafts®/Tsukineko VersaFine Ink (Onyx Black)
- IMAGINE Crafts®/Tsukineko VersaMark Ink
- Want2Scrap 100 ct Baby Bling (White Pearl)
- Glue Rounds
- Stamps
- White Seam Binding
- Wet Adhesive
- Tweezers
- Bone Folder
- Mouse Pad
- Mini Mister
- Scissors
- Paper Trimmer
- Alcohol Markers
Instructions:
- For the folder, you will need an 8½ x 11" piece of white paper. On the long side, score at 5¼" and 5¾". Then turn to the shorter side and score at 1½". Fold up the bottom and use ¼" Scor-Tape to secure the sides and the middle.
- Cut/ emboss Tapestry Expandable Pattern die with light lavender paper, using the Grand Calibur machine and trim around the outside.
- Mat cut piece with white cardstock and then with darker purple paper. Adhere to the white folder.
- Cut a piece of purple paper to 4 ¼ x 1¼". Cut white cardstock to 4 x 1" to stamp sentiment on. Flag both ends on both pieces and then glue together. Stamp the sentiment in black and glue across front.
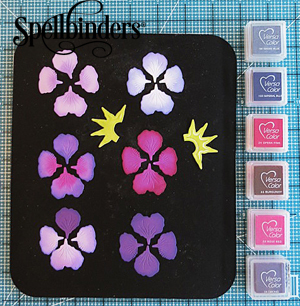
- For the pansy flowers, cut one set of each flower with each of the colors as shown.
- Now you can take the ink square and lightly ink each of the petals in the centers or around the outsides.
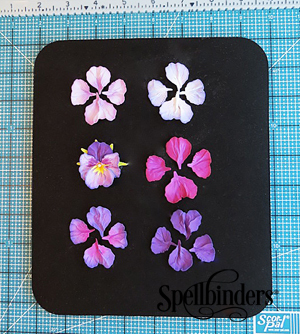
- Mist one at a time and using your bone folder and your mouse pad gently push the petals down from the back to the front. This will give you gentle creases in the paper and you can push slightly down around the edges to make them curl. Scrunch each petal at the bottom. Let all the petals dry.
- Now take the back petal and glue the 2 sides on to it. Trim off the bottom of the largest petal and glue that in the center. Hand cut the yellow piece in each and glue. Draw in tiny lines and shade with yellow in the centers with Copic pens. Add one tiny pearl in the center of each.
- Cut/emboss 2 each of the sprigs pieces, pansy leaves and Foliage die #5 (the smallest die size is #1) in white cardstock. Ink the small leaf branch of the sprigs die and the pansy leaves with green ink. Glue them on the left side of the book.
- Arrange the flowers as shown below and glue them down with adhesive and 3D Foam Squares to give it height and adding extra leaves between the flowers if needed.
- Tie a double bow with the ribbon and spray lightly and scrunch it. Let it dry.
- For the inside of the book, you can do matching A2 sized cards and envelopes. Just slide them in each of the pockets that you created.