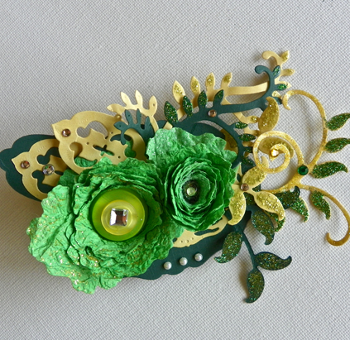
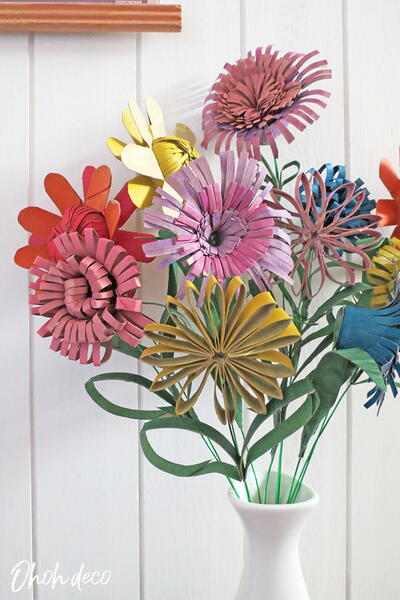
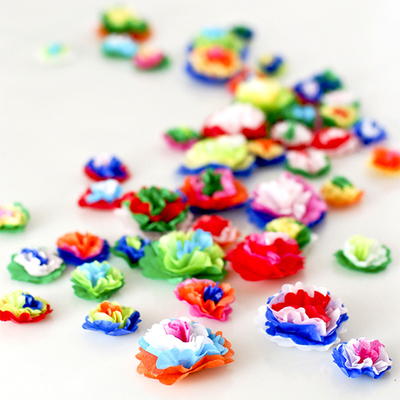
Delicate Paper Flower Corsage
If you want to make paper flowers but aren't sure how to get started, this tutorial is sure to come in handy. Make a Delicate Paper Flower Corsage and that you can wear on your shirt or add to a gift for a fun finishing touch. It's sure to make an impression on everyone you come across.

Materials:
- Spellbinders Grand Calibur diecutting machine
- Spellbinders Nestabilities Majestic Elements – Opulent Ovals die set
- Spellbinders Shapeabilities – Foliage Two die set
- Spellbinders Shapeabilities – Spiral Blossom One die set
- Green and yellow cardstock
- Crinkly handmade art paper
- Glitters – green and yellow
- Small paintbrush
- Craft glue
- Buttons, small bead and bling
- Pencil and small cylindrical vial
Instructions:
-
Die-cut a medium solid oval from green cardstock and a smaller lacy-edge oval from yellow cardstock – glue the yellow on top of the green oval, off-center to create a base for the corsage. Die-cut some of the smallest ovals to use as accent leaves.
-
Die-cut two spiral blossoms from crinkly art paper. Starting with the outside end, wrap one spiral around a pencil. Keep the bottom edge of the spiral flush against itself and add a little glue in a few spots as you coil it around the pencil to create a tight bloom. Slide it off the pencil and let dry.
-
Make a larger bloom with second spiral by wrapping it around a small vial (I used my glitter container) instead of a pencil.
-
Die-cut a variety of leafy foliage vines from the green and yellow cardstock. Brush glue on the leaf tips and sprinkle glitter over the glue.
-
Stack and glue 3 buttons together with a smaller one on top, then glue the stack inside the hole of the larger bloom. Add glitter to the tips of the petals.
-
Glue a small bead inside the center of the smaller bloom.
-
When all the glitter and glue is dry, arrange the blooms, accent leaves and vines on the oval base as and glue into place as desired.
- Glue on some crystal bling accents in a few places; glue a pin finding to the back if you plan to wear it.
Read NextHow To Make Cardboard Flowers