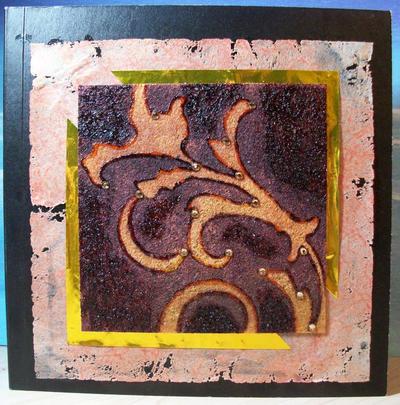
Blank Board Book Flourish Cover
Use a die-cut shape, gold foil and color wash to create an elegant cover for your Blank Board Book. The book can become a journal, scrapbook or simple photo album. This project from Lisa Fulmer would make a wonderful gift.

Materials:
- 8" square black Ready-to-Go! Blank Board Book
- 7" square sheet of Lutradur, any weight
- 4-6" square sheet of gold foil origami paper
- 5" square of Timtex
- Die-cut shape (I used a grungeboard flourish)
- 2 colors of spray wash, ink or paint
- (I used Adirondack Color Wash in Butterscotch & Wild Plum)
- Embossing heat tool
- Liquitex Glass Bead Texture Gel Medium
- Liquitex Gloss Gel Medium
- Medium size flat paint brush
- Alene's Paper Glaze
- Craft glue (I use Beacon 3-in-1)
- crystals or beads
Instructions:
- On a protected work surface, spray paint color #1 on to the Lutradur and Timtex squares. Use less spray on the Lutradur so the color bleeds along the fibers. Use a little more spray on the Timtex, since it's quite absorbent. Set both squares aside to dry (the Lutradur will dry in a couple minutes; the Timtex will take at least an hour).
- Blow the heat tool along the edges of the dry Lutradur. Start further away and slowly move the hot air closer to the sheet, so you can get a feel for how quickly the Lutradur burns. Painted Lutradur requires the heat to be just a bit closer and longer to burn, than if it was unpainted. Just burn the edges slightly to get a lacy look.
- Brush a thin coat of gloss medium on the cover of the board book, position the Lutradur in the center. Place some large heavy books on top to flatten out the Lutradur and adhere it to the book. Lay a sheet of wax paper or freezer paper in between, so you don't get any medium on your heavy books. Let it sit for about 10-15 minutes to dry.
- Use the gloss medium to adhere the 6" gold foil square in the center of the Lutradur. If your foil square is smaller than 6" (some origami paper comes in 4.5" packs), cut it in half diagonally, then split and center the two resulting triangles.
- Place your die-cut shape on top of your dry Timtex to use as a mask. Lightly spray color #2 over the whole square.
- Carefully remove your die-cut shape. TIP: Immediately flip the shape over and press against another piece of paper to "stamp" the shape with the wet paint. Allow Timtex to dry again.
- Use the paper glaze to trace around the edges of your mask shape. Place crystals or beads in the glaze where ever you want to accent the shape. The glaze will soak into the Timtex as it dries, leaving a glossy line. The glaze will also hold the crystals or beads firmly in place.
- Brush the texture medium around the mask design as desired, to create extra shine and texture. The medium will soak in and dry clear on the Timtex after at least an hour.
- When the Timtex is dry, adhere it to the center of the gold foil. Your cover is complete!
- Fill the rest of the board book with photos, artwork, journaling, ephemera...sky's the limit!
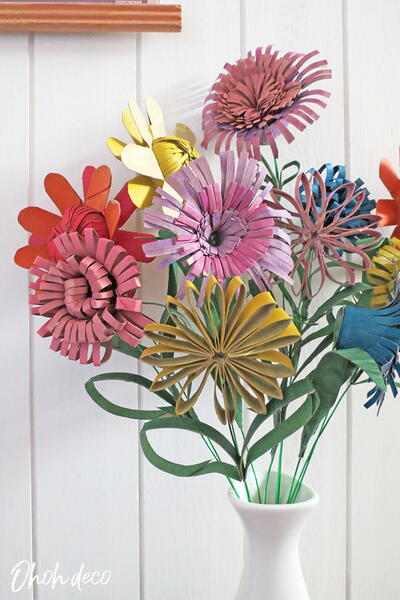
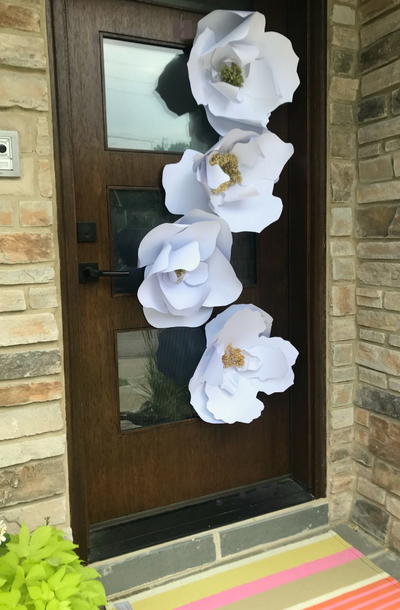
Read NextEasy Giant Paper Flowers
Your Recently Viewed Projects
Thanks for your comment. Don't forget to share!
Linda B
May 20, 2010
I received this article in an email newsletter for "32 Low-Cost Decorative Paper Crafts". However, this project uses supplies that no average paper crafter would have available without spending a significant amount of money. What's more, they are non-standard/common supplies and the article does nothing to explain what they are or where to find them. While the project itself looks lovely and would make a nice statement piece, it should not be counted as "low cost" or as "paper crafts". Instead, it is a rather investment heavy altered art project, and would succeed marvelously in that sort of a listing.
Report Inappropriate Comment
Are you sure you would like to report this comment? It will be flagged for our moderators to take action.
Thank you for taking the time to improve the content on our site.