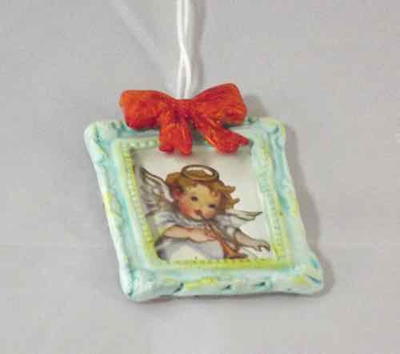
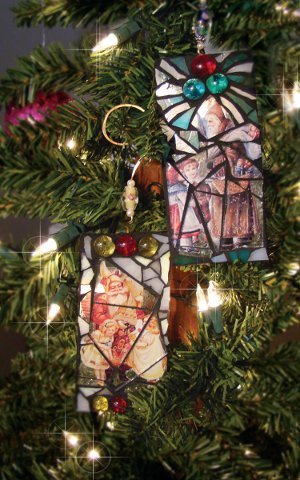
Victorian Mosaic Santa Ornament
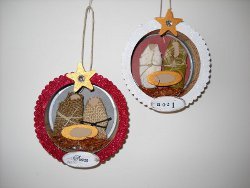
If you love the look of classic Victorian holiday art, you're going to love this Victorian Mosaic Santa Ornament from Diamond Tech. Easy handmade Christmas ornaments like this not only make great tree decorations, but you can also use them to embellish gift packages. This is a great project for beginners, so if you're new to mosaic art, you'll want to start with something fun and easy like this.

Materials:
- 12” x 6” Clear Glass (Picture Frame Glass Works Well)
- 5 oz pkg Jennifer’s Mosaics™ Stained Glass Chips Variety
- 1 Variety Pack Jennifer’s Mosaics™ Glass ½” Gems
- Jennifer’s Mosaics™ Black Grout
- Jennifer’s Mosaics™ Wheeled Glass Nippers
- Victorian Christmas Card Images
- Studio Pro™ Glass cutter
- Studio Pro™ Running pliers
- 12” 18 Gauge Copper Wire
- Assorted Beads
- E-6000® Adhesive
- Masking or Duct Tape
- Sharpie® Marker
- Hammer
- Round-nose Pliers
- Scissors
- Mixing Bowl and Spoon
- Sponge
- Latex Gloves
- Paper Towels and Newspaper
Instructions:
-
To protect work area, cover with newspaper.
-
With a Sharpie® marker, sketch the shape of the ornament base on a piece of clear glass. Featured ornament measures 2.25” x 4.75”.
-
Using a glass cutter, score the glass along the sketched outline. Break out glass shape with running pliers.
-
Cut out a Victorian Santa or any image you prefer from an old holiday card or download Victorian holiday images from an online source. Cut away as much background as possible. Position on picture on each clear glass base.
-
Glue image to the surface using E-6000® or a glass adhesive that dries clear.
-
Position the glass gems at the top of the ornament and glue into place.
-
Cut another piece of clear glass large enough to cover the image. Score and break into large pieces using a glass cutter. Cover image with the clear glass leaving 1/8” between the pieces. Make sure a majority of the image is visible through the glass.
-
Once you have achieved your desired look, completely cover the back of the glass with adhesive. Place the glass over the image and press firmly over the entire surface. Moving the glass piece back and forth over the image will help spread the adhesive evenly underneath the glass. Should adhesive seep out of the sides, simply remove it with a toothpick.
-
Choose stained glass chips which coordinates with your image. Nip glass into small pieces using wheeled glass nippers. Fit glass pieces around the image, leaving 1/8” between pieces for grout. Once glass is positioned on the ornament, glue into place and allow to dry.
-
Place 4 tablespoons of black grout in a disposable cup. Slowly add water 1 teaspoon at a time to the grout, mix with craft stick or plastic spoon until the grout reaches “fudge-like” consistency. If it is too watery, add more dry grout in small amounts until the consistency is correct.
-
Wearing disposable gloves; spread the grout into all the spaces between the glass pieces. Wait about 15 minutes for grout to set.
-
Begin to gently wipe away the excess grout using a damp sponge, taking care not to pull grout out of spaces. Use your finger to smooth the grout around the outer edge of the ornament. It is important to remove grout from the tile surface before it is completely dry.
-
Using the soft cloth, buff the tiles to a clean shine. Allow to dry completely for 24 hours.
-
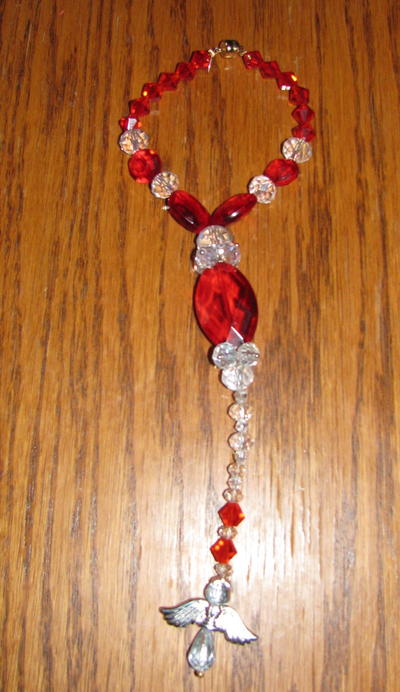
To create the hanger, cut a 12” length of 18 gauge copper wire. Using round-nose pliers, shape one end of the wire into a spiral. Slide several beads onto the open end of the wire and push them up towards the spiral. Use the pliers; bend the wire at a 90° angle after the last bead. Then bend wire back again. This will crimp the wire and prevent the beads from sliding down.
-
Place wire on a solid surface and cover with a piece of paper. Use a hammer and pound the copper wire flat. This will strengthen the wire. Flatten the spiral and flatten the end of the wire, making sure you do not strike the beads.
-
Next, place ornament face down and position hanger on the back of ornament, spiral side facing away from the ornament. Tape to hold in place. Apply glass glue over the exposed wire and allow to dry following manufacturer’s instructions.
- Once dry, hang your Victorian ornament in a window or on your holiday tree.
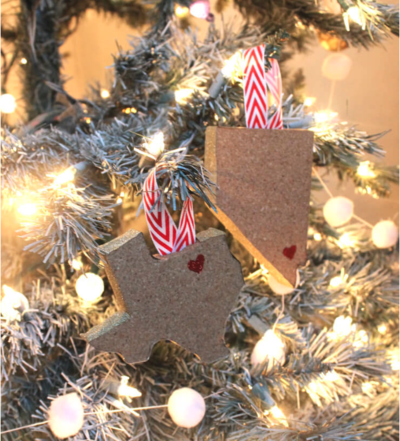
Read NextState-Shaped Christmas Ornaments DIY
Your Recently Viewed Projects
Thanks for your comment. Don't forget to share!
geminii401
Sep 16, 2013
directions make no sense...how can you glue the image twice? step 5 says glue image to surface, step 8 says apply adhesive and glue image to back...which is it?
gigismom
Feb 11, 2013
Please help. Love this idea,however, on step four. Is where you cut out the pieces of the image, or do you glue the second clear piece on top of the image and then score and cut? So is it glass image glass then cut?
Report Inappropriate Comment
Are you sure you would like to report this comment? It will be flagged for our moderators to take action.
Thank you for taking the time to improve the content on our site.