Quilted CD Ornaments
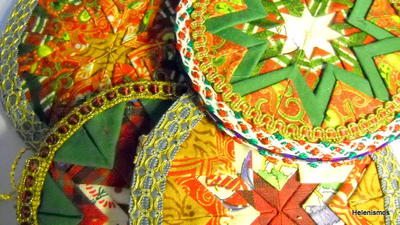
Here's another idea for using up old CDs! Make these quilted CD ornaments to hang on your tree with these Christmas craft patterns and no one will ever know you have CDs hanging from your branches.

Materials:
- 4 different types of fabric: 8 2" squares of Xmas print/color (first row); 16 2" squares of different Xmas print/color (second row); 16 2" squares of another different Xmas print/color (third row); 16 2" squares of yet another different print/color (fourth row).
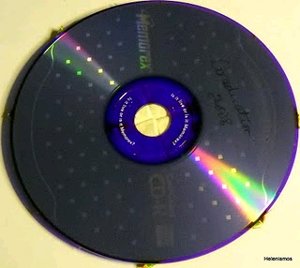
- Old CD
- Tacky Glue
- Metallic Christmas trim
- String
- Pins
Instructions:
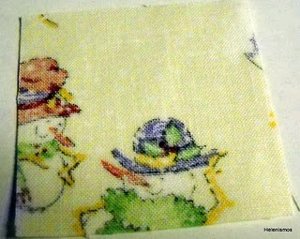
- Get one 2" square from the first row of print/color right side down, and fold in half, pressing with your finger nail, like this:
- Then in half again, like this:
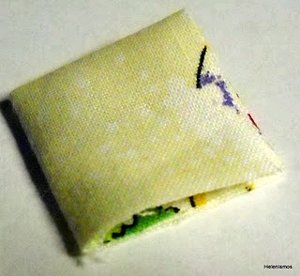
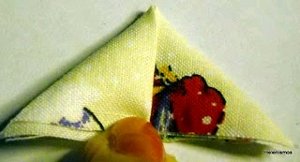
- Open it up, and then fold one of the sides to the median crease, to create a triangle, like this:
- And then do the same for the other side, like this:
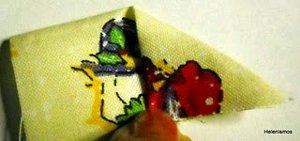
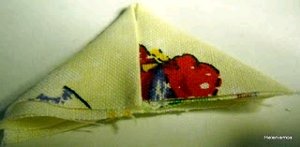
- You'll have one bigger triangle formed by two small triangles. Now it's time to apply some glue. Open up the folded triangle and apply a little bit of glue; like this:

- Fold it back and press with your fingers.
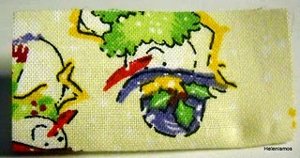
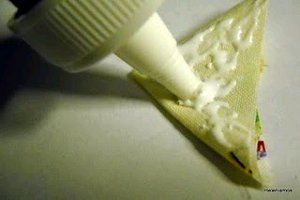
- You are now ready to start the quilting on your Cd. Turn the already glued triangle face down and apply a bit of glue on the back, like this:
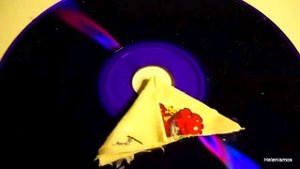
- Glued it with the point facing the center of the Cd, like this:
- Repeat the procedure for the remaining 3 squares of the first print/color, like this:
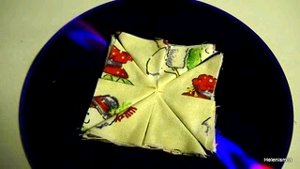
- Now the first row is completed. You are now going to fold the eight 2" squares for the second row the exact same way, and repeat the same procedures, like this:
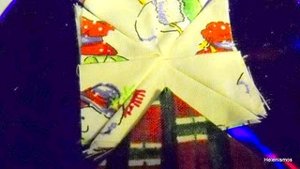
- Try to align the central fold of the triangles in every row.
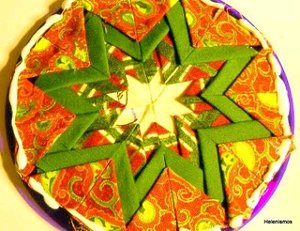
- You can already see the first star showing. Repeat the same thing for the third
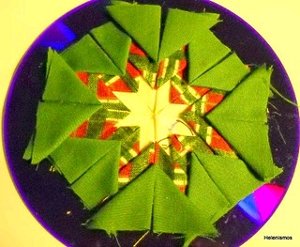
and for the fourth rows.
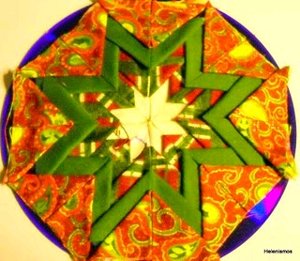
And now you see the four stars.
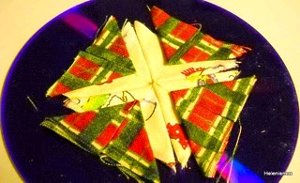
- You have one side of the Cd almost finished. Turn it around, and repeat everything the same way for the other side.
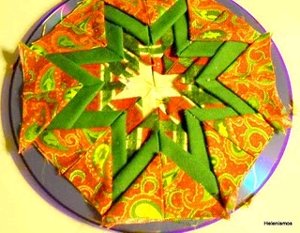
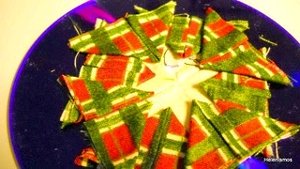
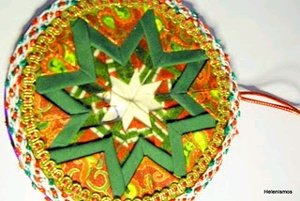
- Your quilted Cd Xmas ornament is almost done, but not completely. Now is time to hide the messy parts and make it look really pretty! Start by trimming any bit of fabric that might be hanging out the Cd borders. Then apply some glue all around the edge.
- Start by gluing the string and then the trim, covered by the trim, like this:
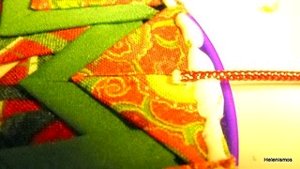
- Secure with pins till is totally dried and secure.

- Once it's dried, do the other side. Let it dry.
Your Recently Viewed Projects
Thanks for your comment. Don't forget to share!
VanilaScent 746584 9
Sep 13, 2013
This one is really cute! I love it. I was thinking that a quilter can easily make other designs too. I'm not a quilter but I would like to try doing some in a "log cabin" design. Thanks for sharing this idea! :)
starry902 0373085
May 16, 2012
I think these are beautiful! I also made them using scrap book paper instead of cloth. Thanks for the idea!!
Kleemation58
Dec 29, 2011
My daughter and I made these and they turned out beautifully! I was afraid they wouldn't look like the pictured ornaments, but the directions were excellent and they looked even better than I'd hoped!
tmorris746 6800441
Nov 28, 2011
I made these folded star crafts in the 80's. I put them in embroidery hoops and hung on wall as picture. It's a good way to use smaller pieces of fabric.
MissMaggie
Jul 28, 2011
Hi dholemanres 7383844, It might be something with your printer settings. Make sure it's set to print all the pages. -Editors of FaveCrafts
dholemanres 738384 4
Jul 27, 2011
Love the ornament, however when I tried to print the directions it stopped at #10. What can ido ?
GramstertheHamster
May 21, 2011
I was going to say these would make fantastic coasters, but someone beat me to it...great idea!
Member 4404981
May 04, 2011
These are absolutely beautiful!!!! Not only would they be beautiful on a tree but with a nice mug they could be used as a coaster and would makke a lovely coaster. I'd love some done iin blues or pinks to go with summer mugs. My fabric stash is about to be invaded!!
lisas7
Nov 21, 2010
WOW!! How did you EVER come up with that? That is fantastic! I HAVE to try it! THANKS!
Report Inappropriate Comment
Are you sure you would like to report this comment? It will be flagged for our moderators to take action.
Thank you for taking the time to improve the content on our site.